Notification Channel
The Notification Channel feature in ServerAvatar allows users to receive real-time alerts and updates about server events, such as updates, backups, and server status changes, on popular messaging platforms such as Slack, Discord, and Telegram.
To manage your Notification Channels, follow these steps:
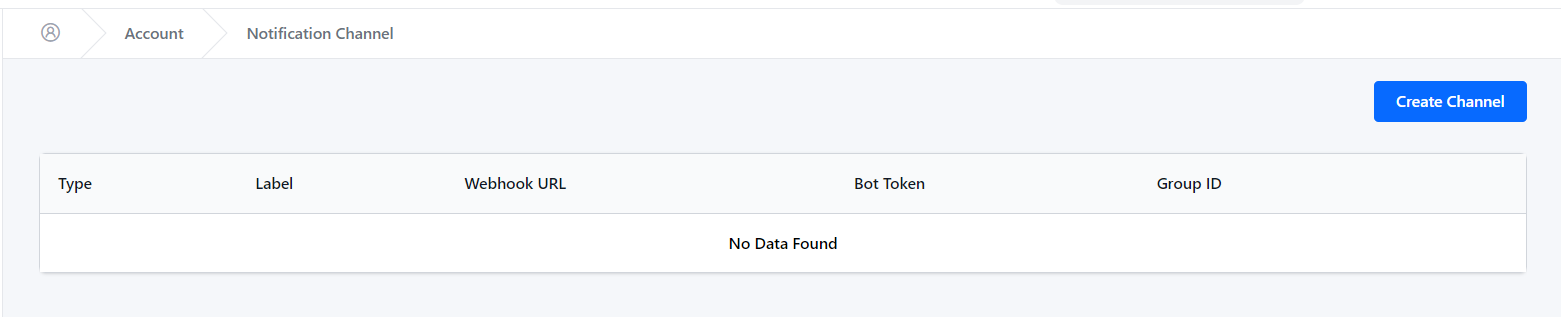
Step 1: Log in to your ServerAvatar account and click on Account -> Notication Chennel in the left sidebar.
Step 2: Click on the "Add Channel" button.
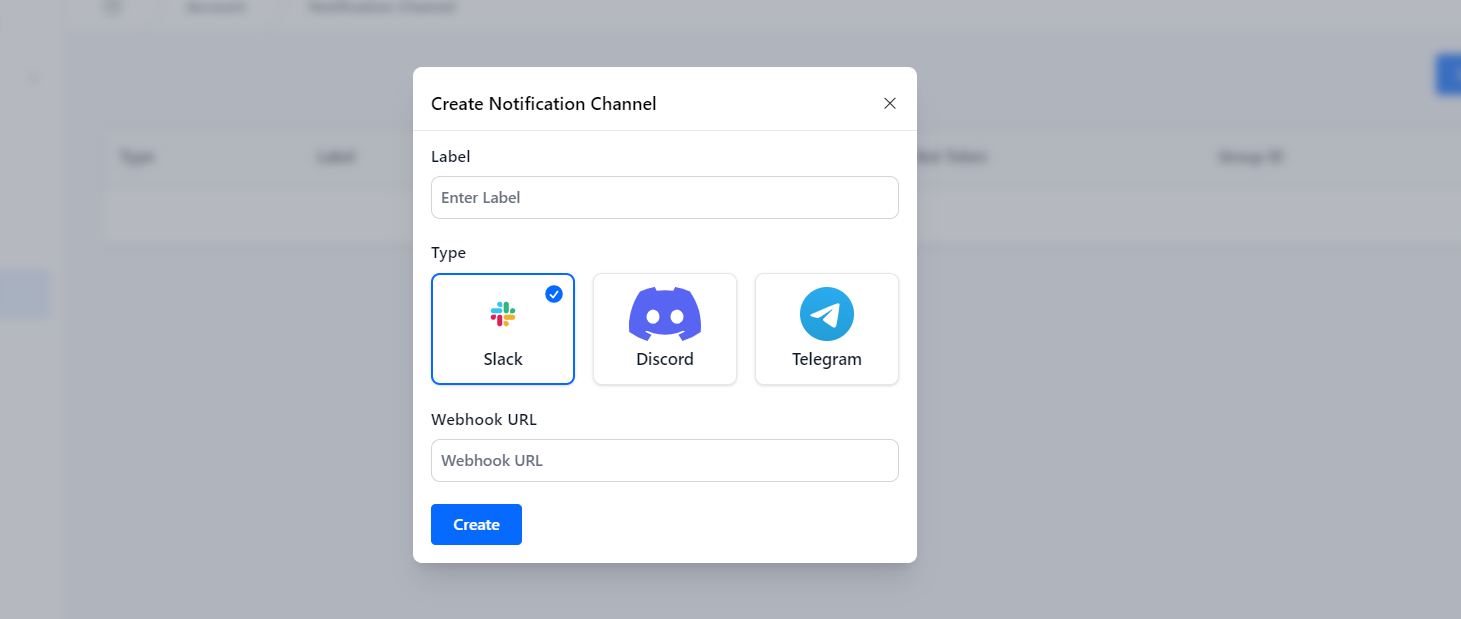
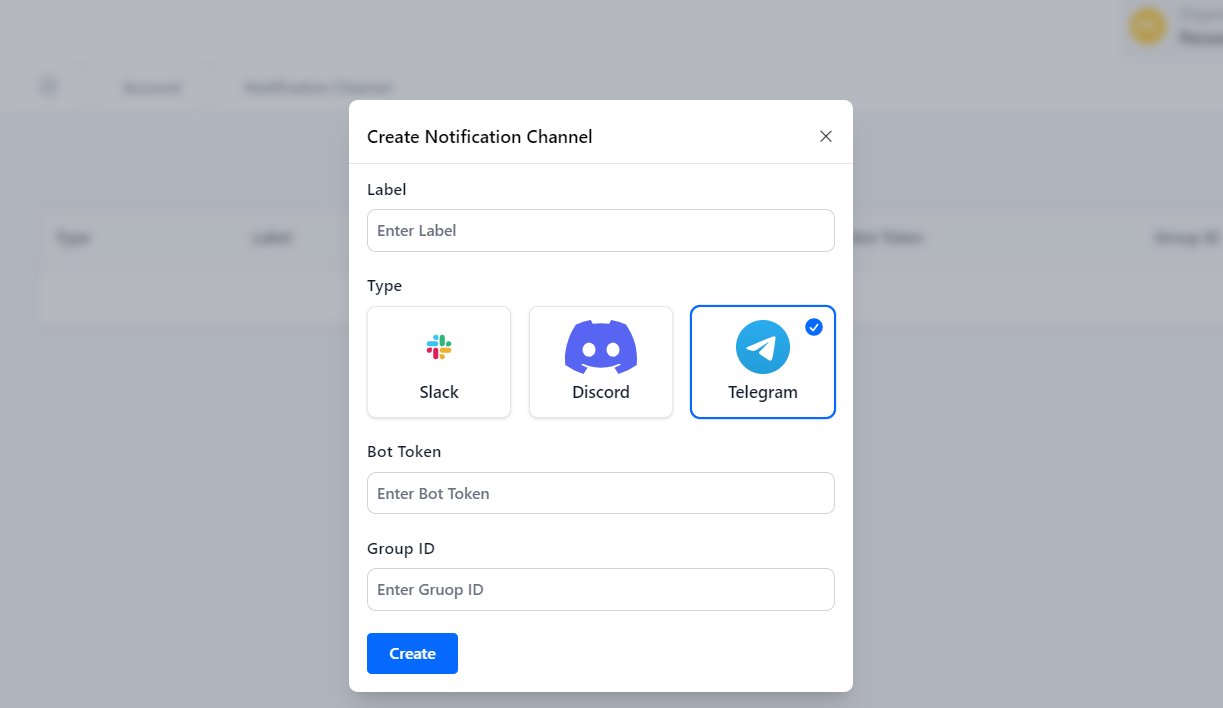
Step 3: Choose the notification channel you want to add (Slack, Discord, or Telegram) and follow the specific instructions to set it up.
For example,
Slack :
If you choose Slack, you will need to provide the Slack Webhook URL.
To get the Slack Webhook URL, follow these steps:
Open Slack and go to the channel or direct message where you want to post messages via webhook.
Click on the gear icon next to the channel or direct message name to open the menu.
Select "Add apps" from the menu.
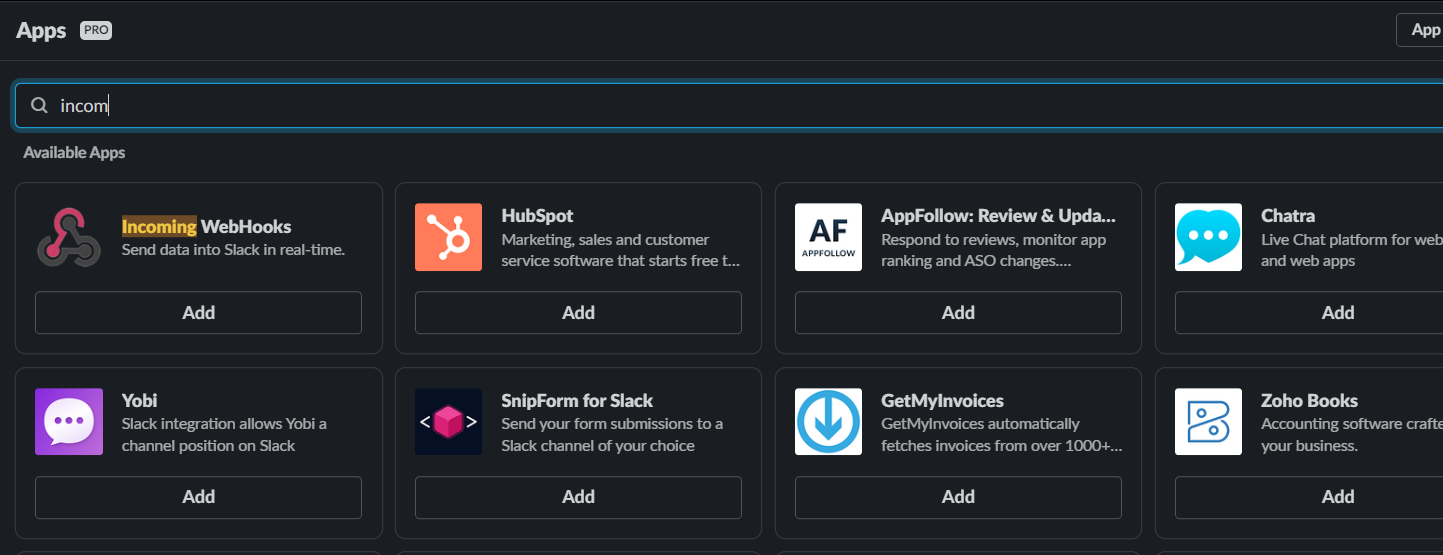
In the search bar, type "Incoming WebHooks" and select it from the results.
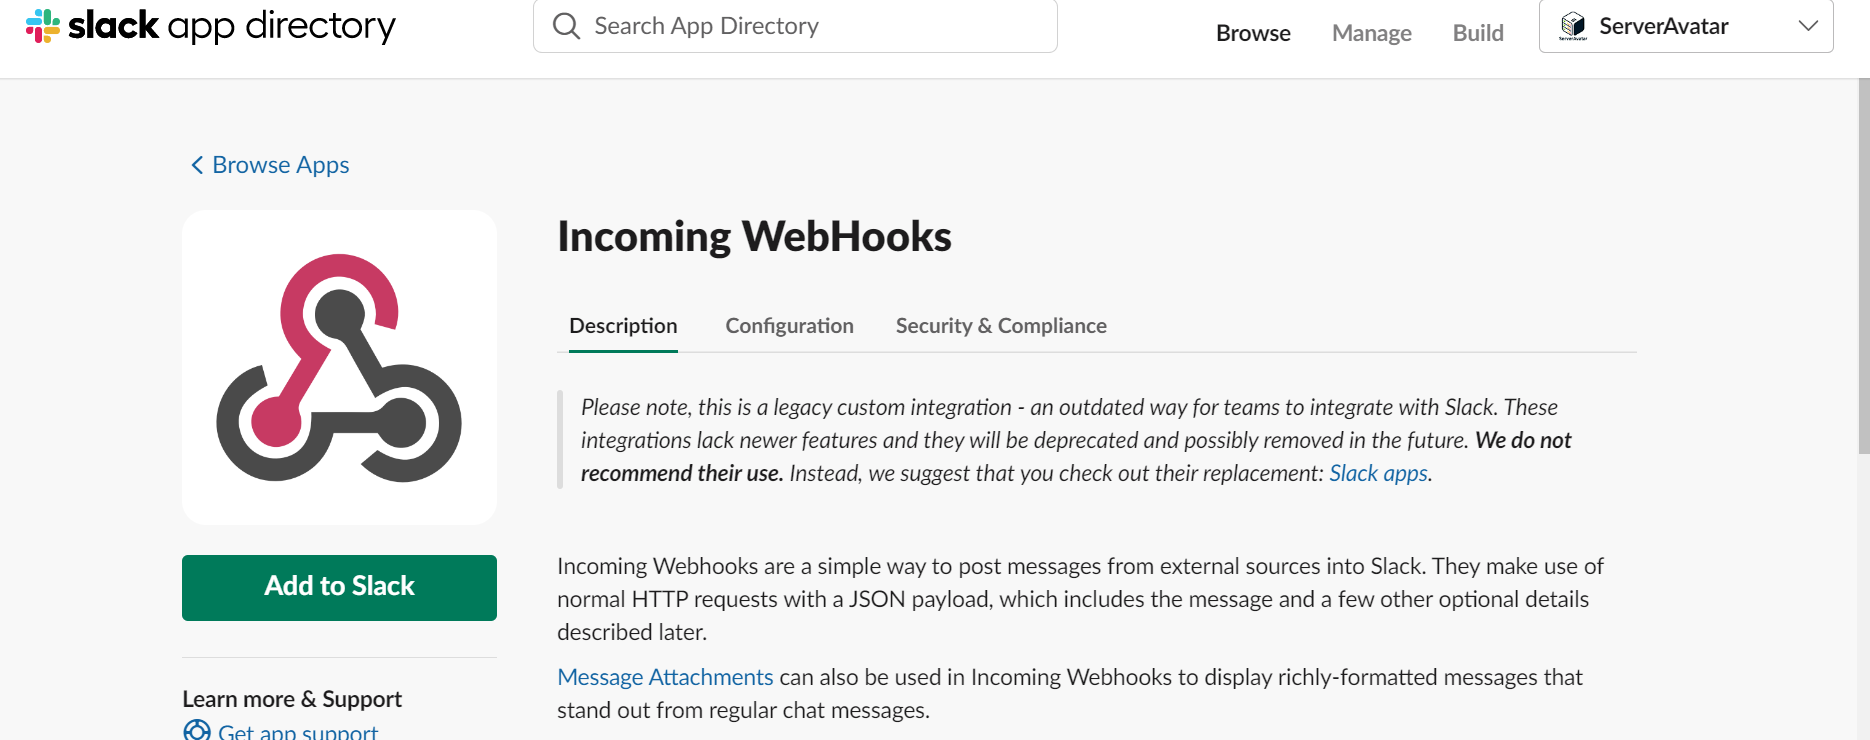
Click the "Add to Slack" button and select the channel or direct message where you want to post messages.
You will be redirected to a page where you can customize the name and icon for the webhook. Once you're done, click the "Create" button.
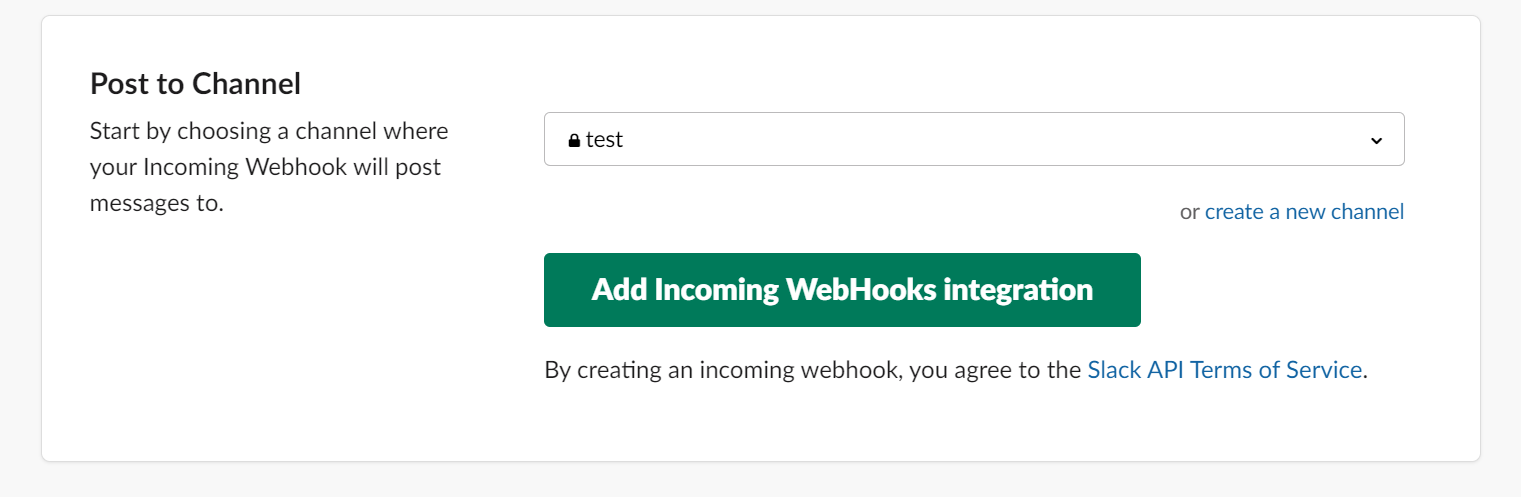
You will now see the webhook URL for the selected channel or direct message. Copy this URL to use it for posting messages via webhook.

You can now use this webhook URL to post messages to the selected channel from ServerAvatar.
Discord :
If you choose Discord, you will need to provide the Discord Webhook URL.
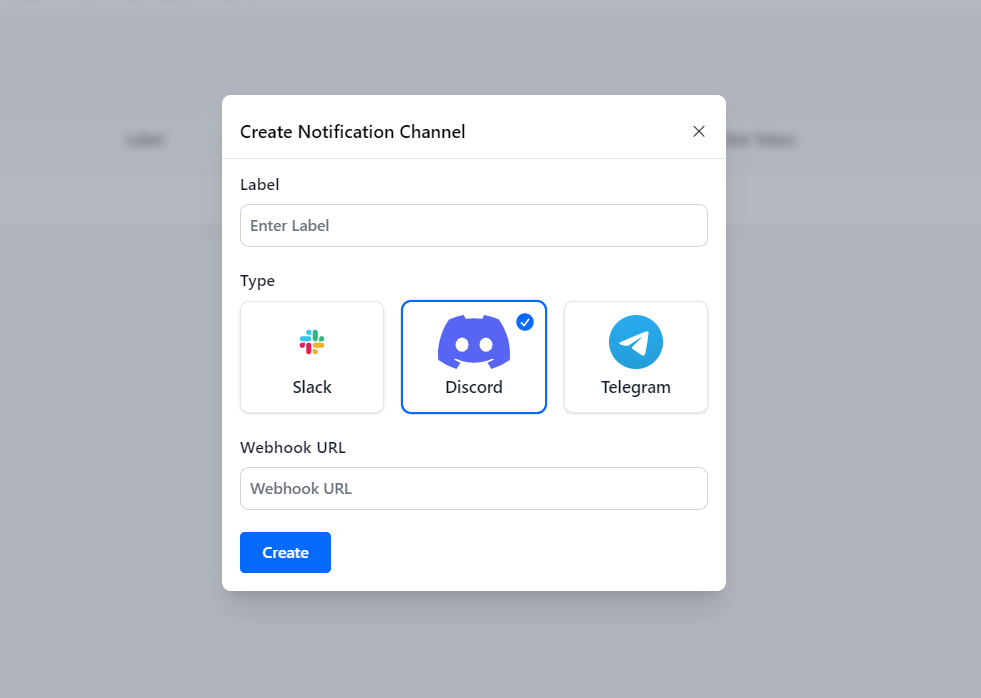
To get the Discord Webhook URL, follow these steps:
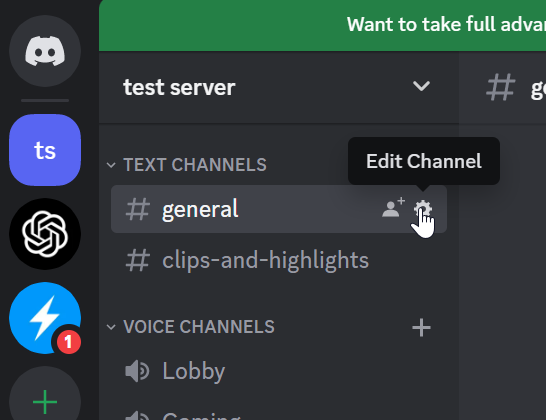
Open your Discord application and select the server/channel you want to create the webhook for.
Click on the "Server Settings" option (the gear icon) at the bottom left corner of the server/channel window.
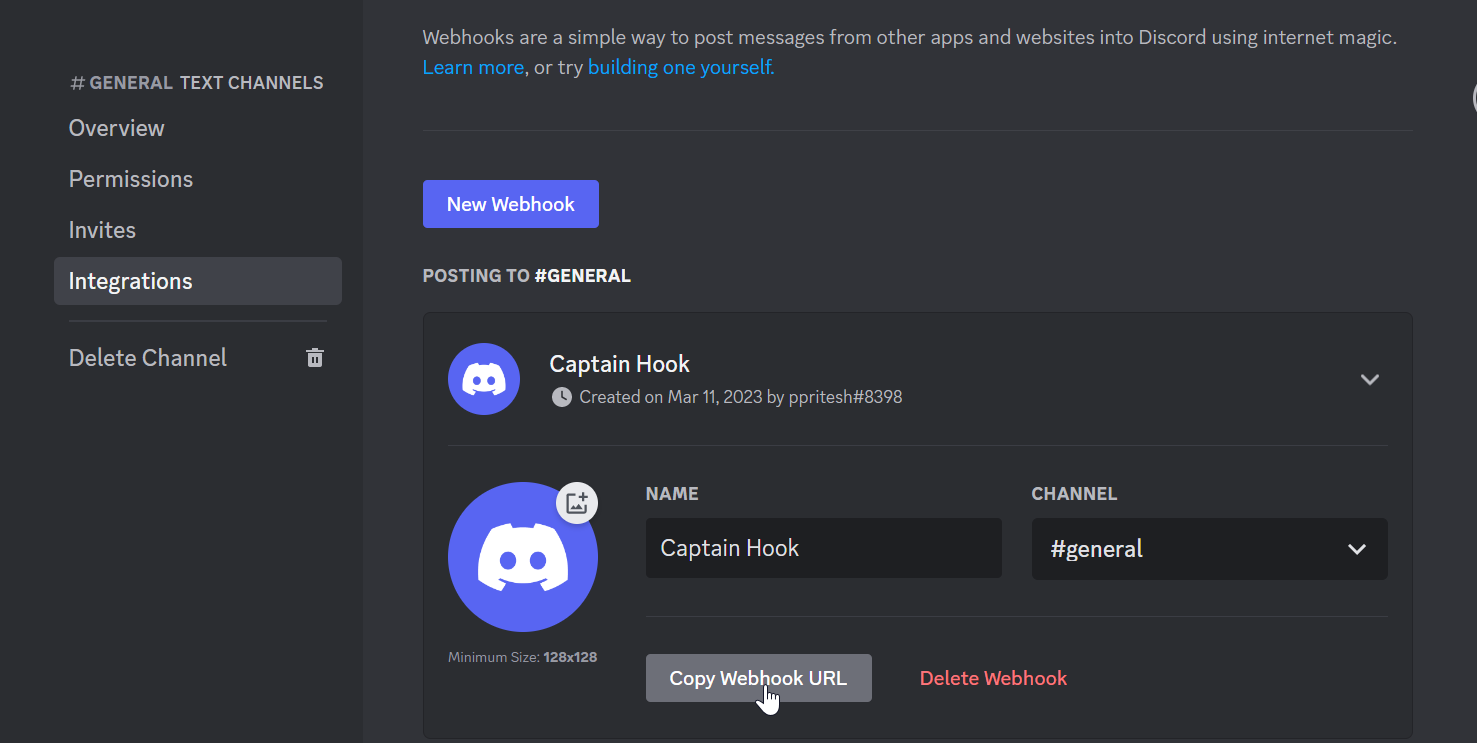
From the Server Settings, select the "Integrations" tab and click on the "Create Webhook" button.
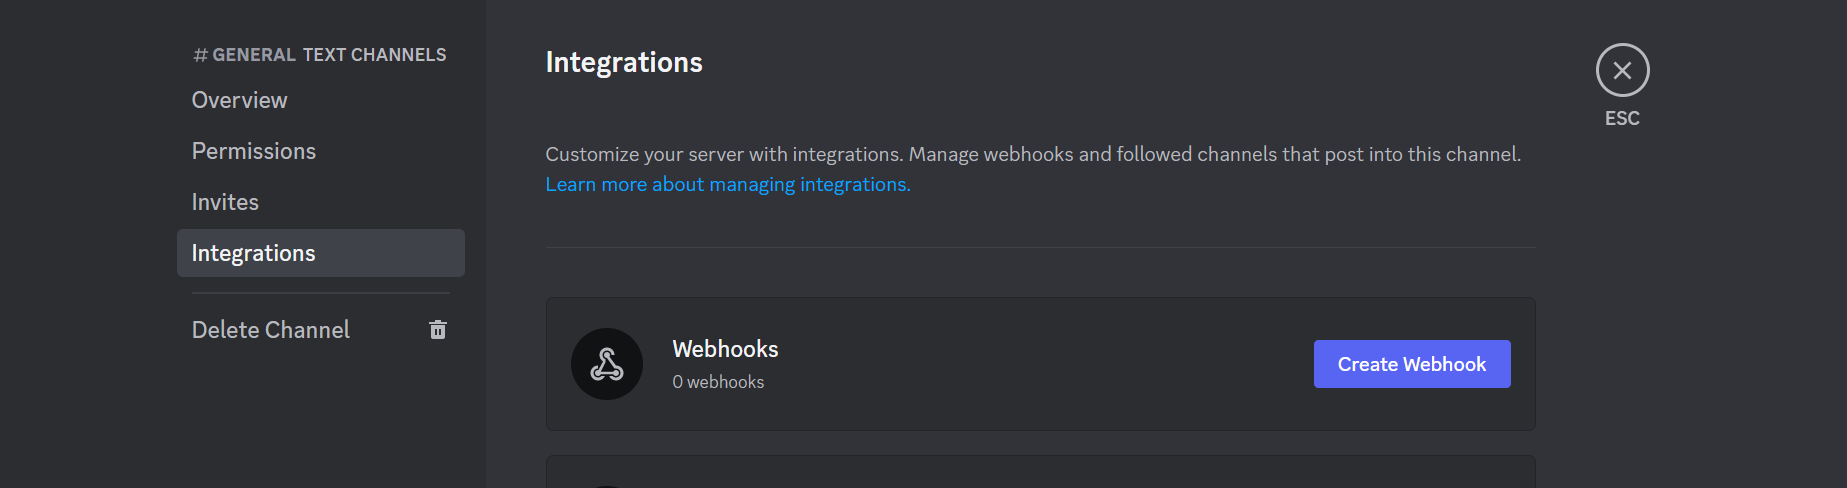
Give your webhook a name and select the channel you want the webhook to post to.
Once you have filled out the required fields, click on the "Copy Webhook URL" button to copy the webhook URL to your clipboard.
Paste the webhook URL into the application you want to integrate with Discord.
Telegram :
If you choose Telegram, you will need to provide the Bot Token and Group ID.
Follow the steps below to obtain them:
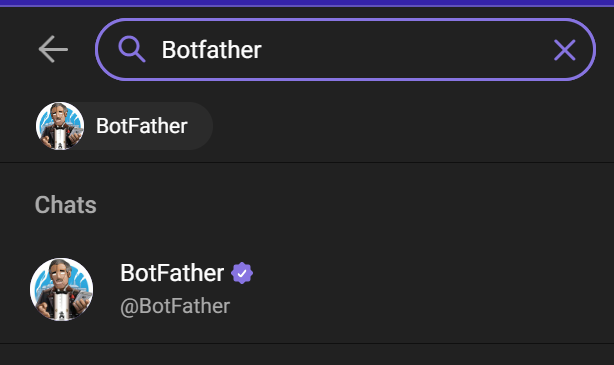
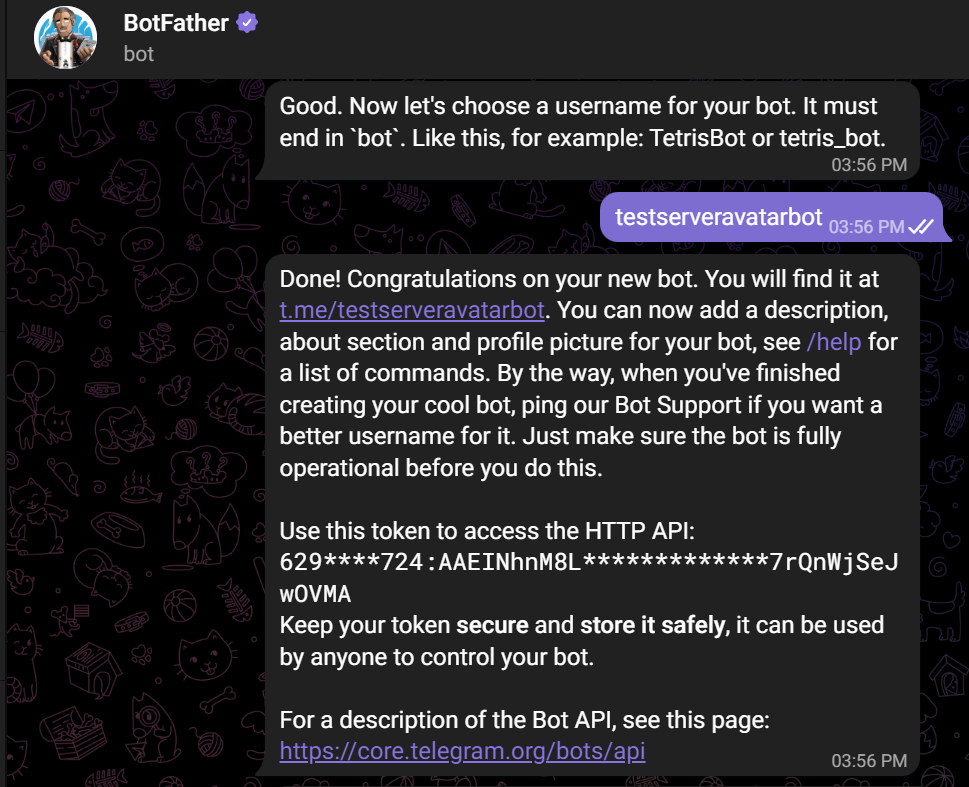
Open Telegram and search for the BotFather bot in the search bar.
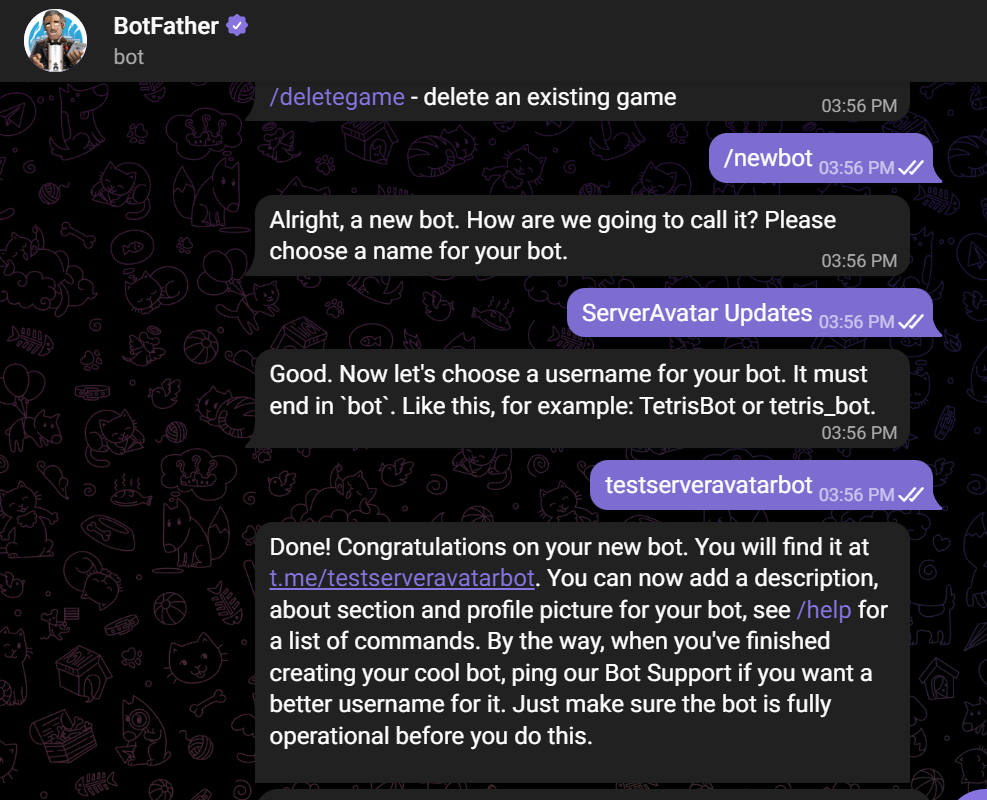
Click on the BotFather chat and send the command "/newbot" to create a new bot.
Follow the instructions provided by BotFather to create your new bot. Once your bot is created, you will receive a bot token.
To obtain the group ID, add your bot to the group by clicking on "Add members" in the group and then search for your bot by its name. Once your bot is added to the group, send a message to the group using your bot.
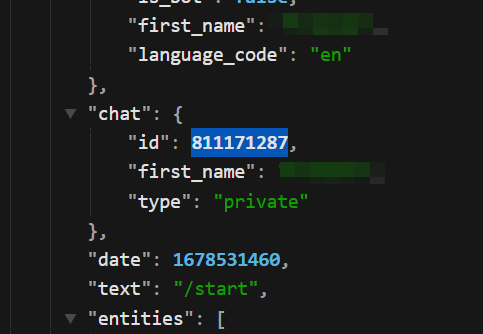
Open a web browser and go to the following URL: https://api.telegram.org/bot[bot_token]/getUpdates (replace [bot_token] with your actual bot token).
Look for the "chat" object in the JSON response. The "id" field in the "chat" object contains the group ID.
Step 4: Once you have added a notification channel, you can customize which events trigger a notification for that channel. For example, you can choose to receive a notification when a backup is completed or when a server goes down.
By following these steps, you can effectively manage and customize your notification channels in ServerAvatar to ensure that you receive timely and relevant updates about your server and applications.