Whitelist IP
The Whitelist IP feature determines which IP addresses are permitted to access the ServerAvatar panel.
If Whitelist IP is enabled in your account, only IP addresses that have been whitelisted will be able to log in to the panel, and all others will be denied access.
If a new IP address is detected, an email notification will be sent to you for review and approval to add the IP to the whitelist. When the feature is disabled, any IP address can attempt to log in to the ServerAvatar panel.
To enable Whitelist IP in your account, follow these steps:
Step 1: Log in to your Account.
Step 2: Click on Account, then choose Security -> Whitelist IP in the left sidebar.

You will see a card with a single switch, like the one in the following image:

Step 3: Click on the switch to enable Whitelist IP in your account.
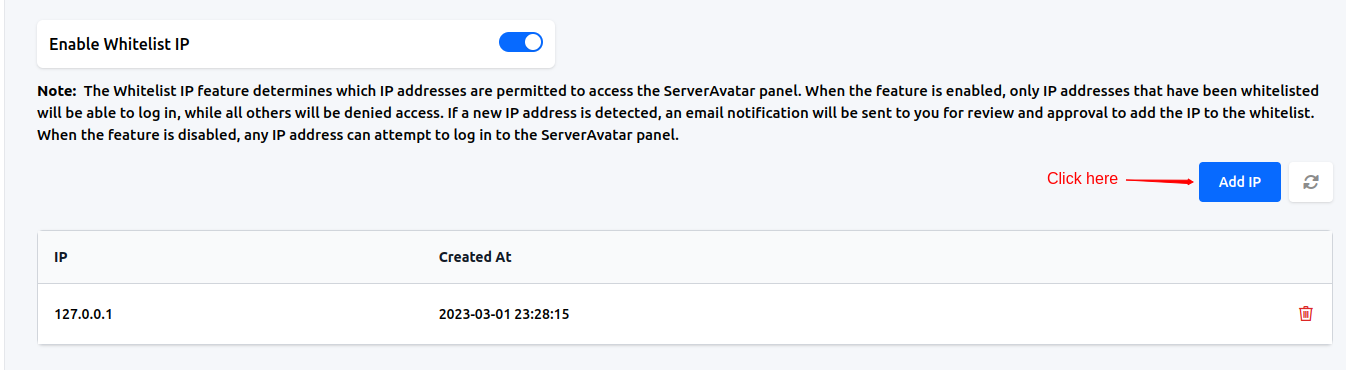
Once enabled, the section will look like the following image:

To disable Whitelist IP, simply click on the same switch, and it will be disabled immediately.
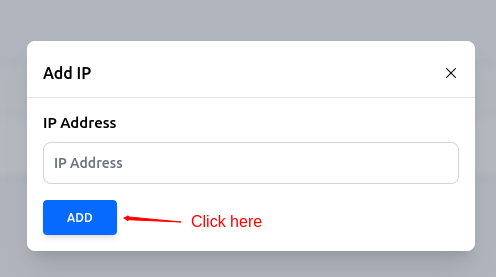
You can also add an IP address by clicking the Add IP button:
Enter the IP address you want to add and click the Add button:
If you want to delete an IP address, click on the delete button next to it.