Application Logs
Application logs contain all information about incoming requests to your site. There are two types of application logs: "Access logs" and "Error logs".
Access logs collect all information about "successful" requests served by your server.
Error logs collect all information about "Failed" requests served by your server. These requests include 404 errors, 500 errors, and similar other errors on the site's code.
Logs come in handy when your site is experiencing a technical issue. Logs allow you to identify the root cause of the errors so that you can take appropriate actions to solve the issue.
You can check application logs in the ServerAvatar web app itself. Follow the steps given below to check application logs in ServerAvatar.
Step 1: First, log in to your ServerAvatar Account.
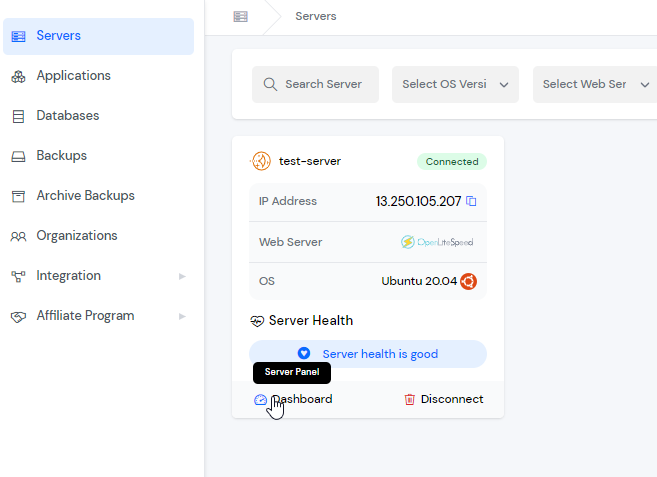
Step 2: Click on the Server Dashboard button.
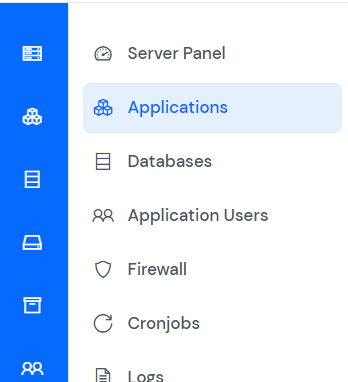
Step 3: Now, you will see the option Applications on the left-hand sidebar of the Server Panel. Click on "Applications".
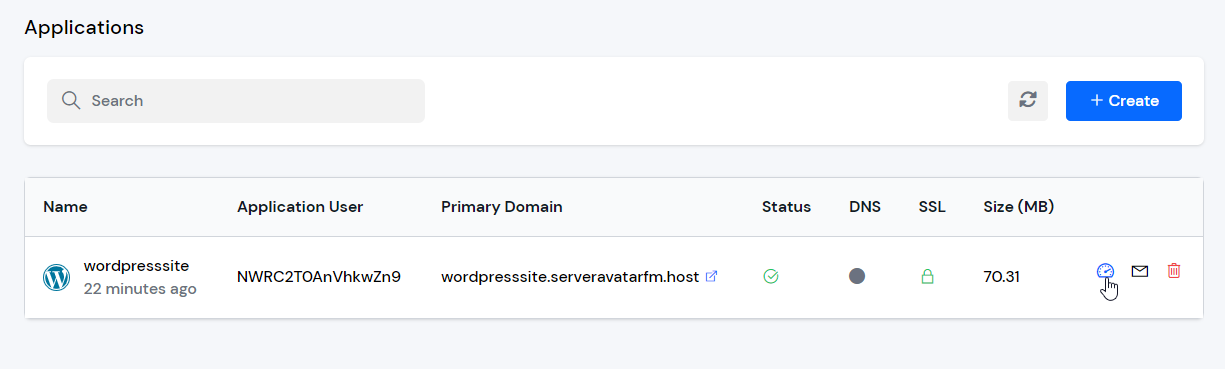
Step 4: Now, you will see the Applications table like the below image.
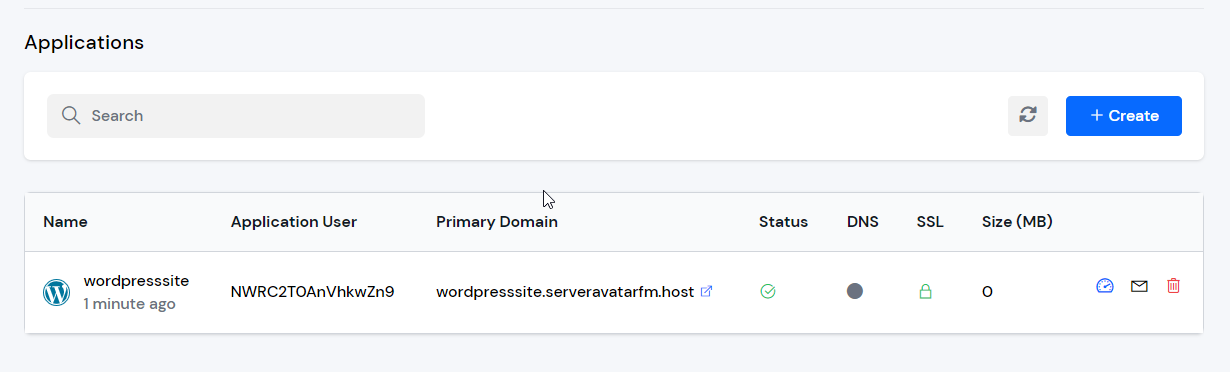
Step 5: Click on Application Name or Dashboard icon to access the application panel.
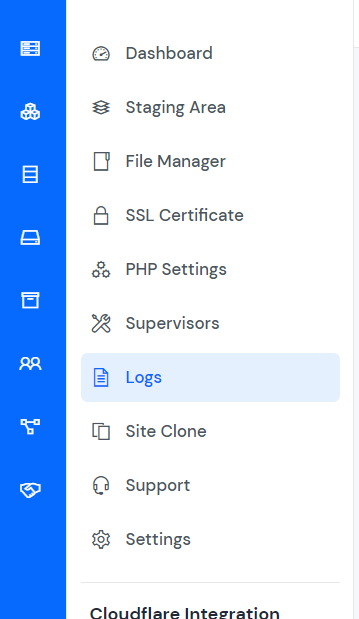
Step 6: You will see the Application Logs option on the left-hand sidebar of the Application Panel. Click on Application Logs.
Step 7: You will see the Application Logs page like the image below.
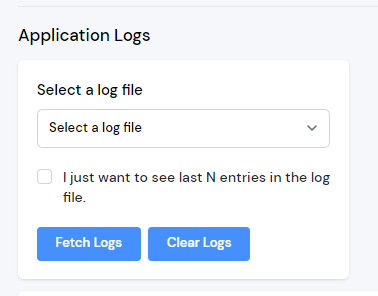
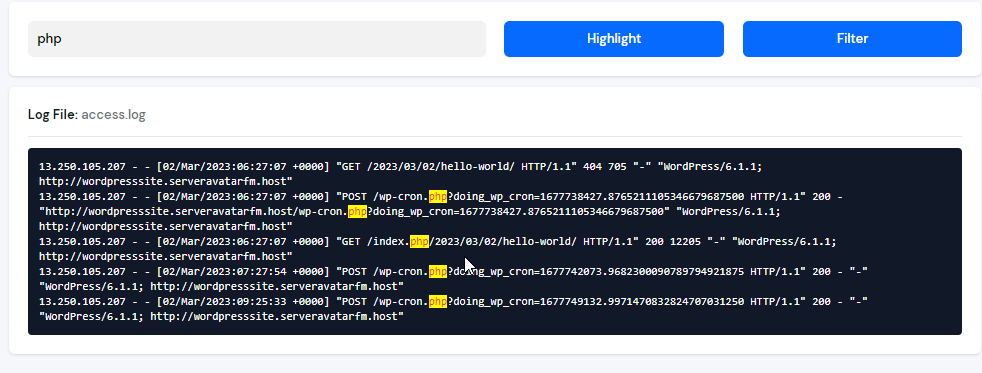
Step 8: You can select the log file you want to fetch logs and enter how many last entries you wish to fetch. You can uncheck this option if you're going to fetch all log entries of the file. Once you select it, click on the Fetch Logs button.

Now, you can see the logs of the selected file.
You can also Filter your logs or Highlight them for better searching.