Deploy Custom Php site
Creating an application in ServerAvatar to host custom PHP scripts and projects is easy. You can specify the application name, domain, system user, and other options such as PHP version and custom web root. When choosing the deployment method, you can select "Custom PHP" to configure your server to run your PHP code. After creating the application, you can upload your PHP files and execute them in the public_html directory. ServerAvatar simplifies the process of creating and managing custom PHP applications.
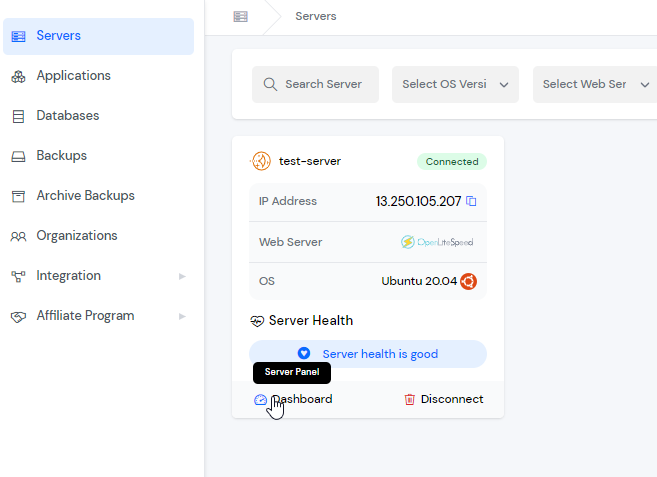
Step 1: Click on the server on which you want to create the new application.
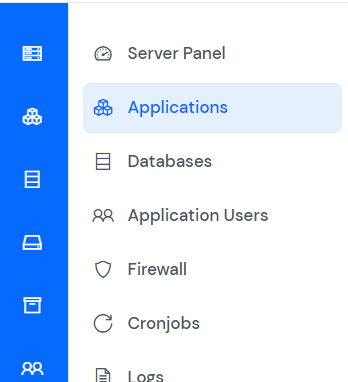
Step 2: Now, you will see the option Applications on the left-hand sidebar of the Server Panel. Click on Applications.
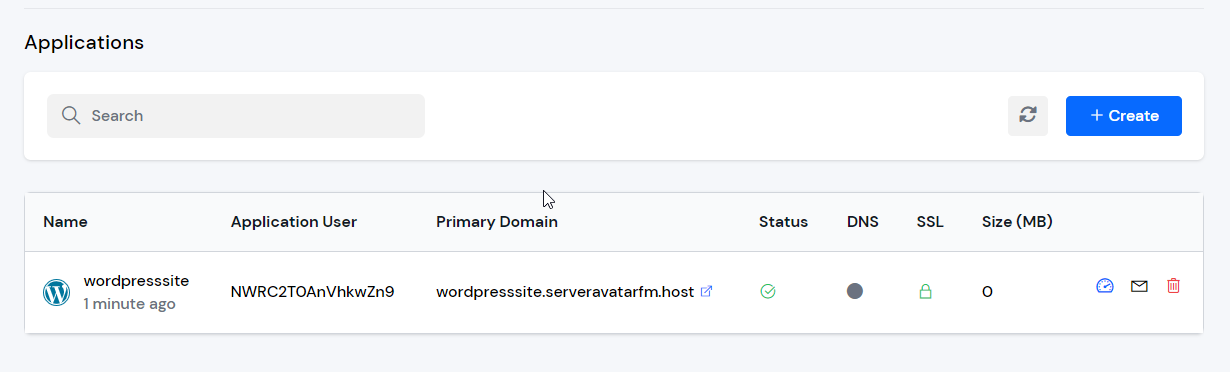
Step 3: Now, you will see the Applications table like in the image below. Click on the Create button on the top right of the Applications table, as shown in the image below.
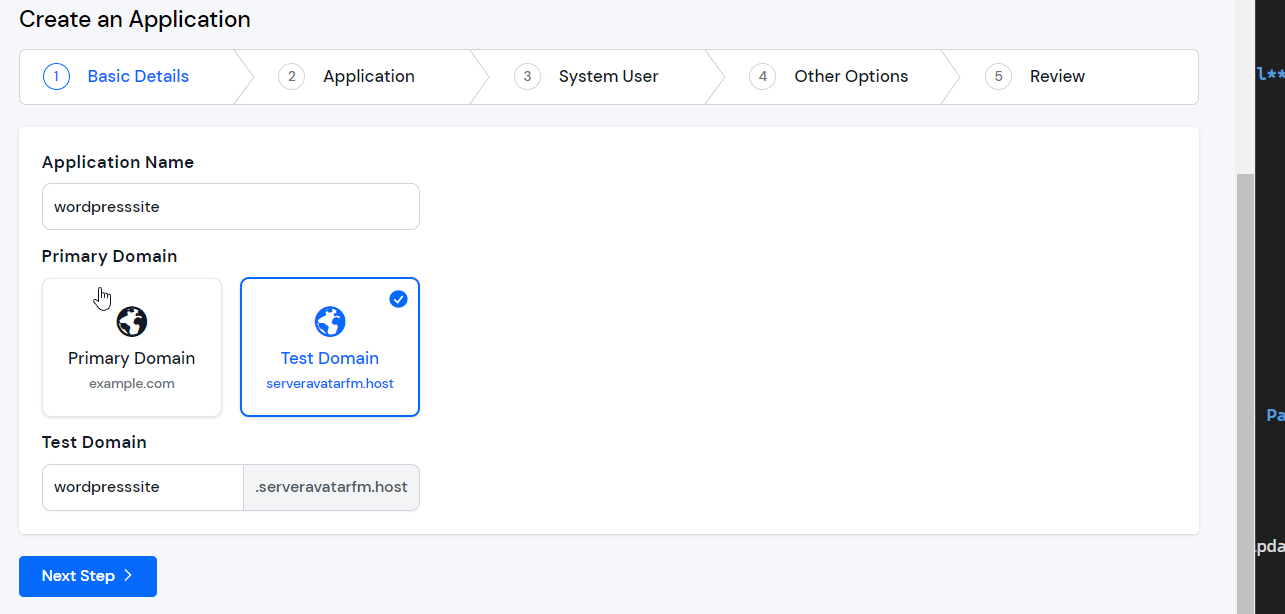
Step 4: After that, you will see the Create Application screen like the image below.
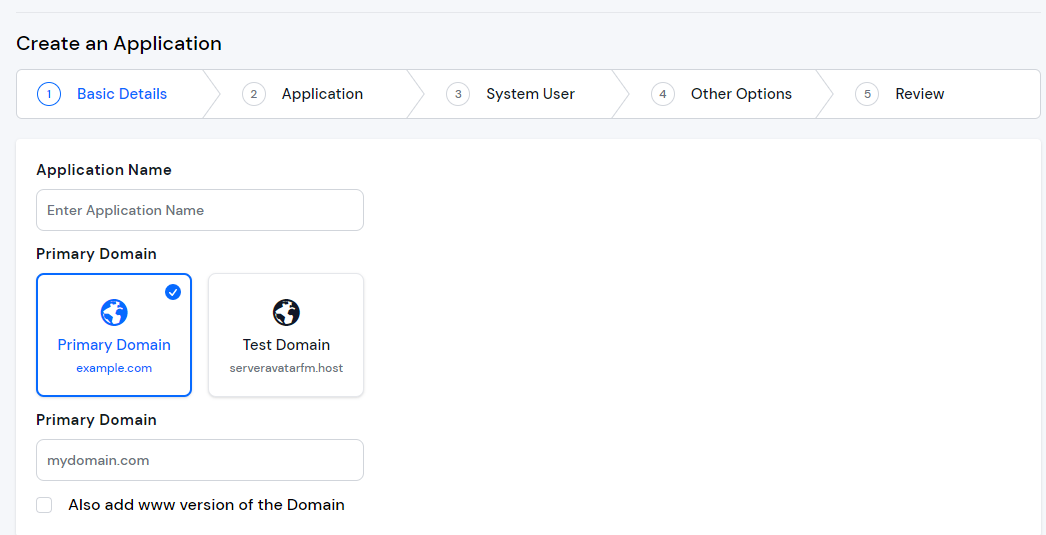
Step 5: Basic Details
- Enter the name of your application in the Application Name field.
- Choose whether you want to use a primary domain or a test domain in the Domain field. If you select a test domain, you can change it later to a primary domain.
- Click on the Next button.
Step 6: Application
Choose the "Custom" method to install the "Custom" application
This method allows users to host any PHP script on their site. It can be any PHP framework or CMS, a Codecanyon script, or a custom project developed by a freelancer or an agency.
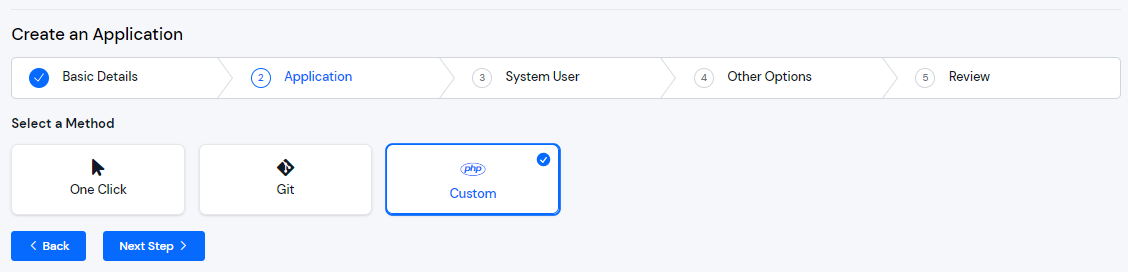
Select the required options for your application, like the database type and any required additional PHP modules.
Click on the "Next" button.
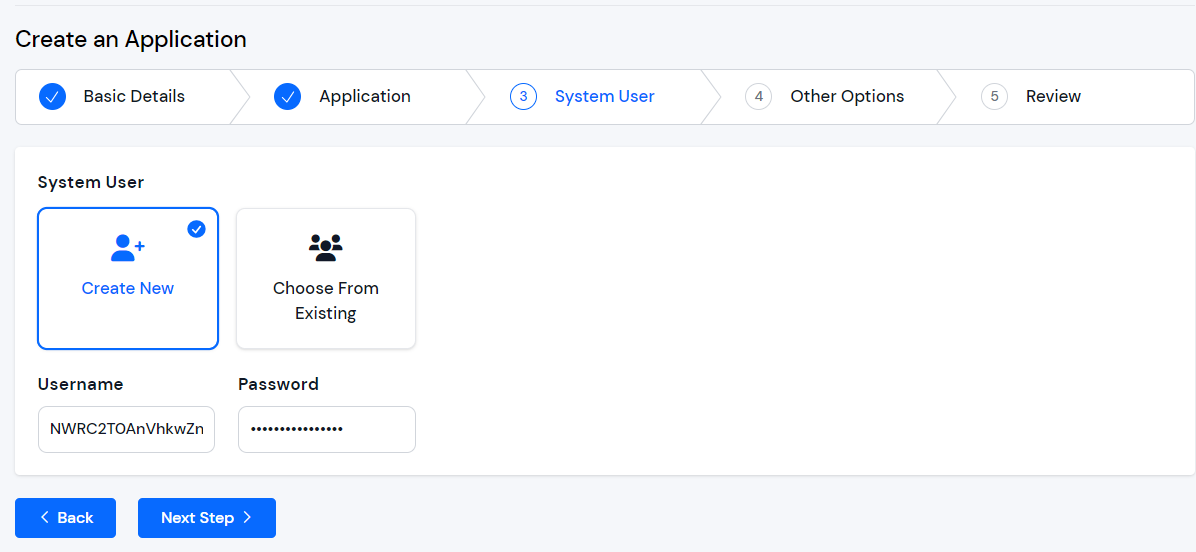
Step 7: System User
When creating a new application in ServerAvatar, you have the option to either create a new system user for the application or use an existing one. A system user is a user account created on your server, which is used to manage files and permissions for your application.
Step 8: Other Setting
In the Basic Settings section of creating an application in ServerAvatar, you have the option to select the PHP version for your application. ServerAvatar supports multiple PHP versions ranging from 7.2 to 8.2. You can choose the desired PHP version for your application.
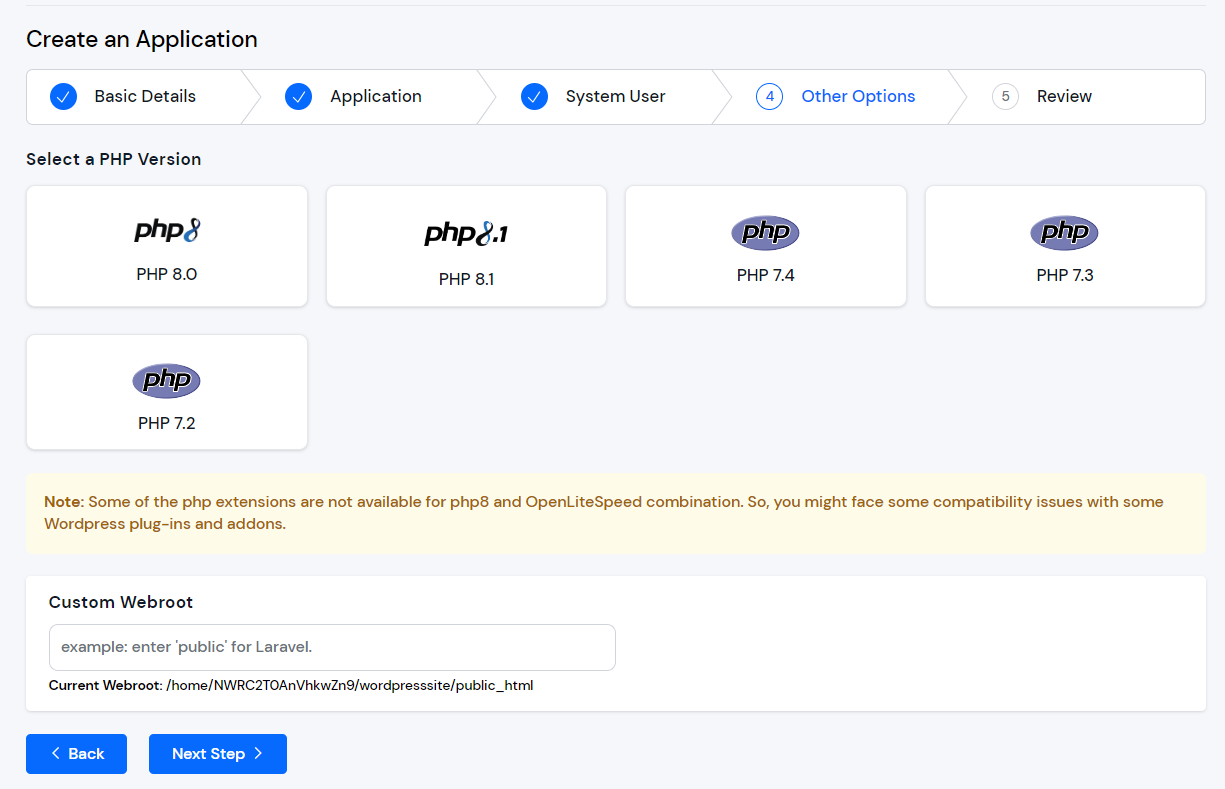
You also have the option to specify a custom webroot path for your application. By default, ServerAvatar sets the webroot path to /public_html for your application. However, if you want to set a custom webroot path, you can do so by entering the desired path in the "Webroot" field provided. This can be useful if you have specific requirements for the directory structure of your application.
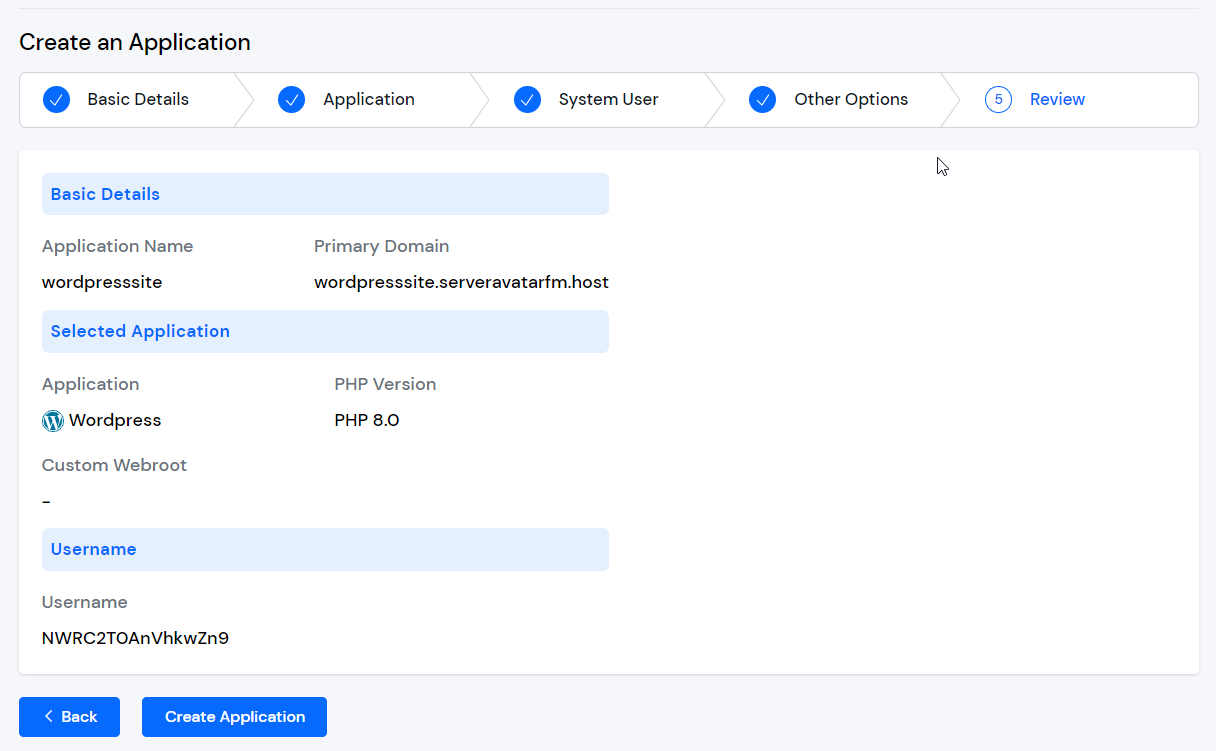
Step 8: Review
After completing the previous steps, the user will be directed to the review page where they can review all the details they have entered for the application, including the application name, primary domain, test domain, application method, system user, PHP version, and custom web root path.
If any changes are required, the user can go back to the respective sections and make the changes. If everything looks good, they can click on the "Create Application" button to create the application. The website should be live in the next 10-15 seconds. Once the application is installed, the user will be redirected to an application dashboard from which they can manage the application.