Change PHP Settings
Each site or application might require a different set of PHP settings. For example, If you want to upload something heavy (More than 300MB) on your site, You would have to update PHP directive upload_max_filesize.
Some WordPress plugins might have requirements for a specific PHP setting too! With ServerAvatar, You can manage the following PHP settings for each and every application hosted on the server.
PHP Version
upload_max_filesize
post_max_size
max_execution_time
max_input_time
max_input_vars
memory_limit
open_basedir
Disabled Functions
Auto Prepend File
You can manage these PHP settings with ease and quickly! Let’s see how you can do it with step by step tutorial.
Step 1: First, in to your ServerAvatar account.
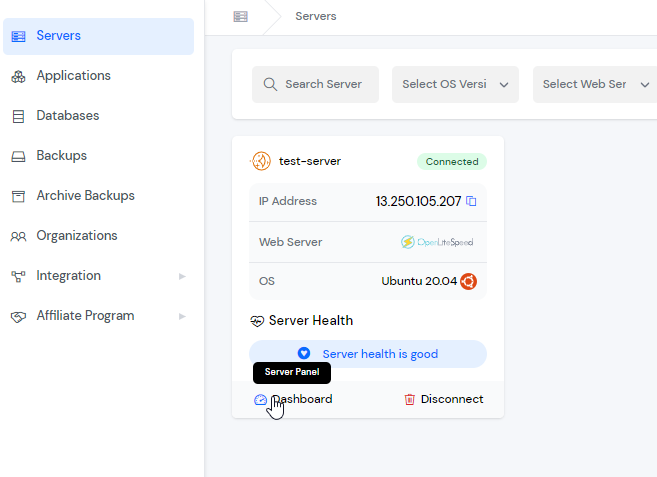
Step 2: Click on the Server Dashboard button.
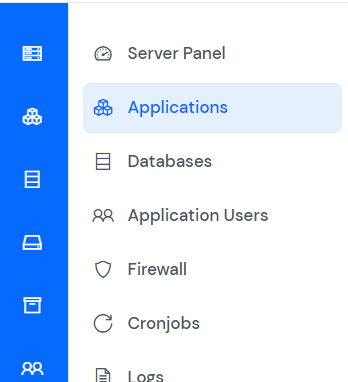
Step 3: Now, you will see the option Applications on the left-hand sidebar of the Server Panel. Click on “Applications”.
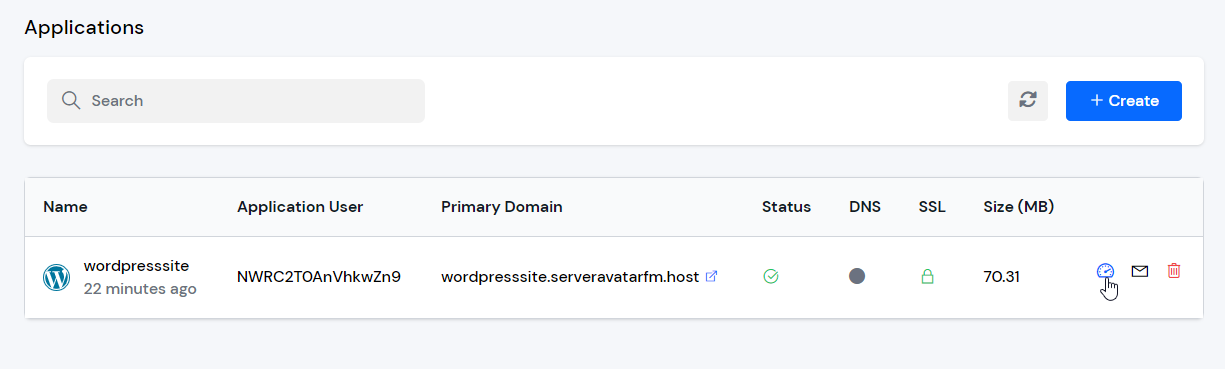
Step 4: You will now see the Applications table like in the image below.
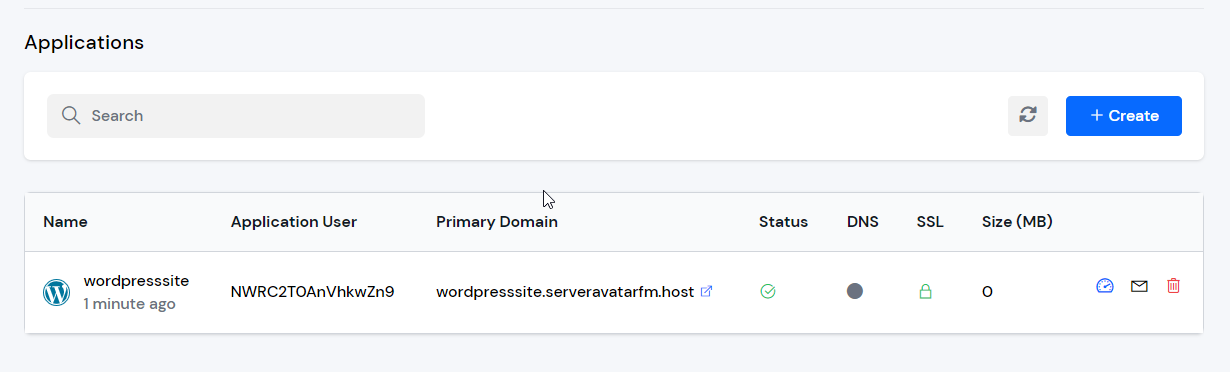
Step 5: Click on the Application Name or Dashboard icon to access the application panel.
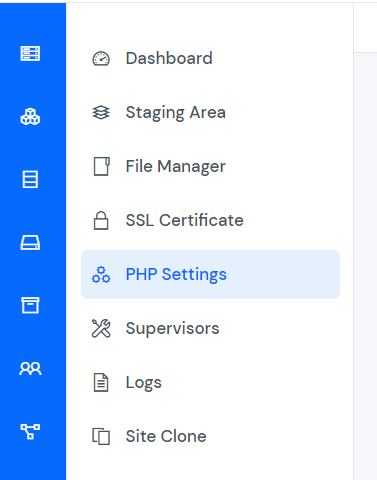
Step 6: You will now see the option PHP Settings on the left-hand sidebar of the Application Panel. Click on PHP Settings.
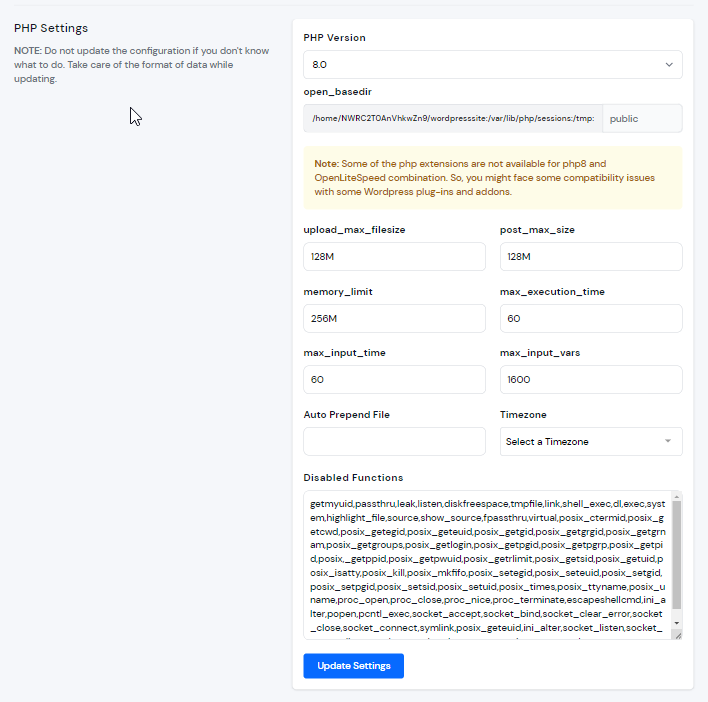
Step 7: After that, you will see the PHP Settings form like in the image below. Update the details of the PHP settings, and then click on the Update Settings button.
Do not update the configuration if you don't know what to do. Take care of the format of data while updating.