Integration
Cloudflare is a free CDN product that protects against threats such as SQL injection and identity theft. Cloudflare gives you the tools to keep your data secure and private, and also improves site performance and speeds up loading times by using its multiple data centers located worldwide. The Cloudflare network acts like a giant VPN.
Here is how you can integrate your Cloudflare account with ServerAvatar:
Step 1: First, you need to create an Application. Navigate to Application Dashboard → Cloudflare Integration → Integrate.
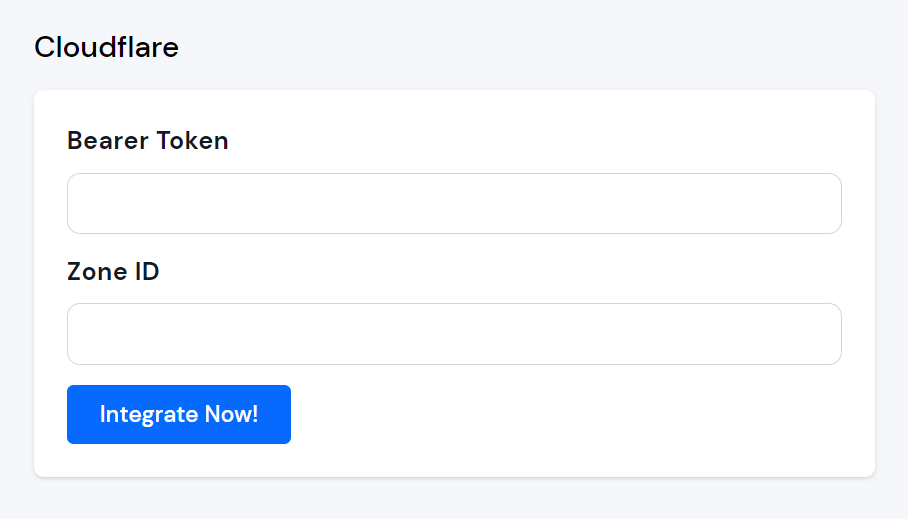
Step 2: You will see the Integrate page like the one in the image below.
Step 3: Log in to your Cloudflare Account, select your DNS cloudflare domain, and use the following settings.
Please make sure the DNS Cloudflare domain match with the application domain!
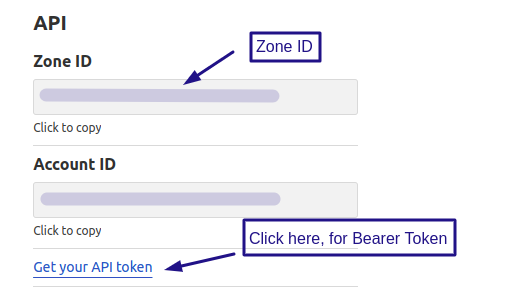
First, Copy your API → Zone ID and paste in the Zone ID field, then click on Get your API token link.
Now, click on Create Token button.

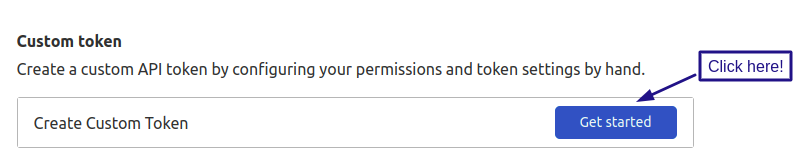
Go to Custom token section, and click on Get started button.
Enter the following details:
Token name: Enter your token name
Permissions: Select the permissions as shown in the image below.
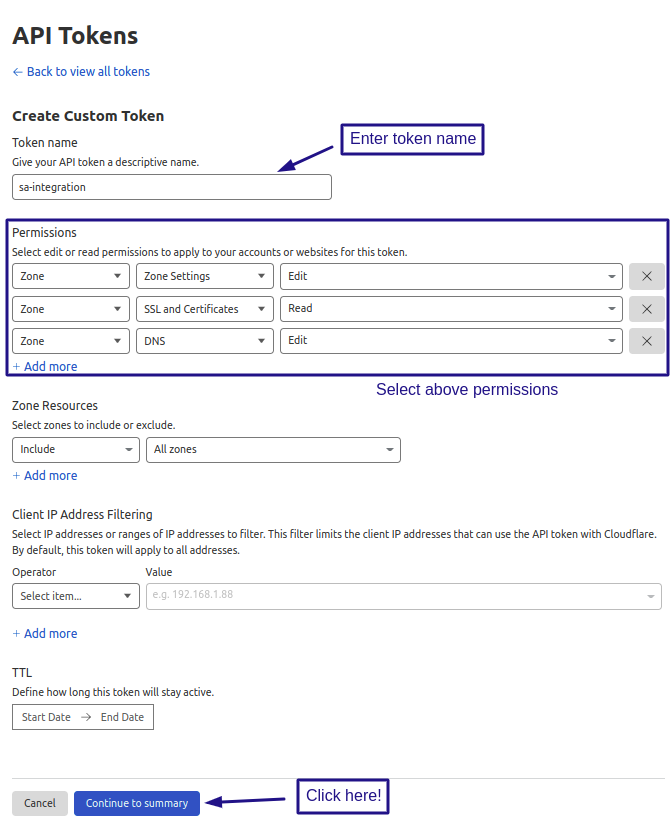
- Click on Continue to summary button.
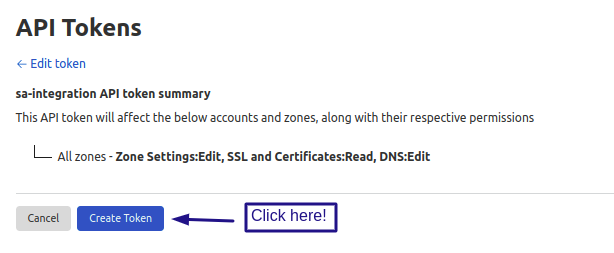
After that, Click on the Create Token button.
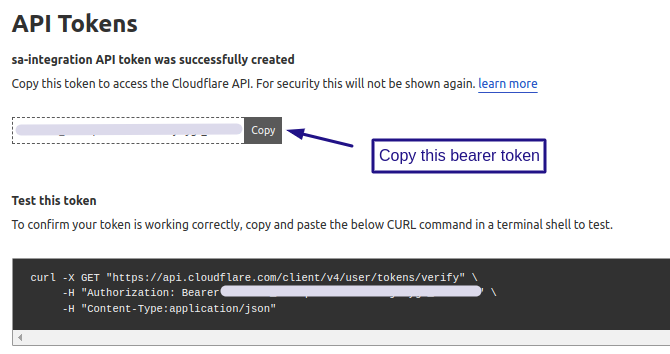
Now, your Bearer token is successfully created. Click on the Copy button.
Step 4: Enter your Bearer Token.
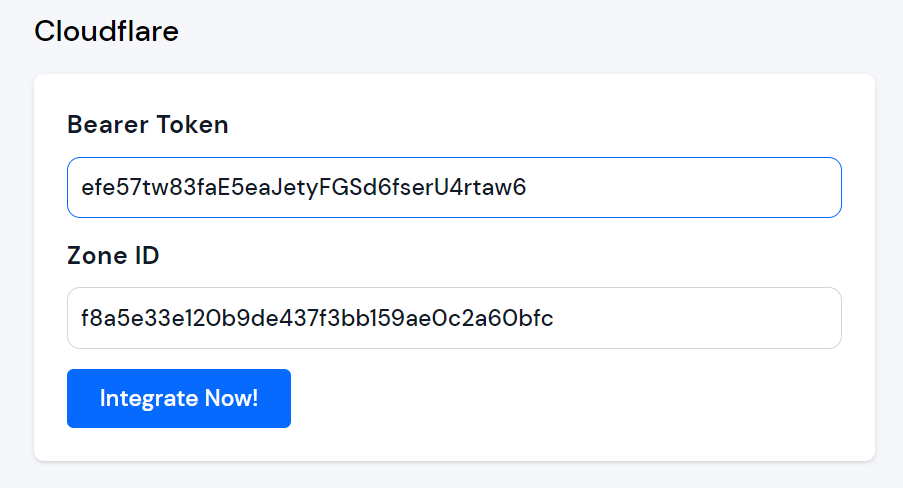
Click on Integrate Now button.
If your token is invalid, an "Authentication error" message will be displayed.
If your permission is invalid, an "Unauthorized to access requested resource" error will be displayed.
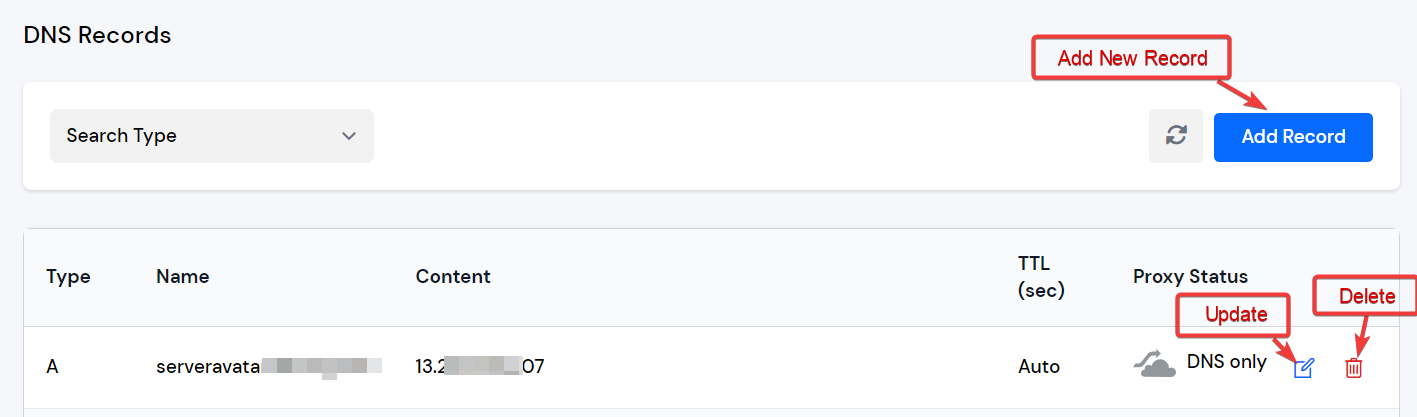
Step 5: Manage your Cloudflare DNS Records in Cloudflare integration → DNS Records.
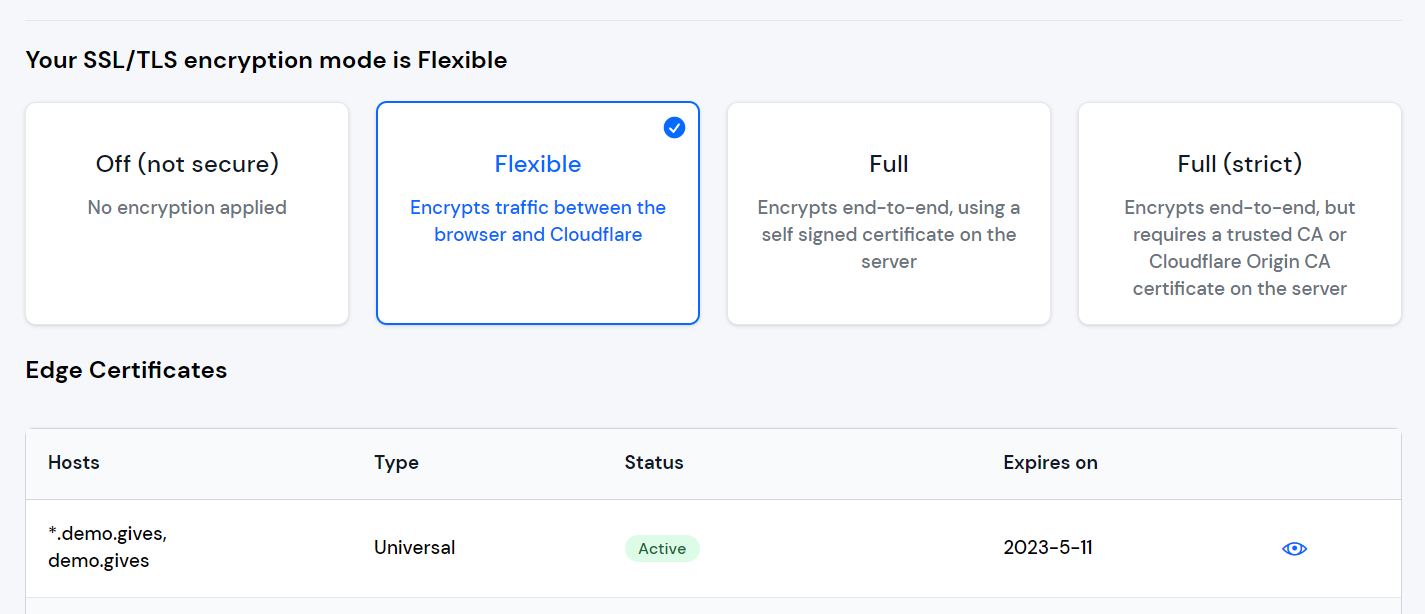
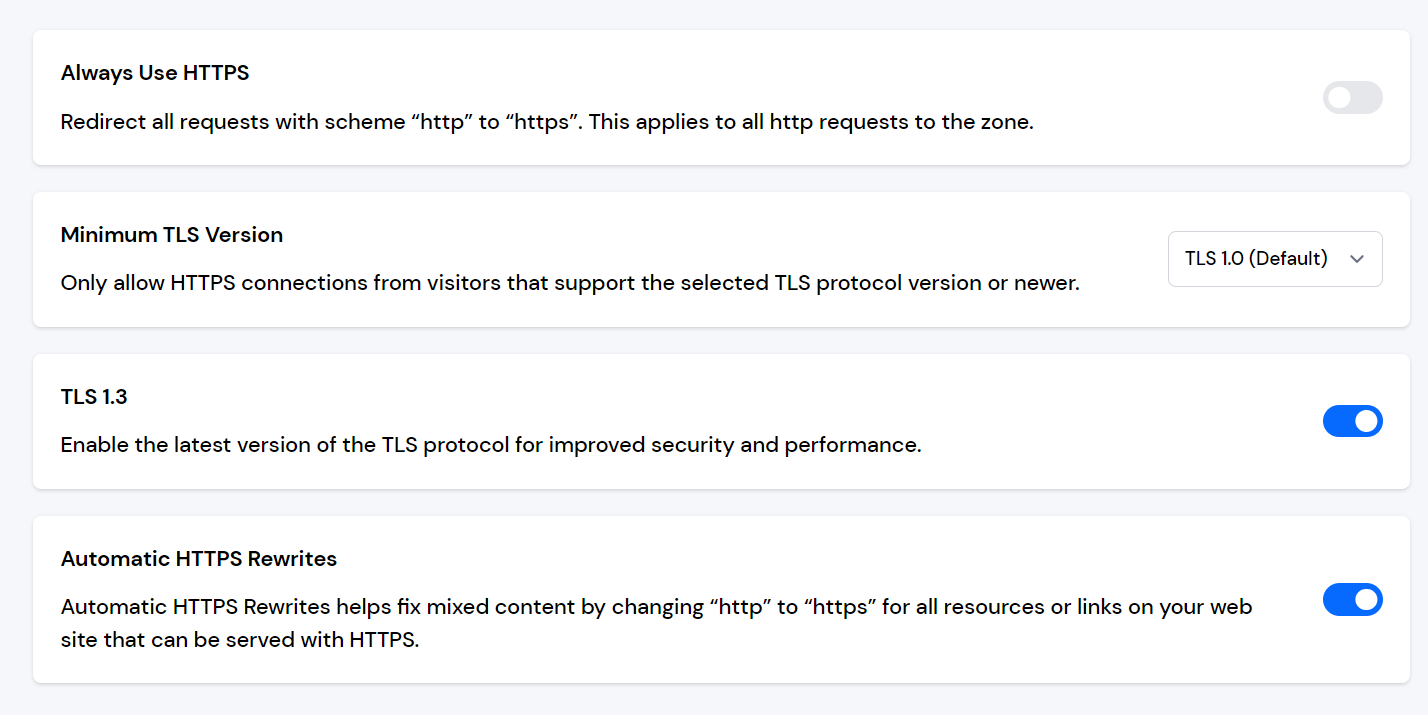
Step 6: Now, You can Update your SSL/TLS setting in Cloudflare integration → SSL/TLS.