AWS Lightsail
AWS Lightsail is an easy-to-use version of AWS EC2. If you are an expert or experienced in AWS, it is not a big deal to utilize EC2 to issue multiple types of instances. However, beginners or people who do not require much knowledge in cloud computing could easily get lost in EC2. AWS Lightsail is more like Linode, Vultr, DigitalOcean, and similar services. If you do not understand much about cloud computing, you can still use Lightsail to host your site on AWS.
AWS Lightsail is easy to use, but AWS itself is not. Integrating AWS Lightsail with ServerAvatar is a lengthy process compared to DigitalOcean or Vultr. This is because many large organizations use AWS and have to share one AWS account with hundreds of developers.
The AWS Lightsail integration with ServerAvatar is a three-step process. Here are the steps:
- Create Policy on AWS
- Create a User in AWS
- Integrate AWS with ServerAvatar
Let’s get started with the first step.
Create Policy On AWS
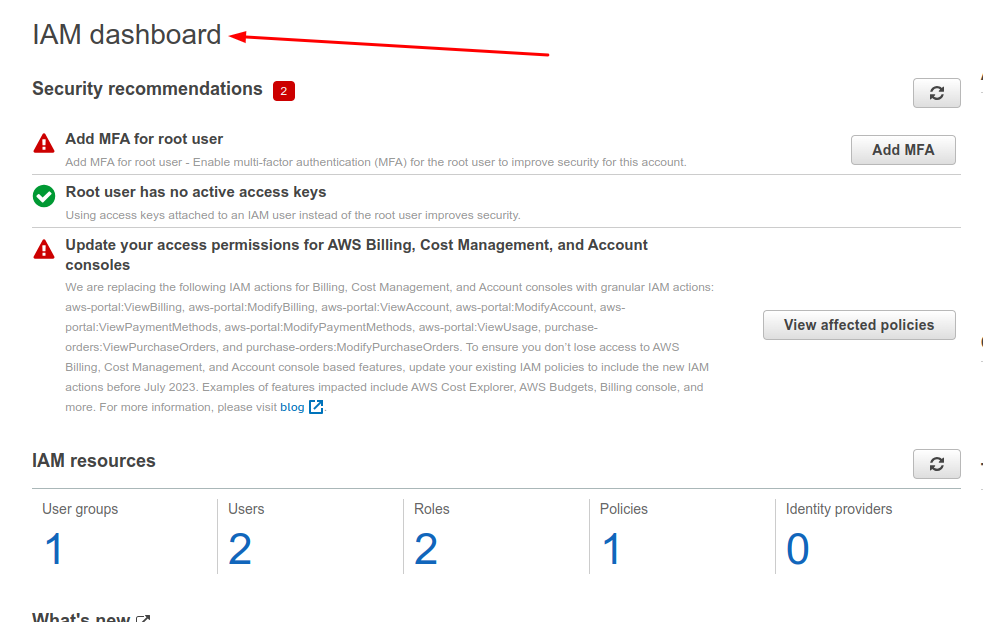
Step 1: Sign in to the IAM console.
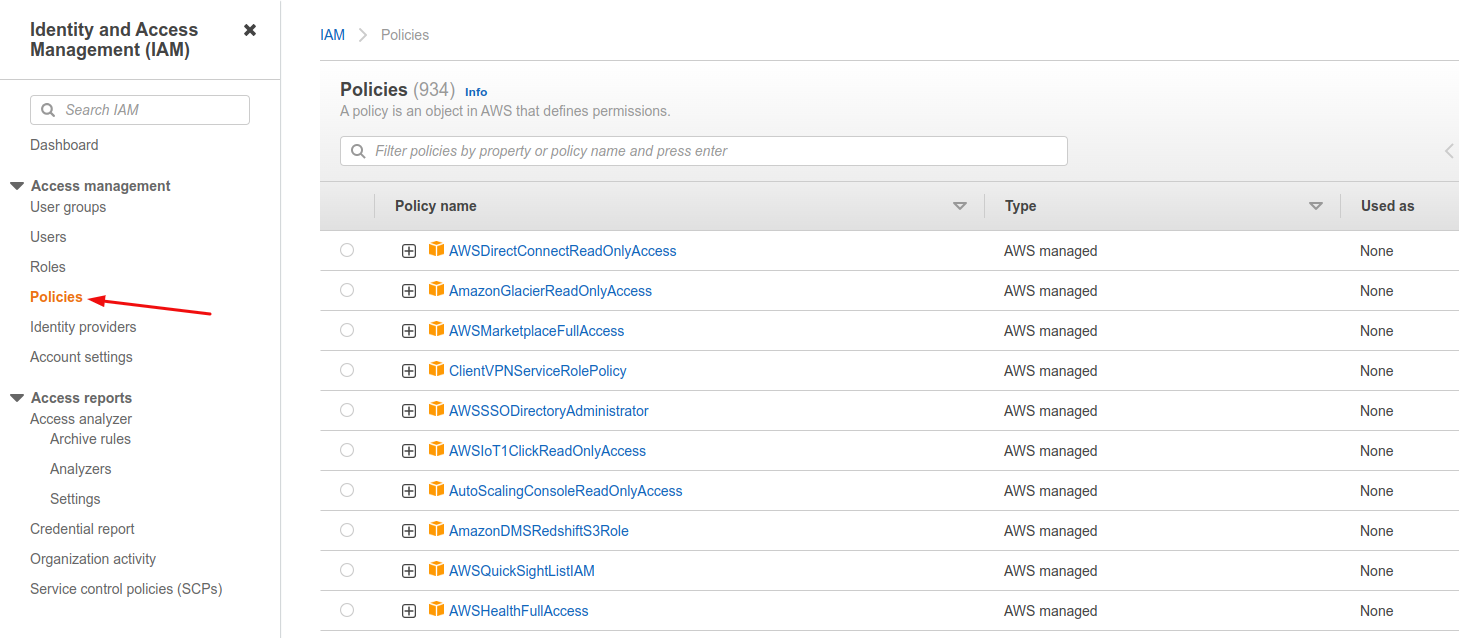
Step 2: Click on the Policies tab on the left.
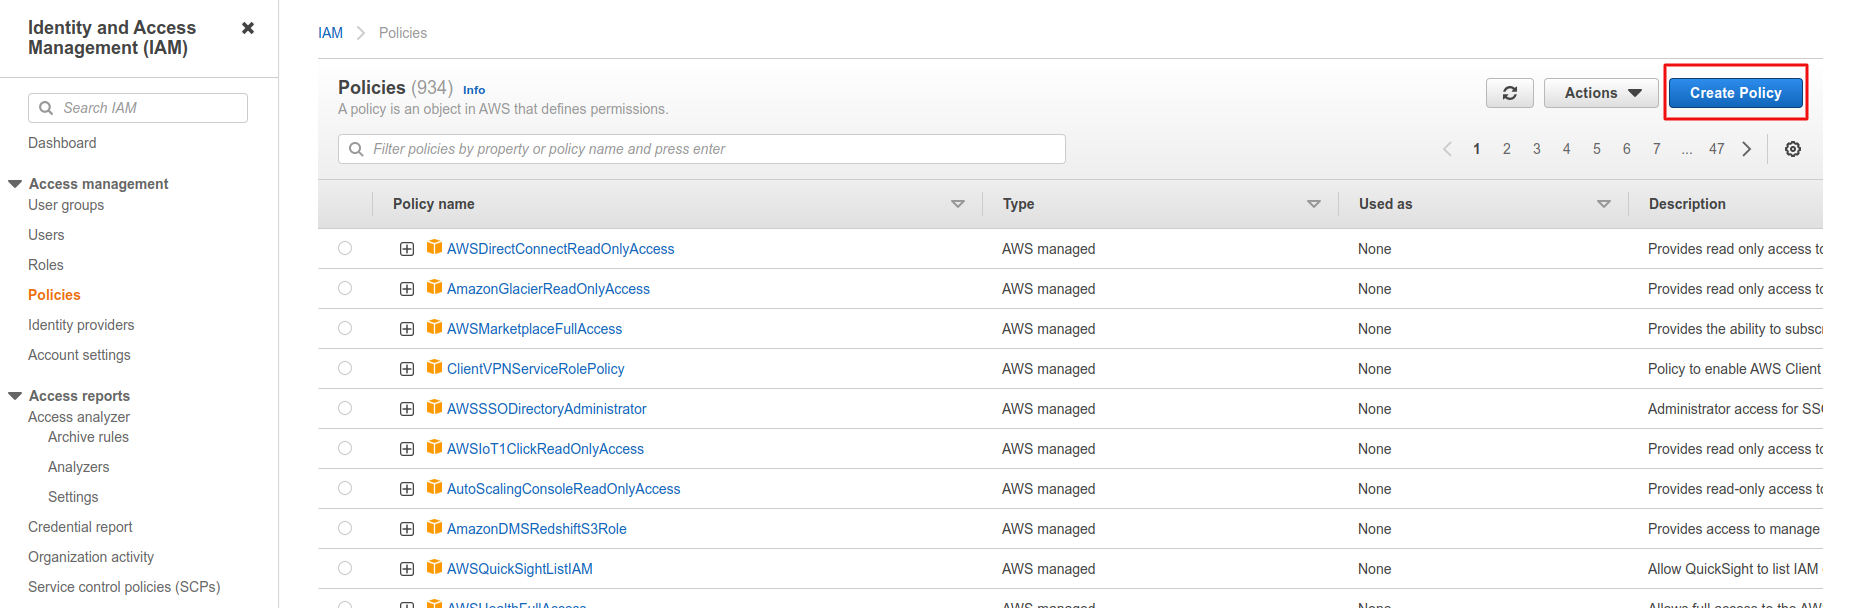
Step 3: Click on Create Policy button.
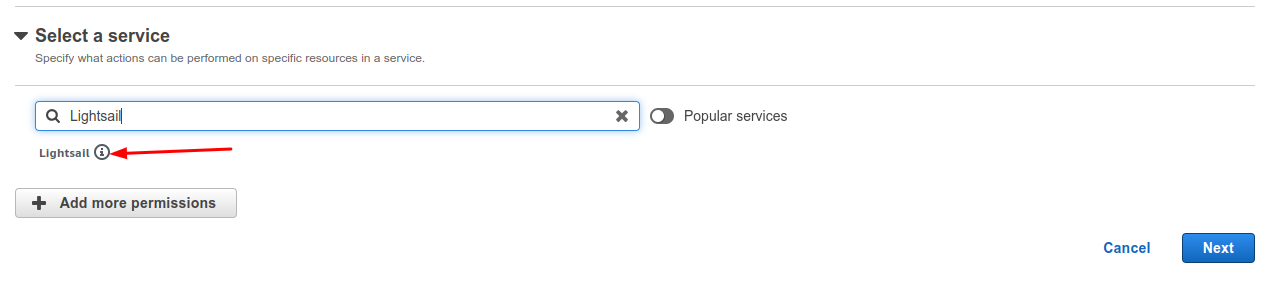
Step 4: Click on Select a service. Seach "Lightsail" and click on Lightsail.

Step 5: Click on Lightsail.
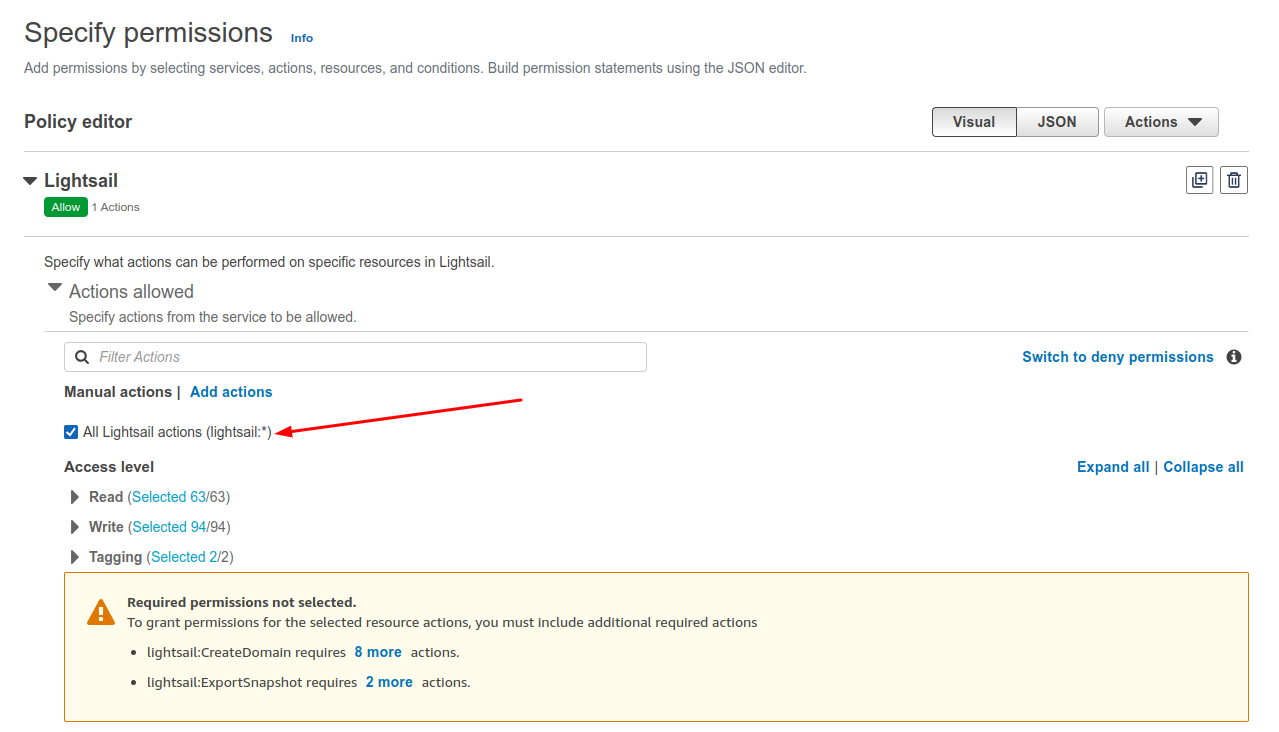
Step 6: Choose All Lightsail actions.
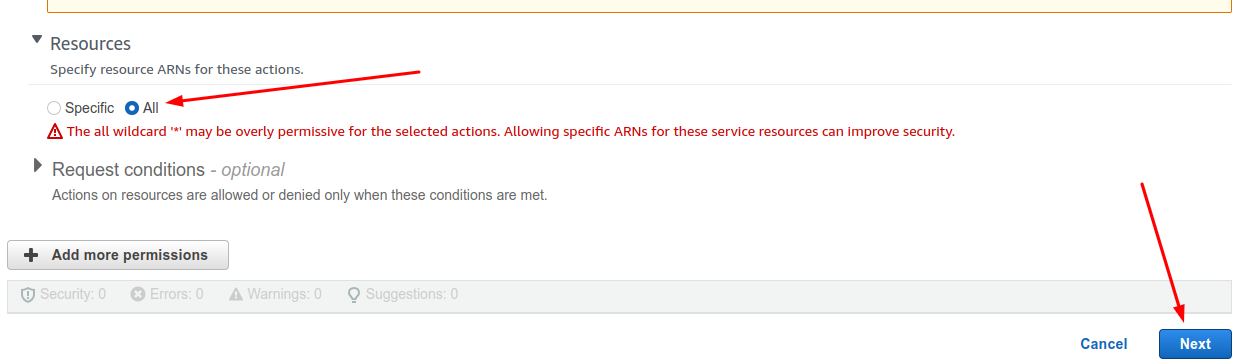
Step 7: Select the Resources tab and choose All resources. Then, Click on Next button.
Step 8: Enter Policy name and Review policy.
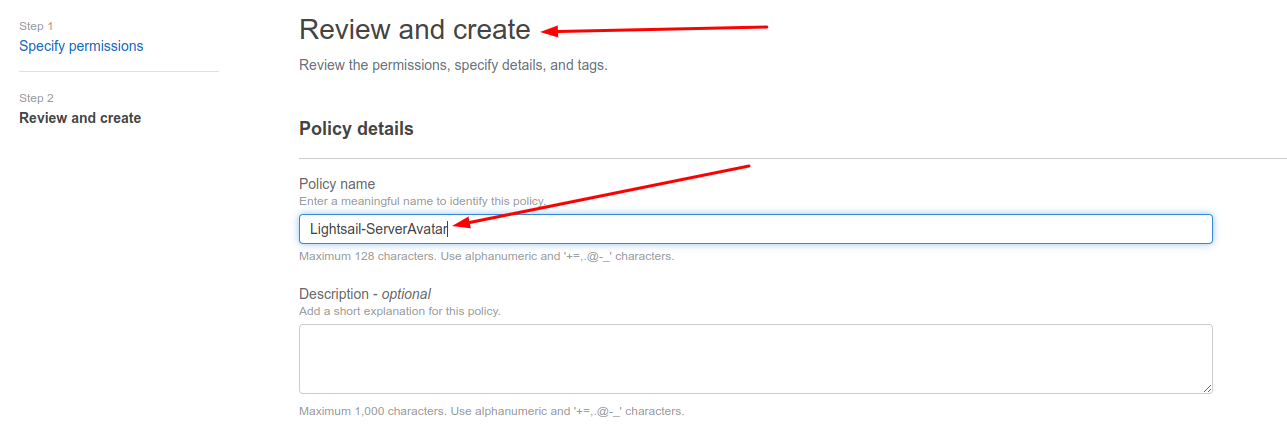
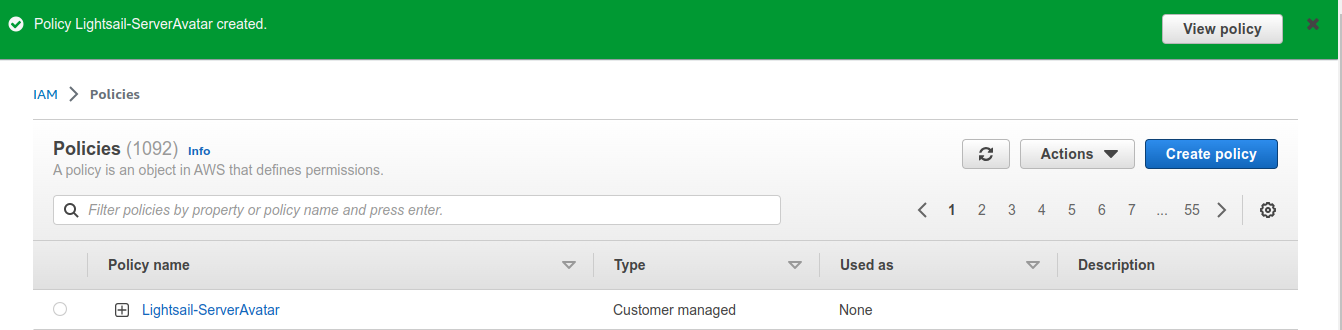
Step 9: Click on Create policy.
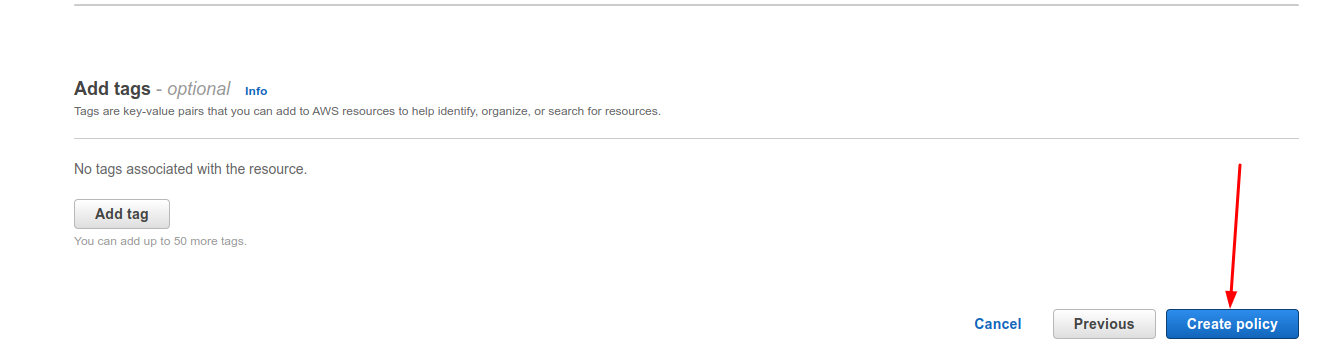
Step 10: Finally, Create a policy.
Create User On AWS
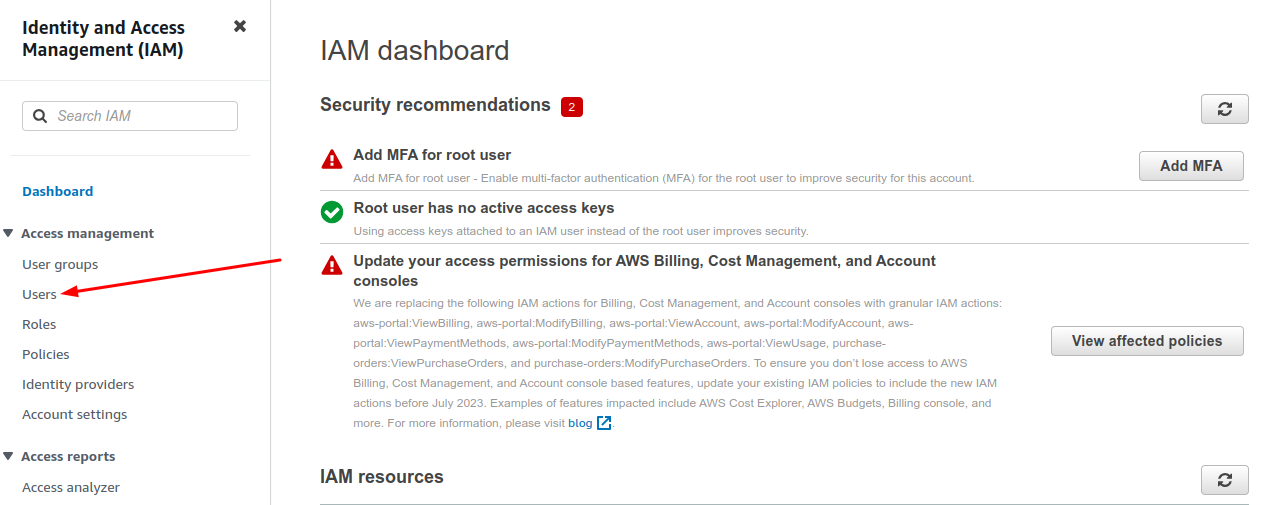
Step 1: Sign in to the IAM console.
Step 2: Go to Users tab.
Step 3: Click on Add users.

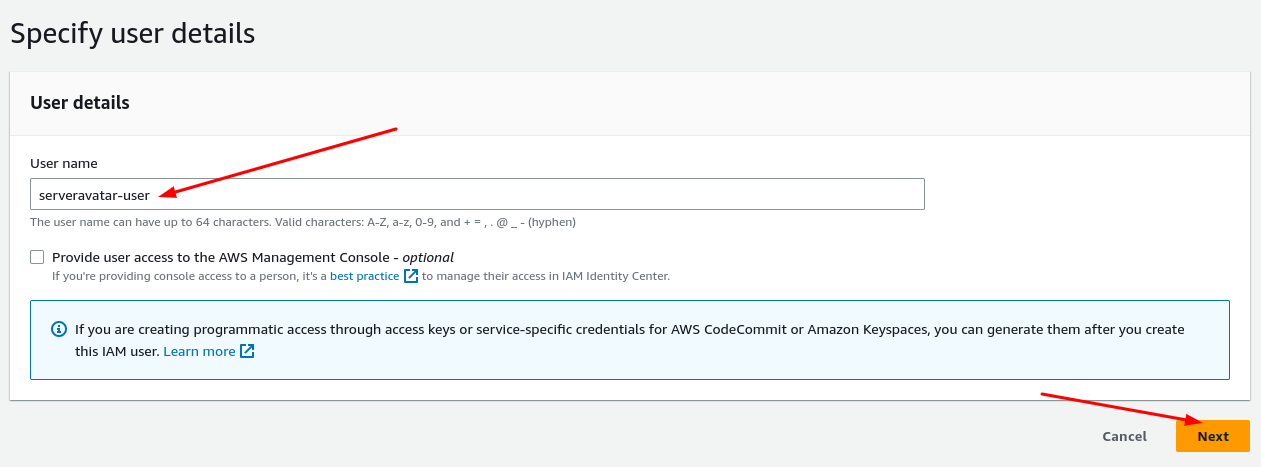
Step 4: Enter a Username and click on Next button.
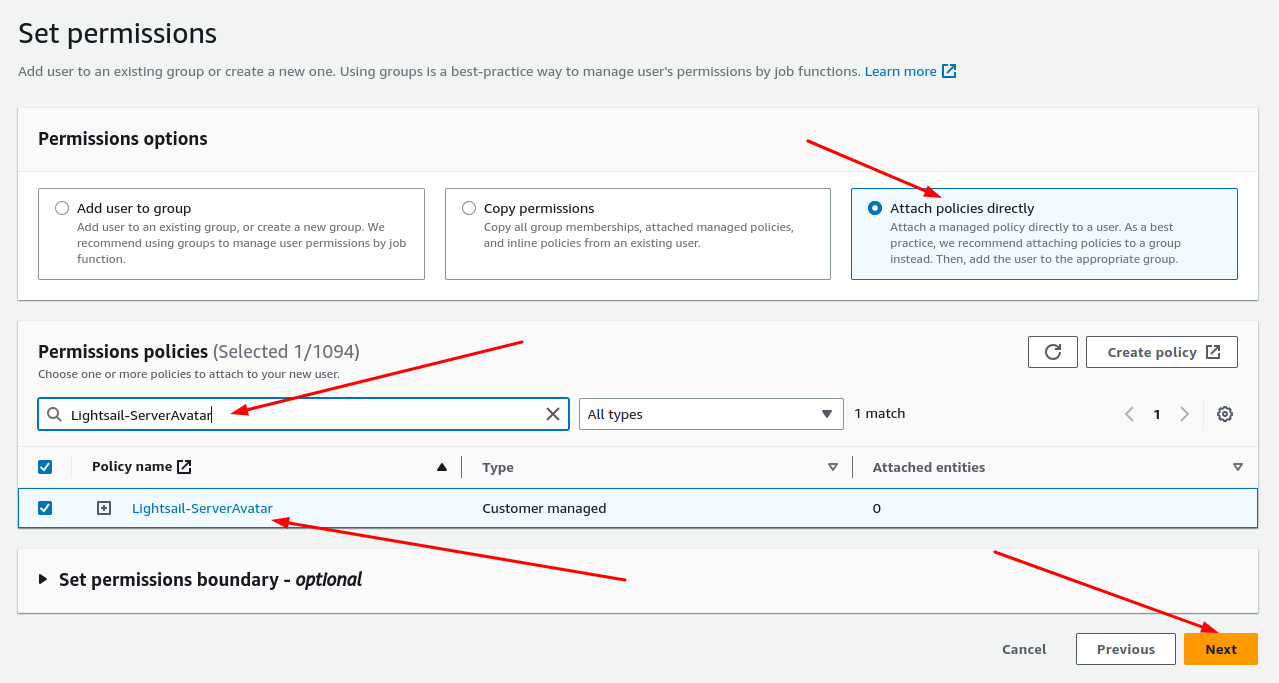
Step 5: Click on a box of Attach existing policies directly and search “Policy-Name”. After clicking on the Next button.
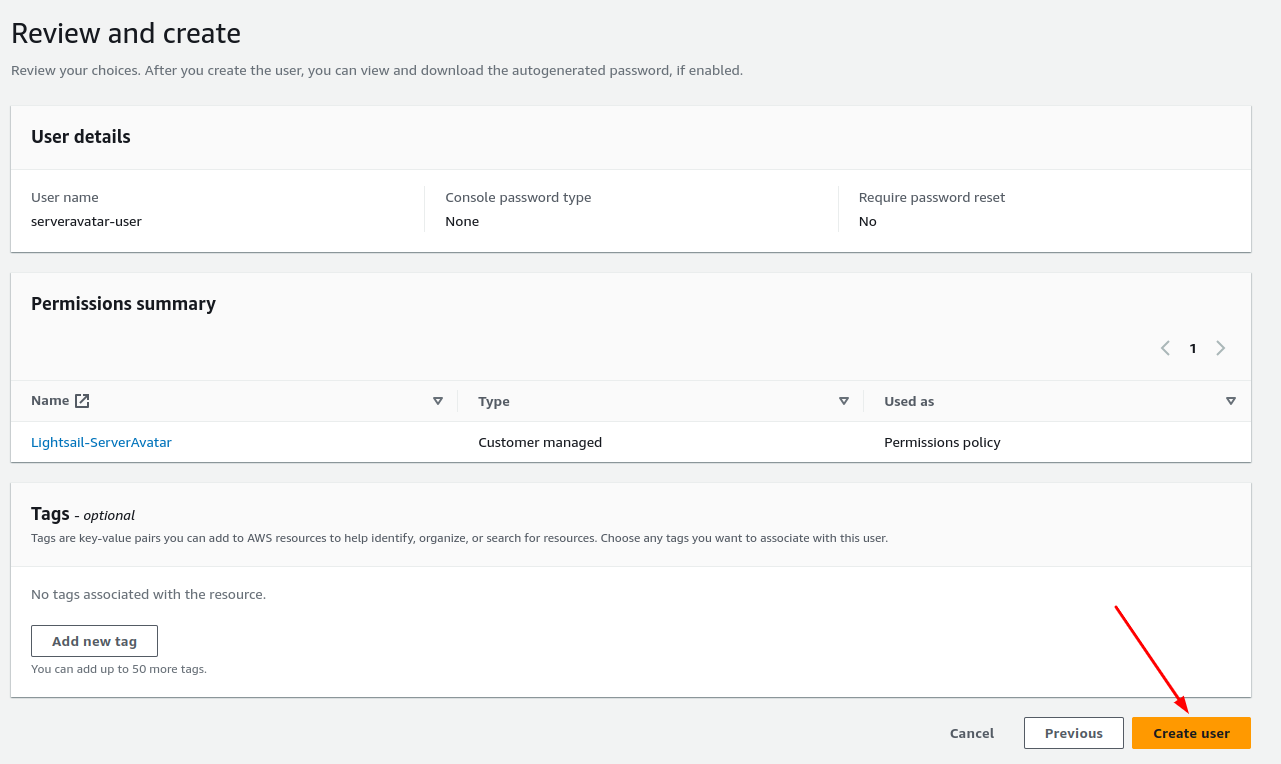
Step 6: Review your user and click on Create user button.
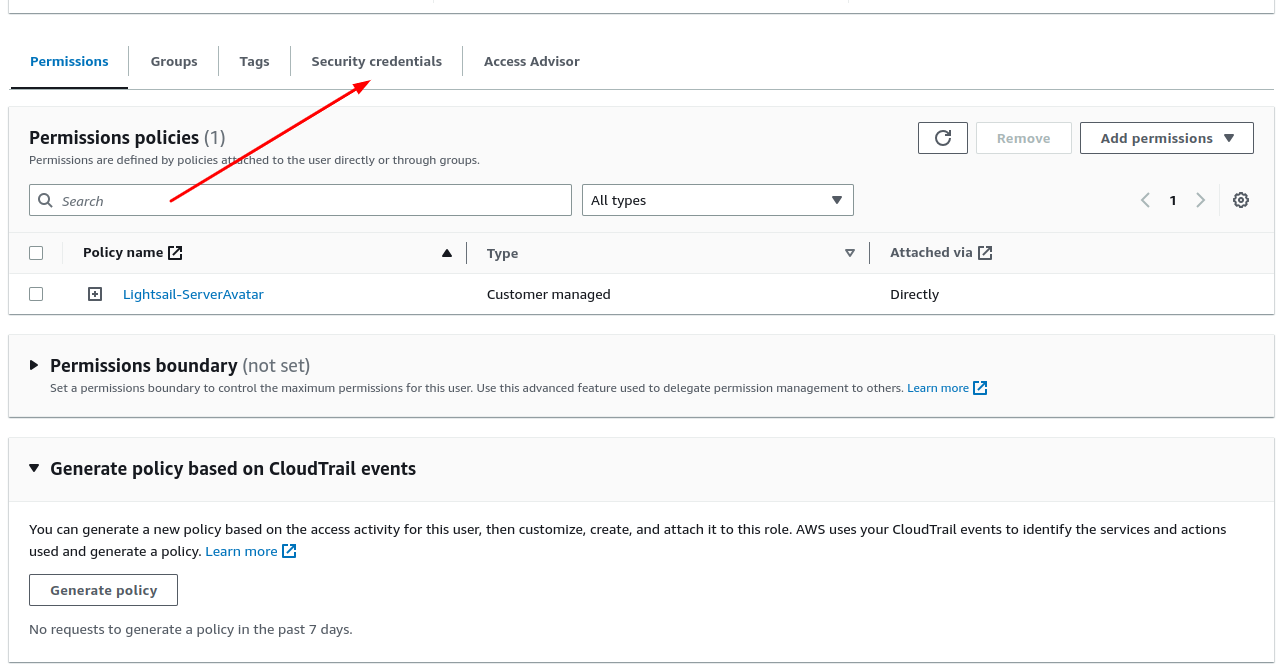
Step 7: Click on your created user.

Step 8: Go to Security credentials tab.
Step 9: Click on Create access key.

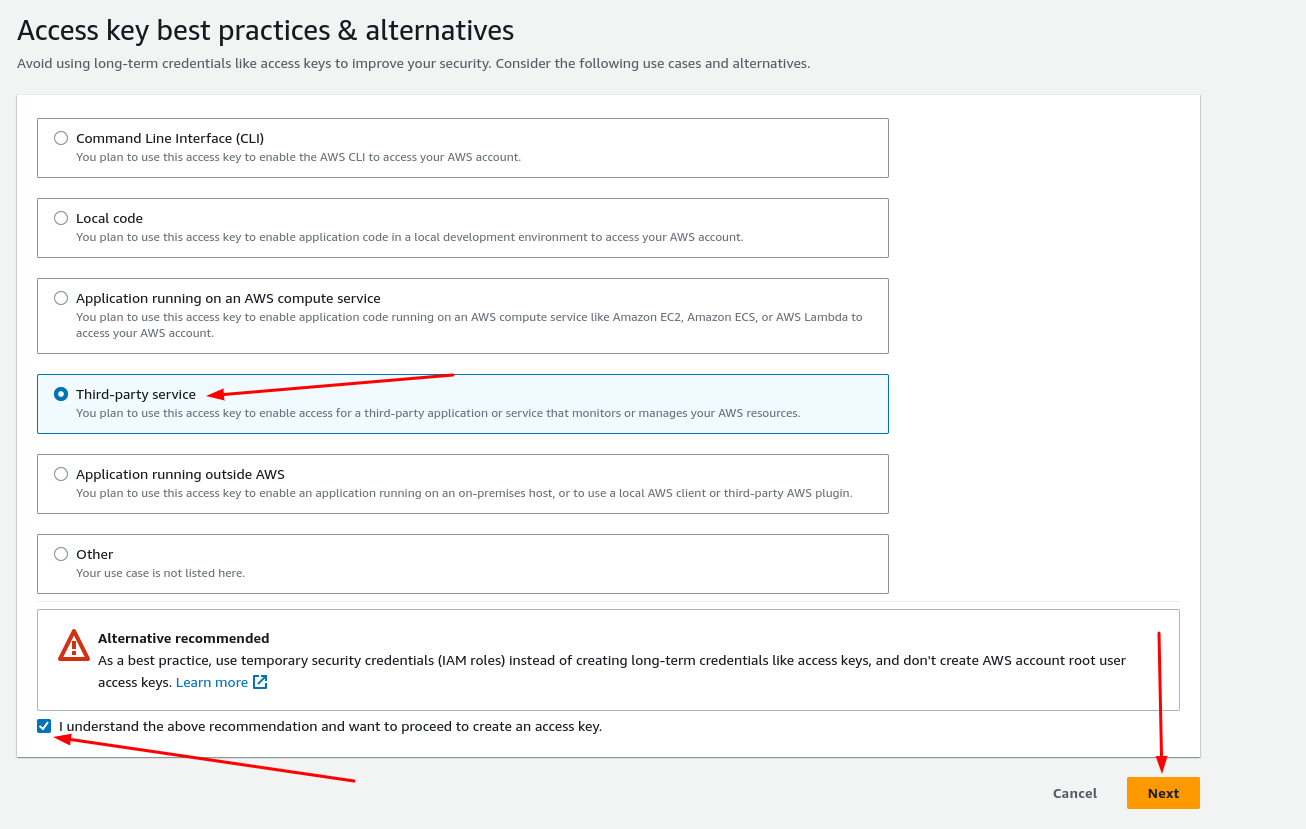
Step 10: Select Third-party service and "I understand the above recommendation and want to proceed to create an access key". After clicking on the Next button.
Step 11: Enter Description tag value. (Optional)

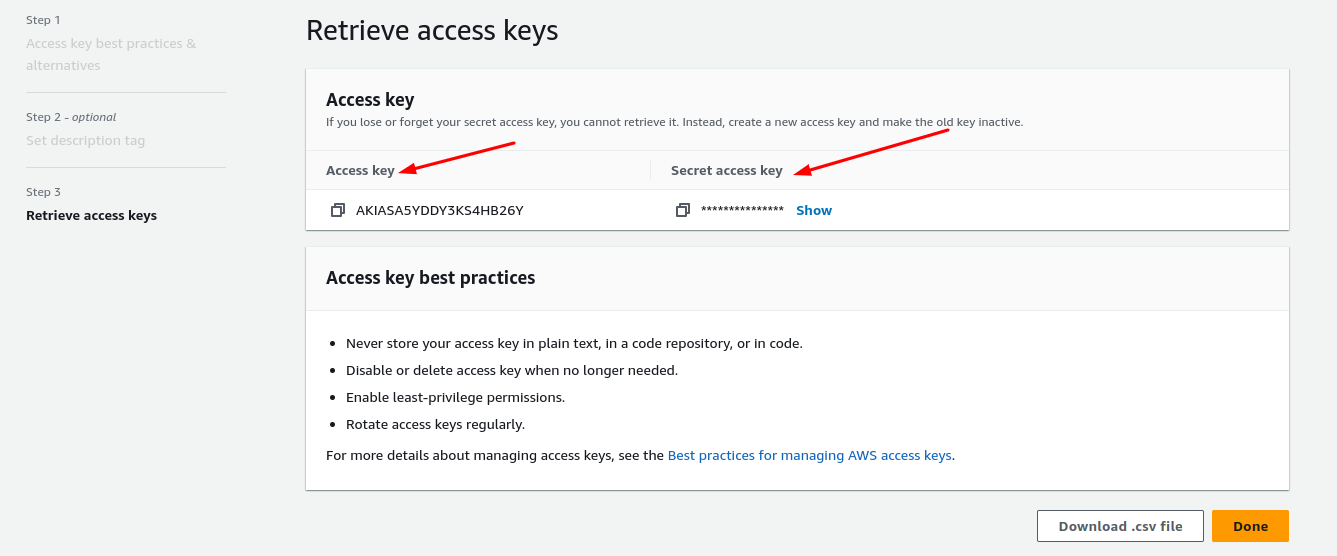
Step 12: Copy the access key and secret key and save them.
Create Cloud Integration on ServerAvatar
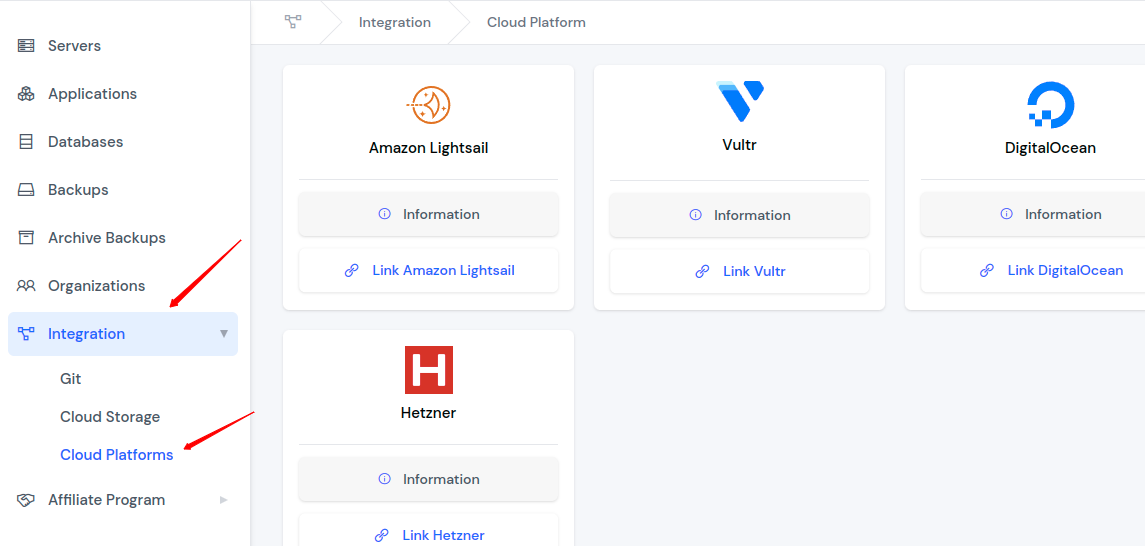
Step 1: Click on "Integration" and then click on "Cloud Platforms".
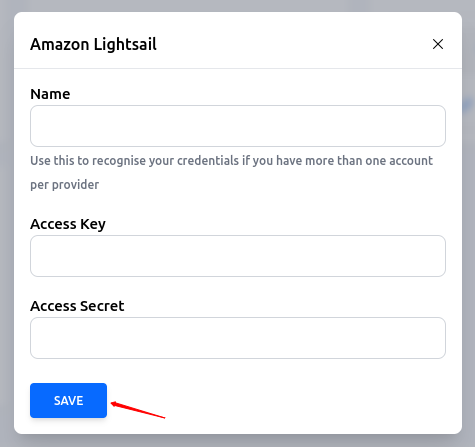
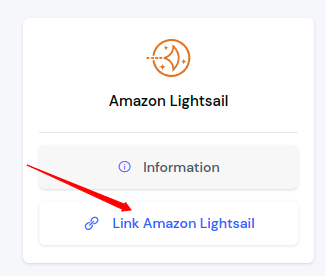
Step 2: Click on the "Link Amazon Lightsail".
Step 3: Enter the name, access key, and access secret. Then click on the Save button.