Server Logs
The Server log is a simple text file that contains all server activities in a regular period. Your server automatically generates the log file if any action happens on your server.
Logs are useful when things go wrong. You should check the logs when something is not working properly, like when your site is down, or the server panel shows an unexpected error on your screen.
There are many types of log files on your server, and they collect all the information about everything happening on your server in different log files. Here is a short list of the log files you can see and manage from the ServerAvatar web app:
- Authentication Log: Collects data when someone logs in or attempts to log in on your server.
- MySQL Log: It is a default MySQL log containing all the activities happening on your MySQL server.
- Kernel Log: The Kernel Log stores kernel information and events happening on your system.
- Let’s Encrypt Log: It collects data on all the SSL installation and renewal processes happening on the server.
- Mail Log: It contains information on all the email activities happening on your server.
- Web Server Log file: The name of this log file varies based on the web server installed on the server. If you are using ServerAvatar, you have Apache, Nginx, and OpenLiteSpeed(OLS) as web servers.
You can see and check all these logs using the ServerAvatar web app. Here are the steps to see and manage all these log files.
How to Fetch Logs Using ServerAvatar?
ServerAvatar lets you fetch logs from multiple log files with just one click. We will see how to fetch server logs using ServerAvatar easily.
Step 1: First, log in to the ServerAvatar Account.
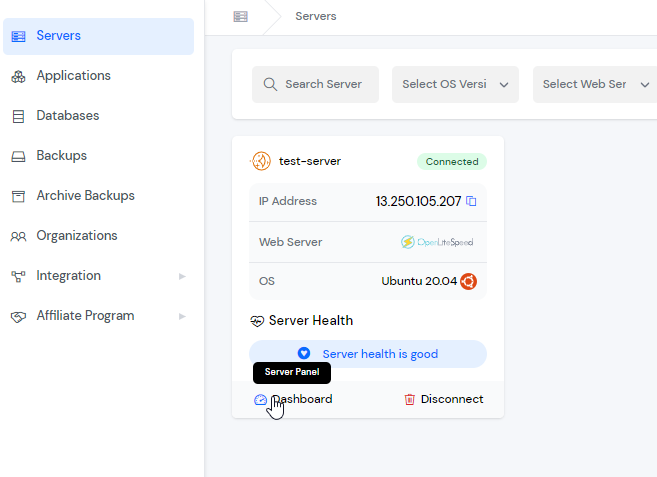
Step 2: Click on the Server Dashboard button.
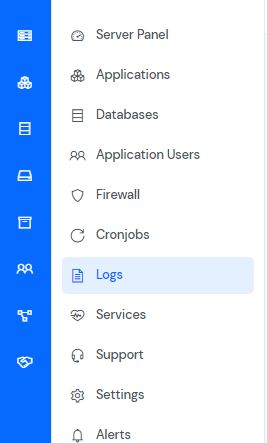
Step 3: Now, you will see the option Server Logs on the left-hand sidebar of the Server Panel. Click on “Server Logs”.
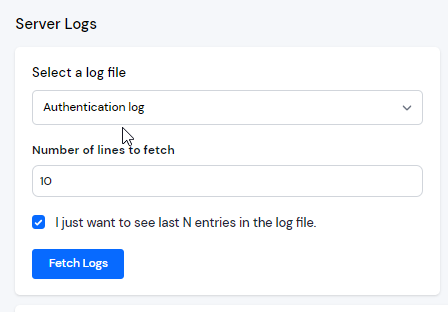
After that, you will see the Server Logs screen like the below image.

Step 4: You can Select the log file you want to fetch logs from and enter how many last entries you wish to fetch. You can uncheck this option if you want to fetch all log entries of the file. Once you have selected it, click on the Fetch Logs button.
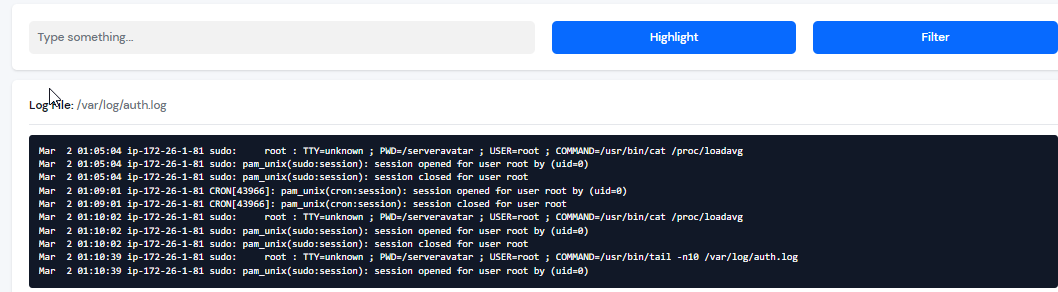
Now, you can see the logs of the selected file.
You can also Filter your logs or Highlight them for better searching.