Server Share
Server Share is a feature in ServerAvatar that allows you to share your server with other users. This feature is useful when you want to collaborate with your team or give access to a developer or a client.
You can easily share your server with other users and control the level of access they have to your server. When you share your server with another user, they can access your server's data and perform actions according to the permissions you grant them.
You can revoke access to your server at any time by removing the user from the share list.
Now, let's see how to share the server in ServerAvatar.
Step 1: First, log in to the ServerAvatar Account.
Step 2: Click on the Server Dashboard button.
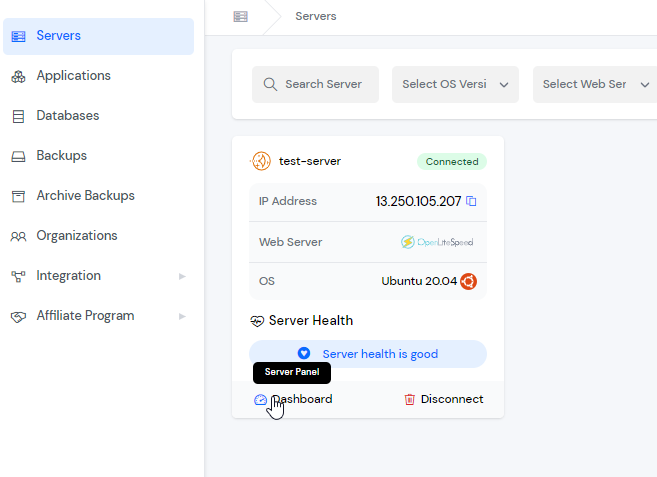
Step 3: You will see the Server Share button on the right-hand side of the Server Panel. Click on the Server Share button.

After that, you will see the Server Share screen like the image below.

In this section, You can see the list of users who already have server access. you can view their access level and edit or revoke their permissions as needed.
Step 4: Click on the Share button on the right-hand side of the Server Panel.

After that, you will see the Server Share Form like the image below.

Email Address: Enter the email address of the person you want to share the server with.
Designation: Enter the Designation
Choose Permission: Select the permissions you want to give to the person you are sharing the server with.
Step 5: Click the Share button
Step 6: After that, a modal will pop up on your screen to review the details and confirm the server share. click on the “Yes, Im”button to proceed with the server share.
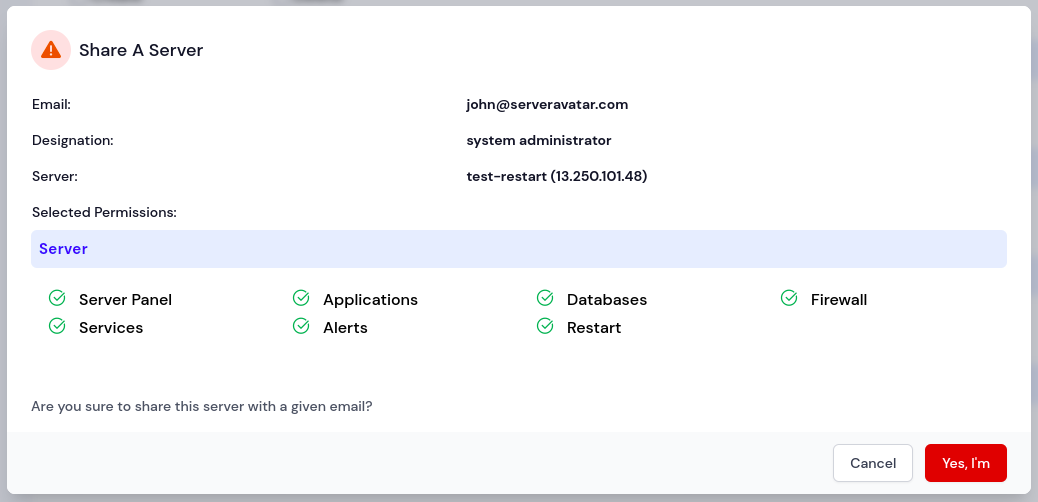
The shared server will be added to the Shared Server List section.

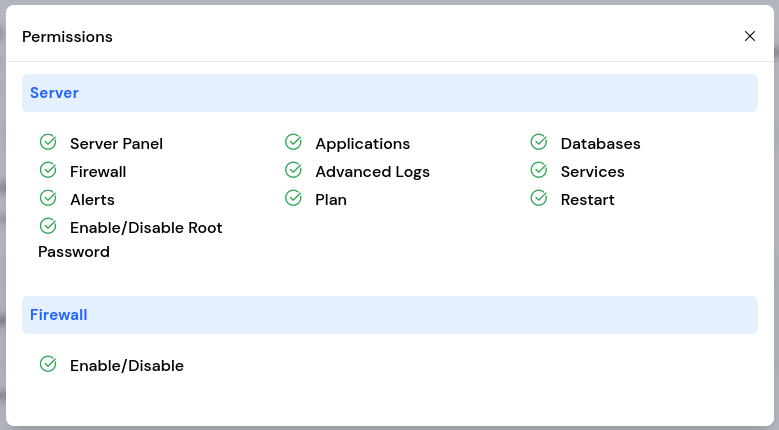
You can view server's permission by clicking on the View More button.
You can revoke servers access by clicking on the Remove icon button next to their name.
View Shared Server
Step 1: First, log in to the ServerAvatar Account.
Step 2: Click on the Servers tab from the left side menu.
Step 3: Select Shared with me option from the dropdown.

You will see a list of all the servers shared with you by other users.
You can also manage the shared server by clicking on the "Dashboard" button, which will take you to the server management page.
Conclusion
Server Share feature in ServerAvatar allows you to easily share server access with other users by granting them specific permissions for designated sections of your server. You can add users by providing their email address and designating which pages they will have access to. Additionally, you can assign specific permissions to each user for increased security and control. The Review Details modal allows you to double-check the details before finalizing the sharing process. This feature provides an efficient and secure way to collaborate and share access with others on your server.