2FAuth is a Web application designed to manage your Two-Factor Authentication (2FA) accounts and generate their security codes. It serves as a self-hosted alternative to OTP generators like Google Authenticator, designed for both mobile and desktop. When selecting a hosting provider for 2FAuth, Hetzner stands out as a leading cloud infrastructure provider known for its simplicity, scalability, and user-friendly approach. ServerAvatar simplifies the deployment of 2FAuth on Hetzner VPS (Virtual Private Servers) through an intuitive interface, automating complex setup procedures, and allowing users with minimal technical knowledge to efficiently configure and manage their server environments.
Create a Server in Hetzner
Getting Started with Hetzner:
Hetzner provides a range of services like dedicated hosting, virtual private servers, colocation services, and domain registration. Hetzner is known for having reliable systems and competitive prices in web hosting. Its services work well for both individual users and businesses that need strong hosting options.
Step 1: Login to Hetzner Cloud Console
- Go to the Hetzner Cloud website and sign in using your credentials.
Step 2: Create a New Project (Optional)
- If you don't have an existing project, create a new one by clicking on the New Project button.
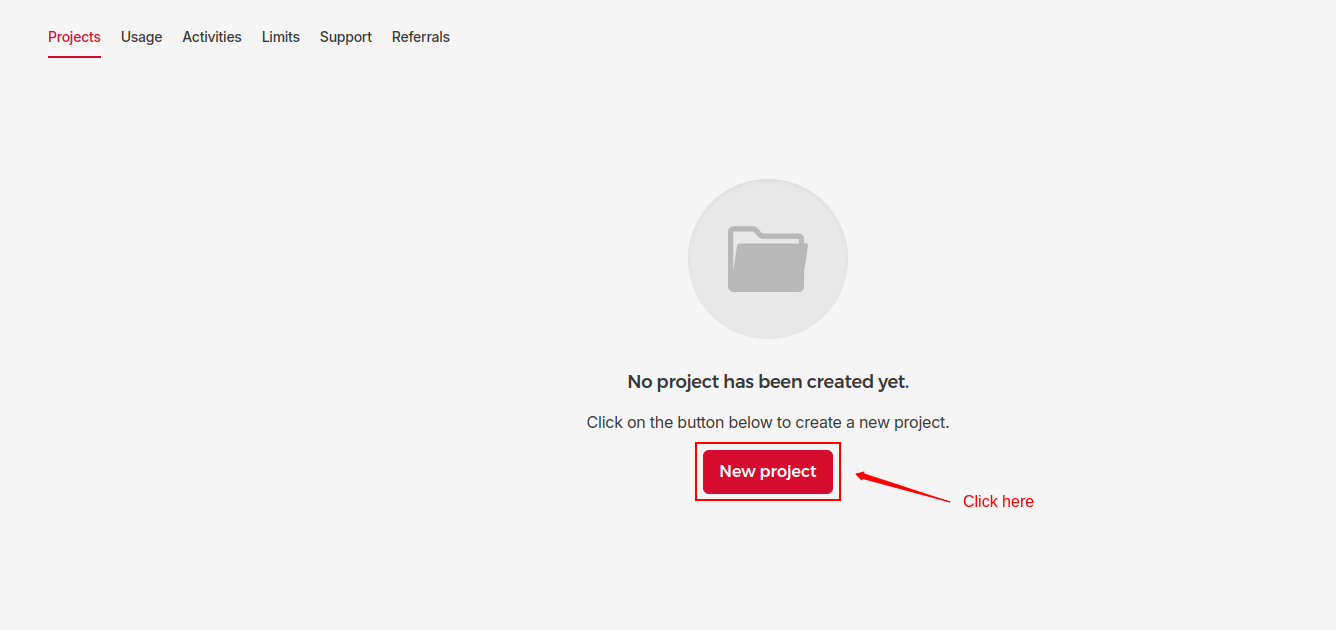
- Enter a name for your project and click Add Project.

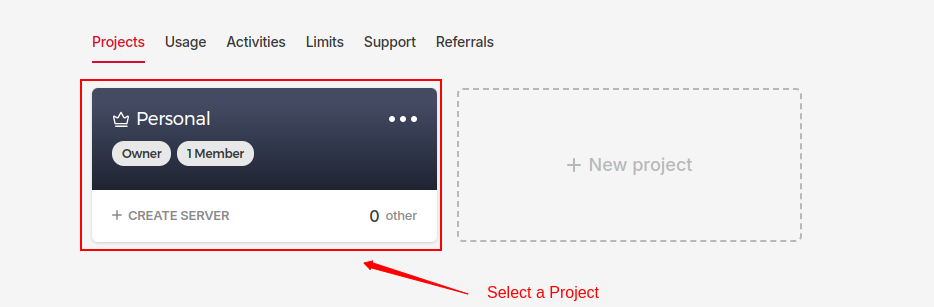
Step 3: Select a Project
- Select the project in which you wish to create your server.
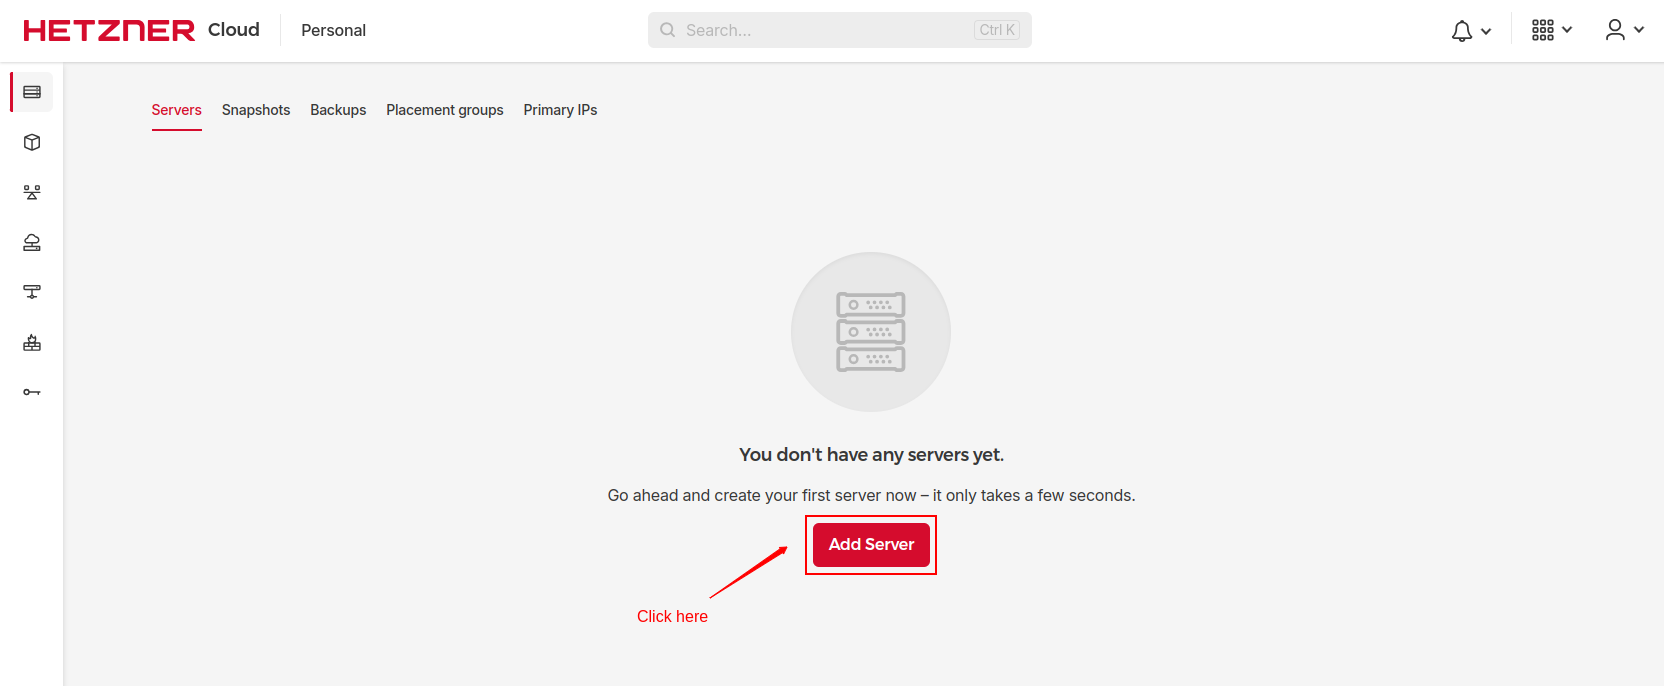
Step 4: Create a New Hetzner Cloud Server
- Navigate to the Servers sub-menu and click on Add Server to begin creating your server.
Step 5: Configure your server
-
Select a Location: Select the data center location where you want to deploy your server. Choose the region that is closest to your target audience for better performance.

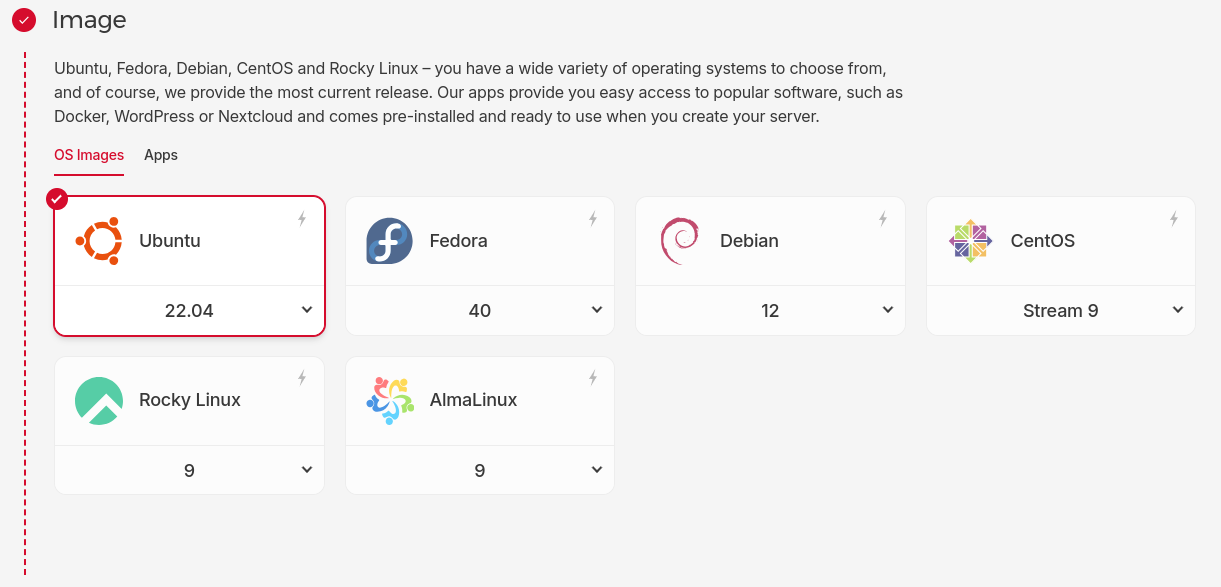
-
Select an Image: ServerAvatar supports both Ubuntu 20.04 and Ubuntu 22.04. Therefore, choose one of these supported operating systems.
-
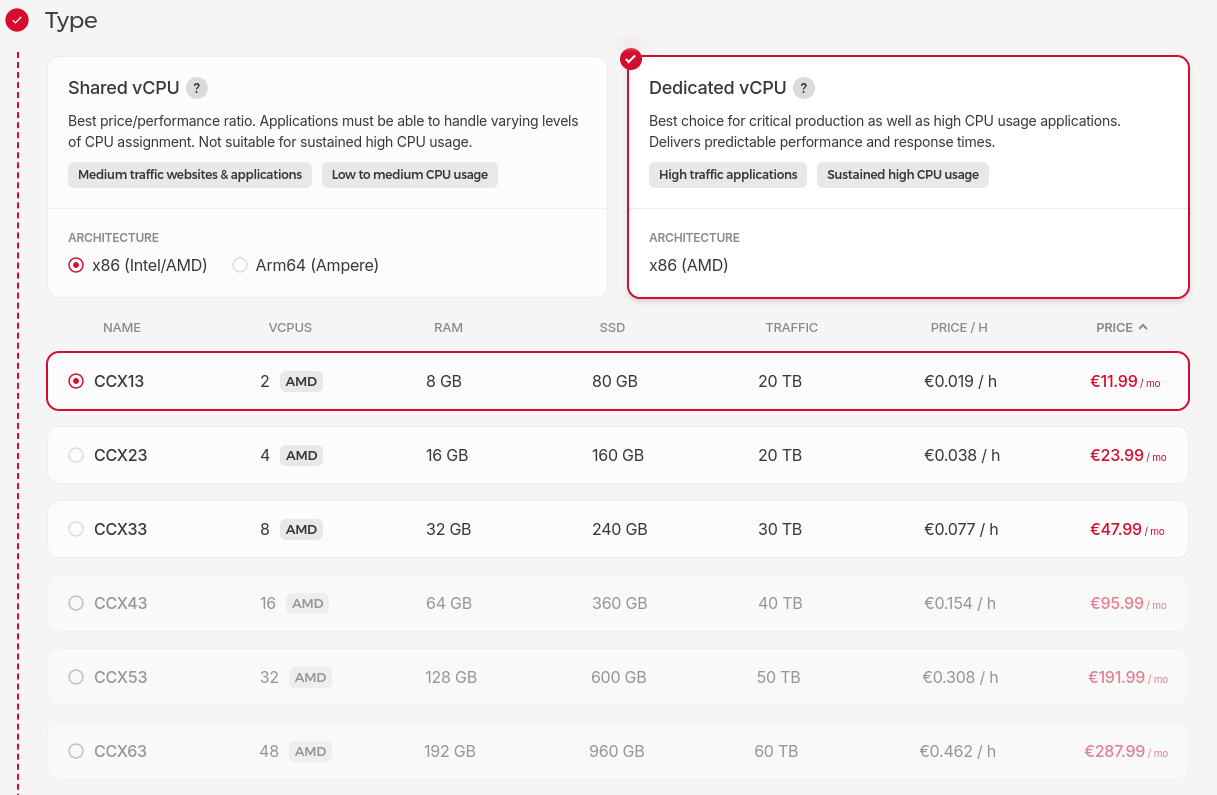
Select a Server Type: Hetzner provides various plans with different configurations of CPU, RAM, and storage. Select the server type based on your requirements. The minimum requirement for hosting 2FAuth is 1GB or more of RAM for better performance and a minimum of 2 GB or more of free disk space to accommodate the application and its dependencies.
-
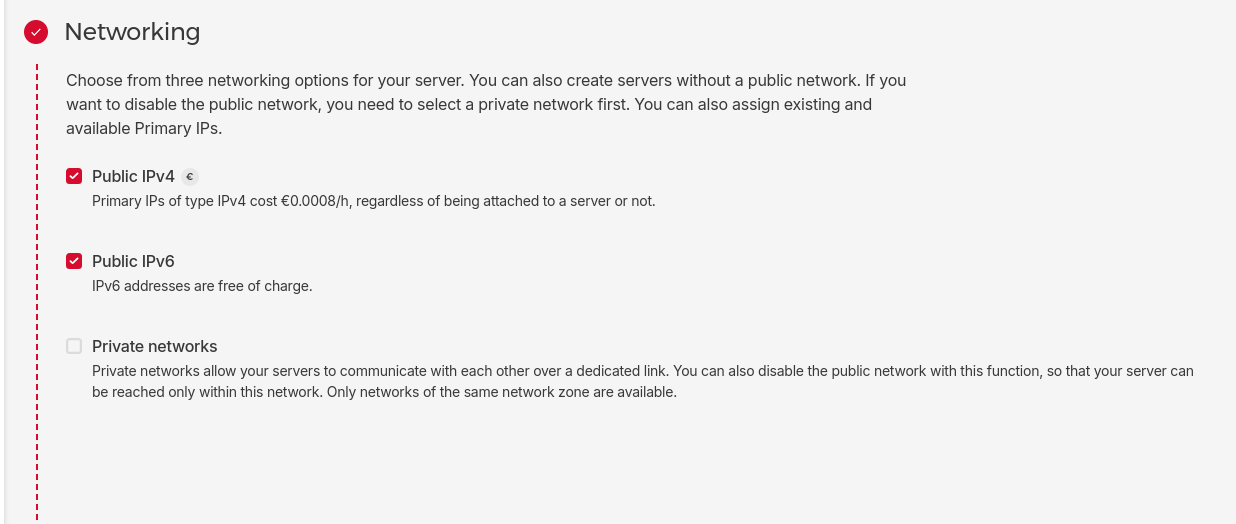
Select Networking: Select from three networking options for your server. Private networks allow you to securely connect servers within the same data center without going over the public internet.
-
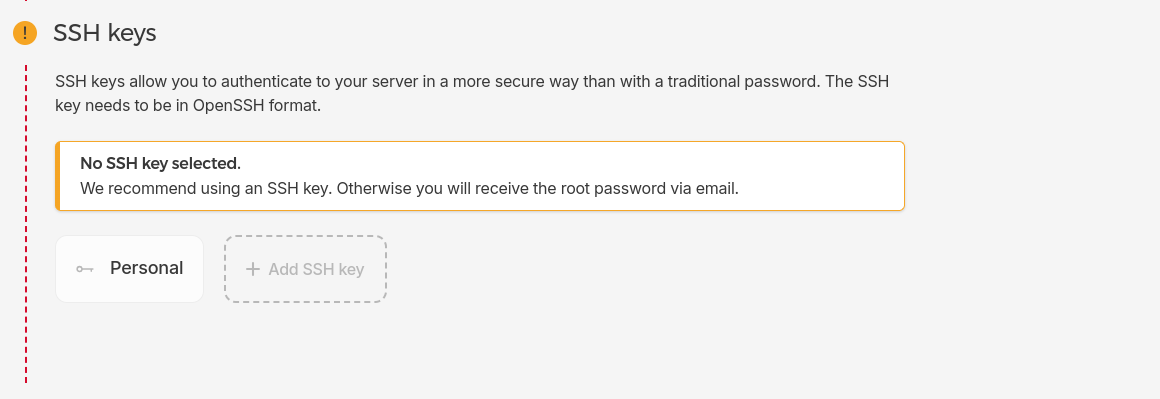
SSH Key or Root Password: Select an SSH Key if you want to authenticate with an SSH key. This method is recommended over using a root password for enhanced security. If you choose SSH key authentication, Hetzner will disable password-based authentication by default. Otherwise, you will receive the root password via email.
-
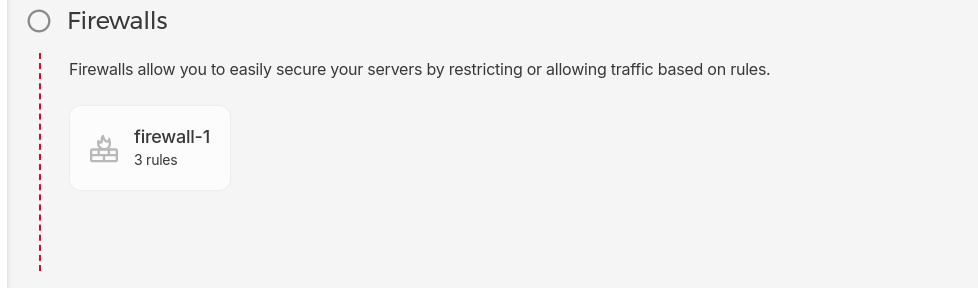
Add a Firewall Rule: Configure firewall rules to control incoming and outgoing traffic based on IP addresses, ports, and protocols for improved security.
- Additional Options (Optional): Configure additional options such as Backups, Placement Groups, Volumes, Labels, and Cloud Config as per your Requirements.
-
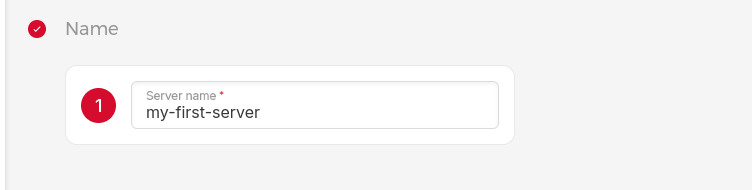
Give a Server Name: Enter a server name for easy identification.
-
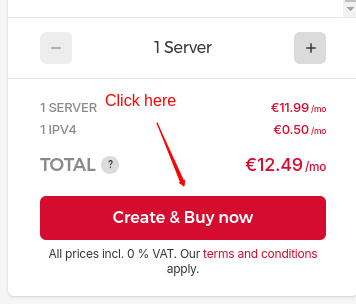
Finalize and Create: Review your configuration settings to ensure that everything is configured correctly. Click on the Create & Buy Now button.9. Finalize and Create: Review your configuration settings to ensure that everything is configured correctly. Click on the Create & Buy Now button.
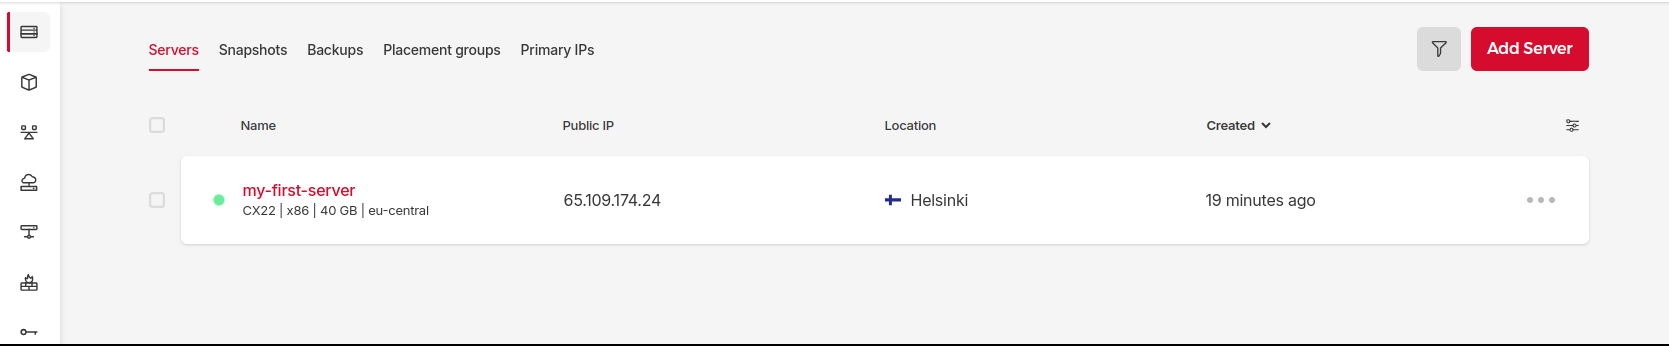
Step 6: Access Your Server
- Once the server is deployed, it will appear on your Hetzner Cloud dashboard. Use the provided IP address and SSH key (if configured) to access your server via SSH. Now, You can connect your Server with ServerAvatar for Server management.
Initial Server Configuration
The Initial server configuration includes the installation and configuration of various packages required to host your website. Usually, You have to write commands and modify configuration files. Luckily, With ServerAvatar, Your full server configuration and optimization can be automated.
Here are the three ways to automatically configure your server with ServerAvatar.
Connect a server using a direct method
- Login/Register to ServerAvatar account, click the Create button from the right side of the screen, and select Server from the dropdown.
- Select Direct Method in the serve connecting method section.
- Type the Server Name as per your choice.
- Select a Tech Stack as per your need. You can either select Apache, Nginx, OpenLiteSpeed or Node Stack.
- Select a Database: MySQL, MariaDB or MongoDB.
- Enable the toggle if you want to install the latest LTS version of node.js on your server.
- Select a Management plan and click the Connect Now button.
- You’ll see the command on your screen. Login to your server using an ssh connection and execute that command as a root user.
- The server connection process will be started on your ServerAvatar account after executing the command.
Connect a server using integration
- Login/Register to your ServerAvatar account, navigate to the Integration tab from the sidebar of the panel, and access Cloud Platform from the dropdown.
- Now Select a cloud platform you want to link with ServerAvatar.
- The popup form will appear on your screen. Enter details to link your cloud provider account. The integration method is different based on the cloud provider you select.
- You can integrate five different cloud provider platforms with ServerAvatar, which is-
Check the above link of cloud platforms to know more about integrating cloud platforms with ServeAvatar.
Connect a server using commands
Step 1. Login to your server using root user
Once you create a server as per your requirements, connect to your server using an ssh connection and execute the below three commands as a root user in your server console area.
wget https://srvr.so/install
chmod +x install
./install
Step 2. Select a web server
It will ask you which web server you would like to install on your server: Apache, Nginx, OpenLiteSpeed or Node Stack. Type anyone that you would like to install on your server and hit the enter button.
Step 3. Claim your server
Completing the process will give you a link to claim your server.
Open the link on your browser to access the ServerAvatar server panel.
Install and Setup 2FAuth on Cloud using ServerAvatar
Self-Hosting 2FAuth Application: Step-by-Step Guide
Introduction:
In an age where cybersecurity is paramount, adding an extra layer of security through Two-Factor Authentication (2FA) is a must. The 2FAuth library allows you to implement this security measure with ease. This guide will walk you through the steps to self-host 2FAuth on your own web server, whether on a local machine or a hosted environment, using Apache2 or NGINX as your HTTP server.
Requirements:
- HTTP Server: You need a web server such as Apache or NGINX. These are the most popular web servers, and you likely have one of them installed if you are using a web hosting service.
-
PHP: Ensure you have PHP 8.1 or higher installed with the following extensions:
- BCMath
- Ctype
- Fileinfo
- JSON
- Mbstring
- OpenSSL
- PDO
- Tokenizer
- XML
-
Database: 2FAuth supports various databases such as:
- MariaDB 10.2+
- MySQL 5.7+
- PostgreSQL 9.6+
- SQLite 3.8.8+
- SQL Server 2017+
- Composer: Composer is required to manage PHP dependencies for 2FAuth. Follow the Composer installation guide.
Step-by-Step Installation Guide:
Step 1: Create a GitHub application
Start by creating a GitHub application using ServerAvatar. This will allow you to easily manage and deploy your 2FAuth instance. Follow these steps:
- Open ServerAvatar: Log in to your ServerAvatar account.
- Navigate to the Application Dashboard: In the dashboard, find the option to create a new application.
-
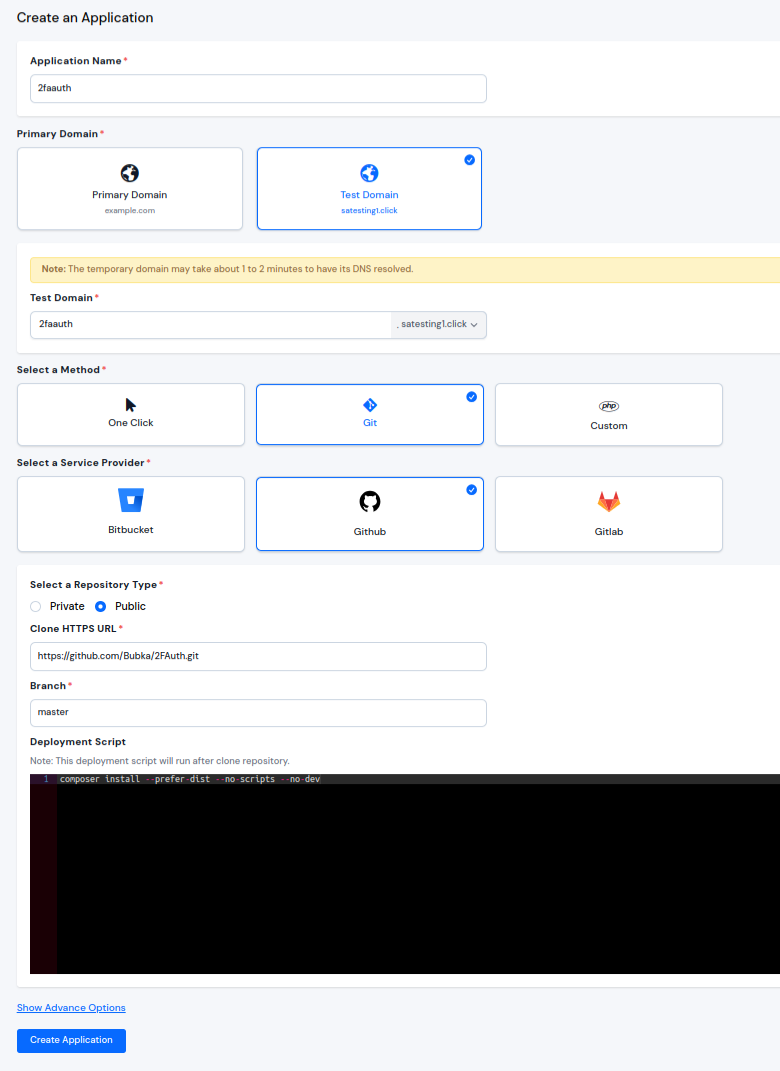
Create the GitHub Application:
- HTTP URL: Enter https://github.com/Bubka/2FAuth.git
-
Branch Name: Set this to
master -
Deployment Script: Use the script
composer install --prefer-dist --no-scripts --no-dev
This configuration will clone the 2FAuth repository and install the necessary dependencies.
Step 2: Set Custom Webroot
Set the custom webroot as public for your application. This can be done from the application dashboard in the application settings. The webroot directory is where your web server searches for the application files to serve.

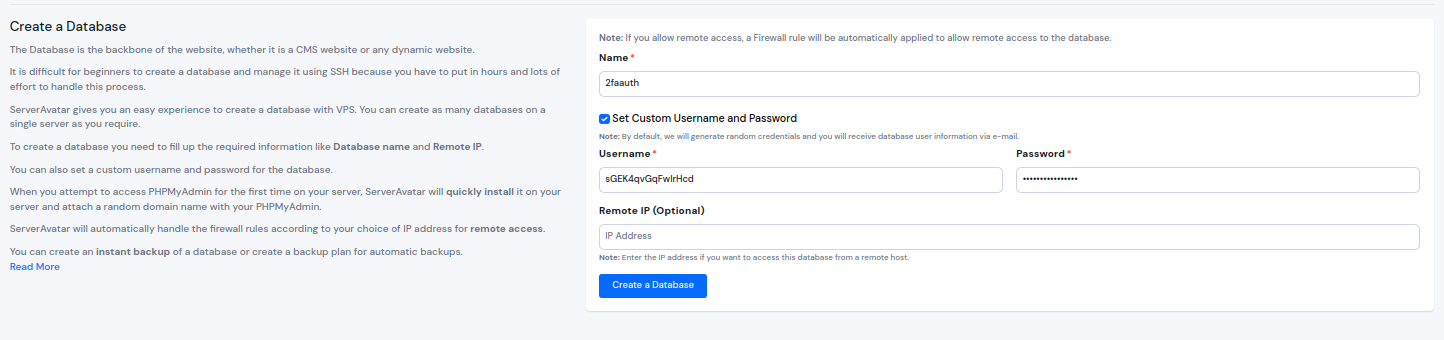
Step 3: Create a Database
From the server dashboard, navigate to the databases section and create a new database. This database will store your application's data.
Step 4: Enable SSH Credentials
To securely access your server, enable SSH credentials. SSH (Secure Shell) provides a secure way to log in to your server remotely, ensuring that your data and commands are encrypted. This step is crucial for managing your server and deploying your 2FAuth application.

Step 5: Login Using SSH Credentials
- Once you have your SSH credentials enabled, you can log in to your server. Open a terminal and use the following command:
ssh {username}@{ip} - Replace
{username}with your actual username and{ip}with your server's IP address. You will be prompted to enter your password. After successful authentication, you will have remote access to your server.
Step 6: Navigate to the Application Path
With SSH access established, navigate to your application's directory on the server. This is where you will set up your 2FAuth project. Use the cd command to change directories to your application's root path.

Step 7: Execution
Run the following command and answer the wizard questions.
php artisan 2fauth:install

At the conclusion of the wizard, the 2FAuth setup process will be complete.
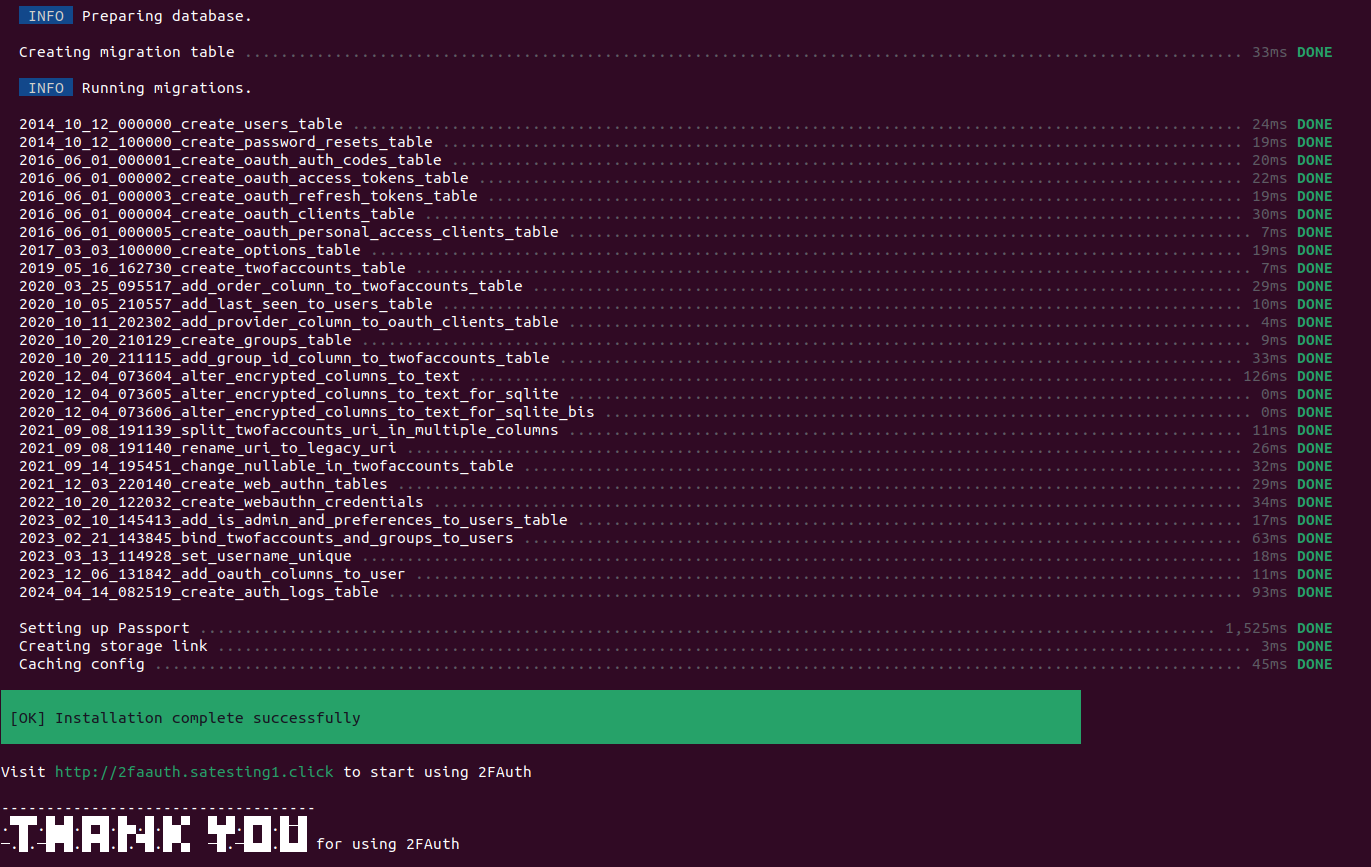
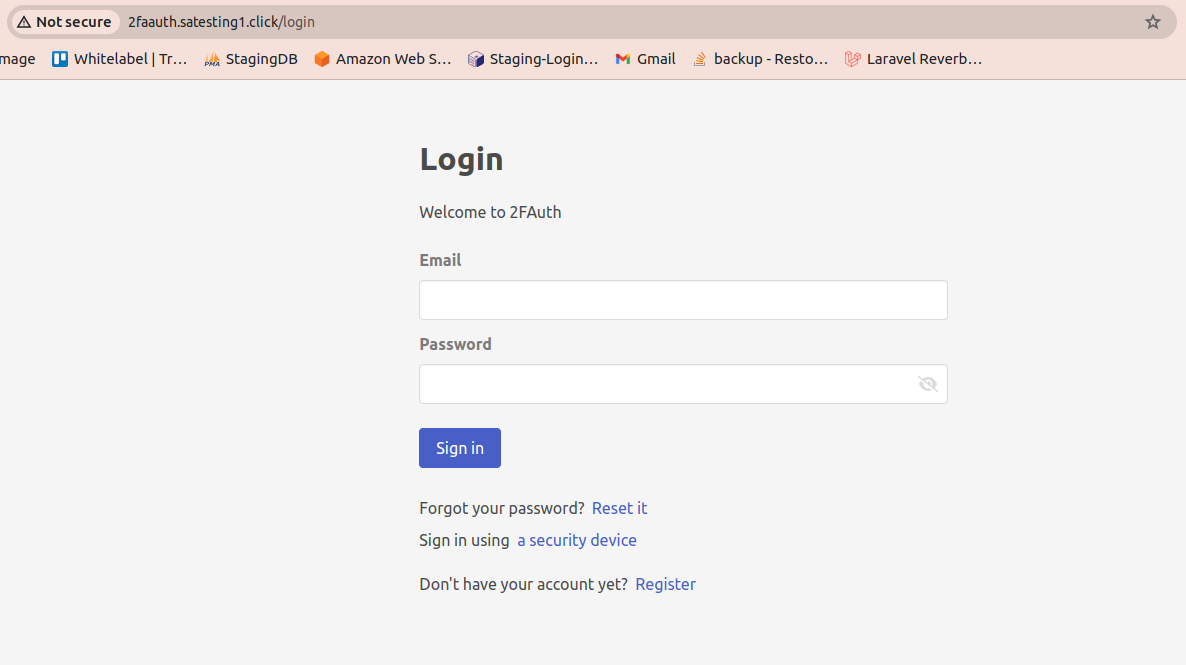
Step 8: Verify Installation
To confirm that your 2FAuth installation is successful, visit your application domain in a web browser. You should see the 2FAuth page, indicating that your setup is complete and your application is ready for development.
Conclusion:
By following this guide, you have successfully set up and deployed your 2FAuth application. This process included creating a GitHub application, setting a custom webroot, creating a database, enabling SSH credentials, logging into your server, navigating to the application path, executing the installation script, and verifying your installation. Your 2FAuth application is now up and running, providing an extra layer of security for your users through Two-Factor Authentication. With 2FAuth, you can enhance the security of your web applications, protect sensitive data, and offer your users a more secure login experience. This setup ensures a robust environment for managing your application's security features effectively. Start leveraging the power of 2FAuth to safeguard your application and provide peace of mind to your users.