Uptime Kuma is an open-source, self-hosted monitoring tool designed to keep track of your services and their availability. It provides real-time status updates and detailed performance metrics through a web-based interface. Its user-friendly dashboard provides customizable alerts and reporting features to help identify and address issues quickly. Hosting Uptime Kuma on Hostinger provides a dependable and scalable solution. Hostinger provides a wide range of instance types and configurations to match various performances with flexible deployment options. ServerAvatar simplifies the process by providing a clear, step-by-step guide to setting up your Uptime Kuma application on Hostinger VPS.
Create a VPS in Hostinger
Getting started with Hostinger:
Discover how simple it is to create an account and set up a cloud VPS on Hostinger, one of the top hosting providers. Follow our step-by-step guide to swiftly establish your account to deploy a server and complete its initial setup.
What Is Hostinger?
Hostinger is a popular web hosting company known for its affordable hosting solutions and user-friendly interface, offering services like domain registration, website hosting, and cloud hosting to help individuals and businesses manage their online presence effectively.
Step 1: Create an account
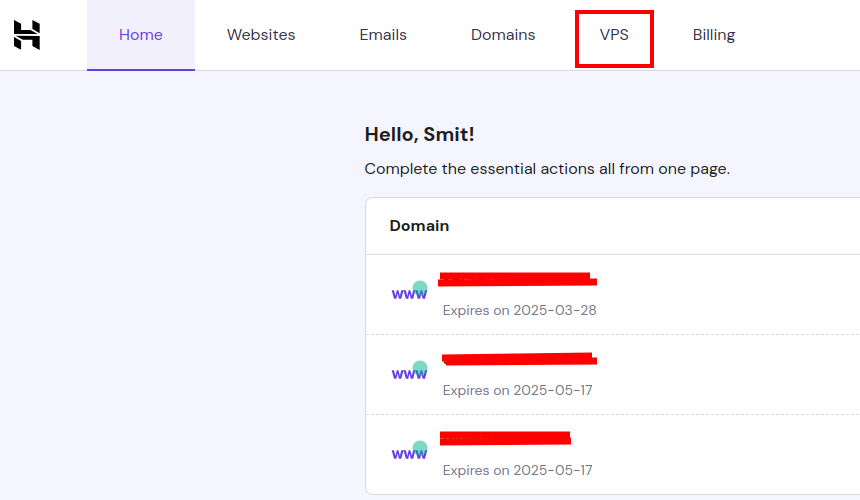
- Log in to your Hostinger account. If you don’t have an account, create an account on Hostinger.
- After login, Click on the VPS option as shown in the image below.
Step 2: Select the plan
- Next, you will see various plans offering different specifications for hosting your VPS. Select the plan that best fits your requirements.

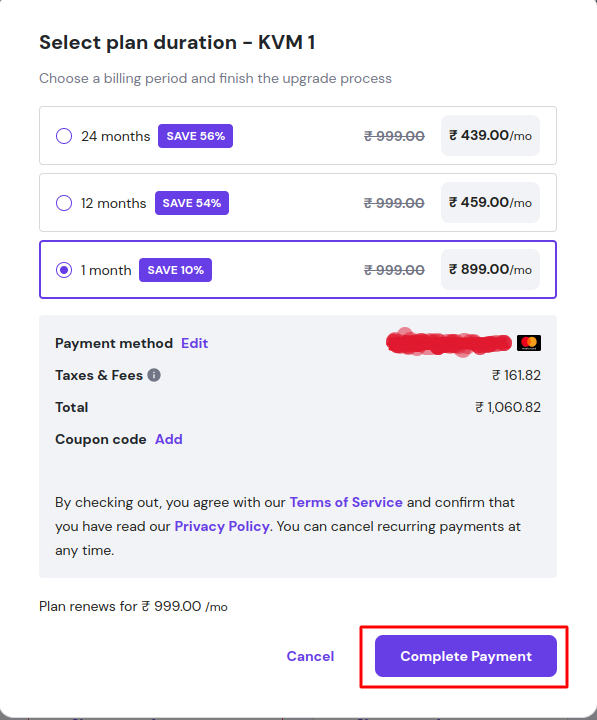
Step 3: Complete your Payment
- Now, you have to proceed to complete the payment for your VPS plan.
Step 4: Start with Setup
- Once the payment is complete, you will be redirected to the page to begin setting up your VPS. Click on the Start Now option to proceed.

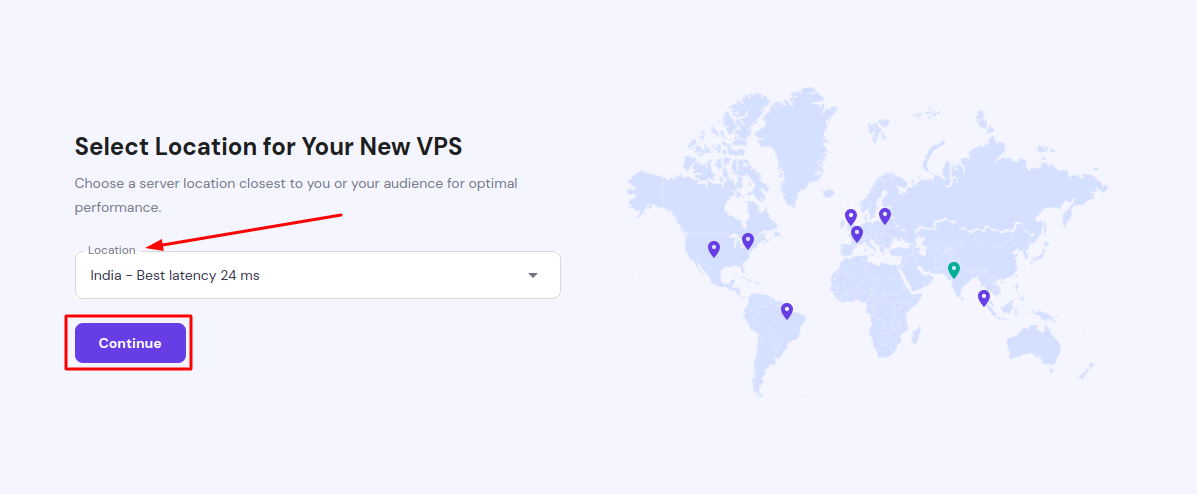
Step 5: Select Location
- Next, you have to select the location for your server. Hostinger provides various locations for setting up your VPS.
- The general rule is to select the region that is closest to your audience. It means that for the majority of your audience, Your sites will load faster due to lower latency.
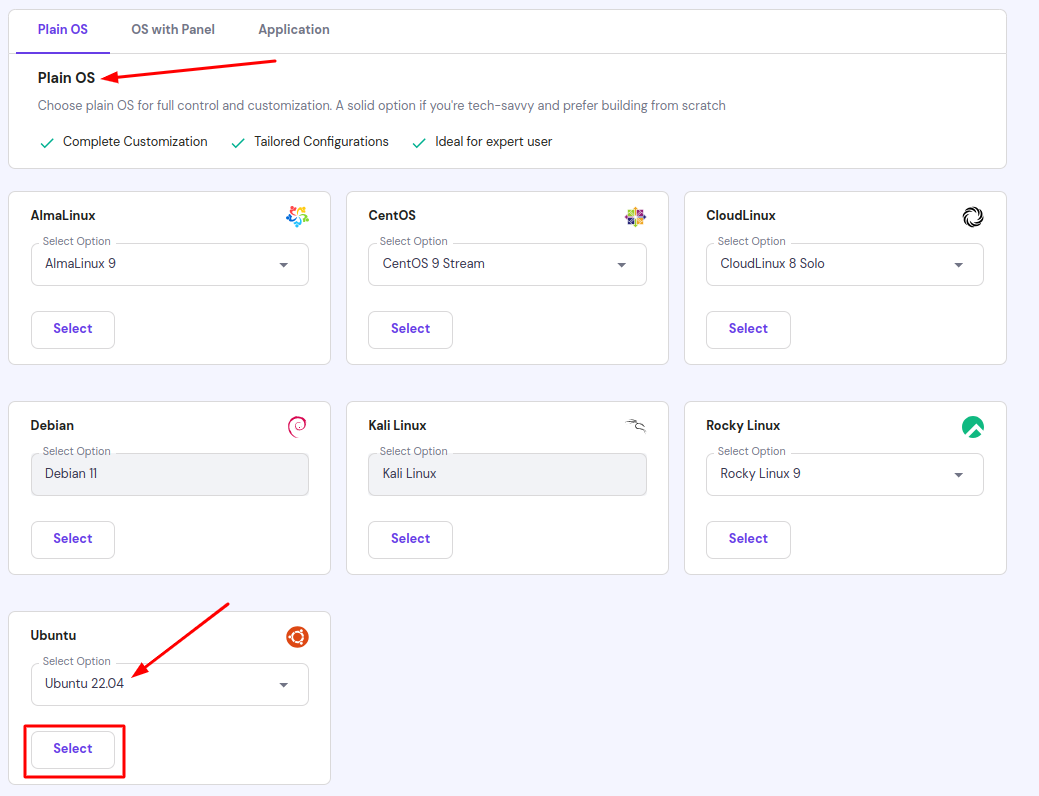
Step 6: Select an Operating System
- In this step, you need to select your server operating system. The Uptime Kuma application generally requires Ubuntu 20.04 LTS or a later version for compatibility and support.
- ServerAvatar supports both Ubuntu 20.04 LTS x64 or Ubuntu 22.04 LTS x64. Therefore, choose one of these supported operating systems.
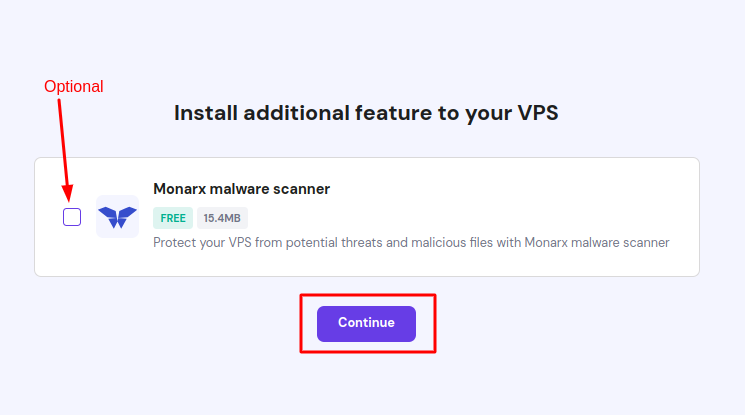
Step 7: Adding Additional Feature (Optional)
- The next option is to install an additional feature to your VPS. You can enable the malware scanner by selecting the provided checkbox. This step is optional; if you want to add it, select the checkbox and click on Continue.
Step 8: Login Method
- Next, you need to set a Root Password for your VPS and provide a Hostname. Additionally, you can add an SSH Key, which is optional. Once you have completed these steps, click on Continue.

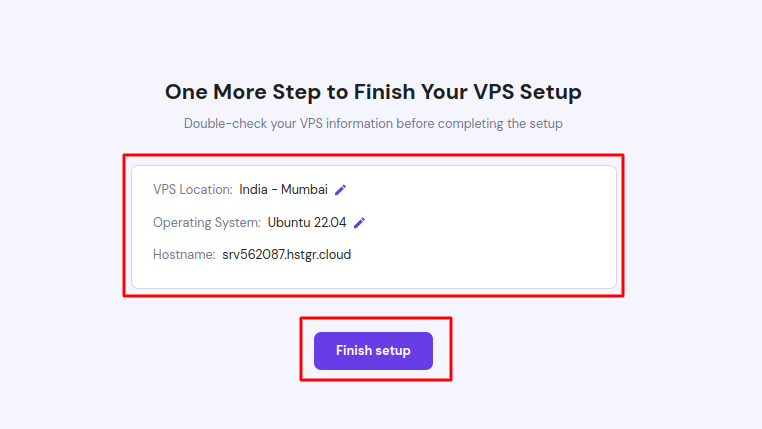
Step 9: Finalise Details
- In the last step of this process, you need to verify the VPS information. Click on the Finish Setup option to complete the setup process.
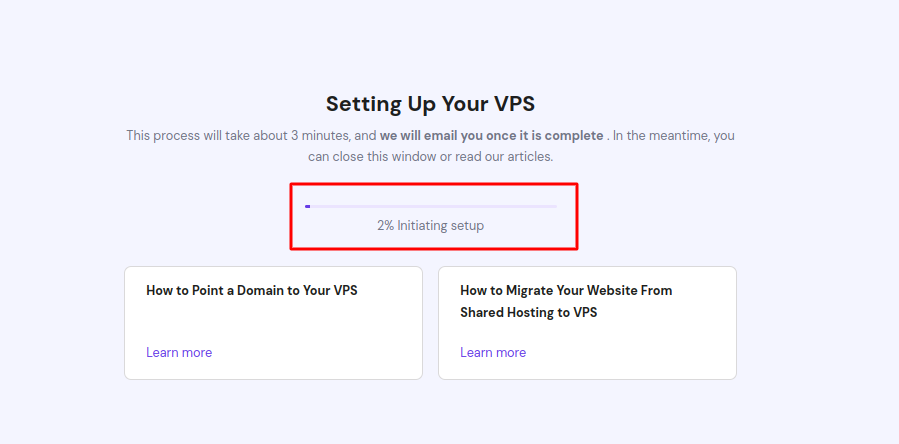
- After clicking the Finish Setup button, You can see the Initiating Setup process as displayed in the image below.
Step 10: VPS Management and SSH Key Access
- Once the setup is complete, you will find the option to Manage VPS, allowing you to manage your VPS from its Custom Dashboard. Additionally, you will have the SSH Access option, which enables server access via Terminal.
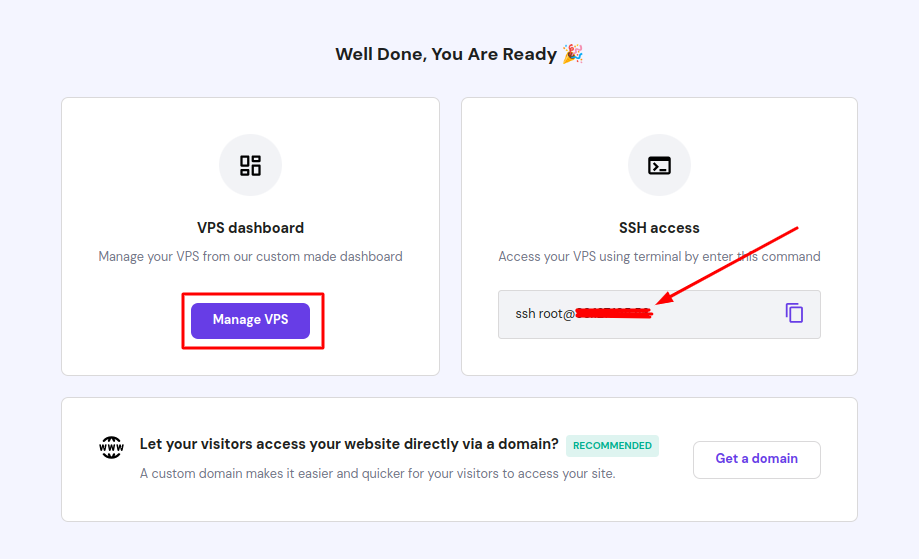
- Congratulations! You have successfully created your Hostinger VPS, which is now ready to connect with ServerAvatar.
Initial Server Configuration
The Initial server configuration includes the installation and configuration of various packages required to host your website. Usually, You have to write commands and modify configuration files. Luckily, With ServerAvatar, Your full server configuration and optimization can be automated.
Here are the three ways to automatically configure your server with ServerAvatar.
Connect a server using a direct method
- Login/Register to ServerAvatar account, click the Create button from the right side of the screen, and select Server from the dropdown.
- Select Direct Method in the serve connecting method section.
- Type the Server Name as per your choice.
- Select a Tech Stack as per your need. You can either select Apache, Nginx, OpenLiteSpeed or Node Stack.
- Select a Database: MySQL, MariaDB or MongoDB.
- Enable the toggle if you want to install the latest LTS version of node.js on your server.
- Select a Management plan and click the Connect Now button.
- You’ll see the command on your screen. Login to your server using an ssh connection and execute that command as a root user.
- The server connection process will be started on your ServerAvatar account after executing the command.
Connect a server using integration
- Login/Register to your ServerAvatar account, navigate to the Integration tab from the sidebar of the panel, and access Cloud Platform from the dropdown.
- Now Select a cloud platform you want to link with ServerAvatar.
- The popup form will appear on your screen. Enter details to link your cloud provider account. The integration method is different based on the cloud provider you select.
- You can integrate five different cloud provider platforms with ServerAvatar, which is-
Check the above link of cloud platforms to know more about integrating cloud platforms with ServeAvatar.
Connect a server using commands
Step 1. Login to your server using root user
Once you create a server as per your requirements, connect to your server using an ssh connection and execute the below three commands as a root user in your server console area.
wget https://srvr.so/install
chmod +x install
./install
Step 2. Select a web server
It will ask you which web server you would like to install on your server: Apache, Nginx, OpenLiteSpeed or Node Stack. Type anyone that you would like to install on your server and hit the enter button.
Step 3. Claim your server
Completing the process will give you a link to claim your server.
Open the link on your browser to access the ServerAvatar server panel.
Deploy Self-Hosted Monitoring Tool Uptime Kuma on Cloud using ServerAvatar
Note: You must have a Server connected in Node Stack.
What is Uptime Kuma?
Uptime Kuma is a tool that helps you keep track of whether your websites or servers are up and running smoothly. It's free and can be hosted on your own servers or in the cloud. With Uptime Kuma, you can monitor things like website responses, specific keywords on pages, or basic network services. If something goes wrong, it can alert you through different channels. In simple terms, it's like having a personal watchdog for your online presence.
This guide will walk you through how to install the self-hosted monitoring tool UptimeKuma with ServerAvatar.
Features Of Uptime Kuma
- Monitoring uptime for HTTP(s) / TCP / HTTP(s) Keyword / HTTP(s) Json Query / Ping / DNS Record / Push / Steam Game Server / Docker Containers
- Fancy, Reactive, Fast UI/UX
- Notifications via Telegram, Discord, Gotify, Slack, Pushover, Email (SMTP), and 90+ notification services, click here for the full list
- 20-second intervals
- Multi Languages
- Multiple status pages
- Map status pages to specific domains
- Ping chart
- Certificate info
- Proxy support
- 2FA support
Prerequisites
- Node.js (v18 / v20.4)
- NPM (v9)
- Pm2
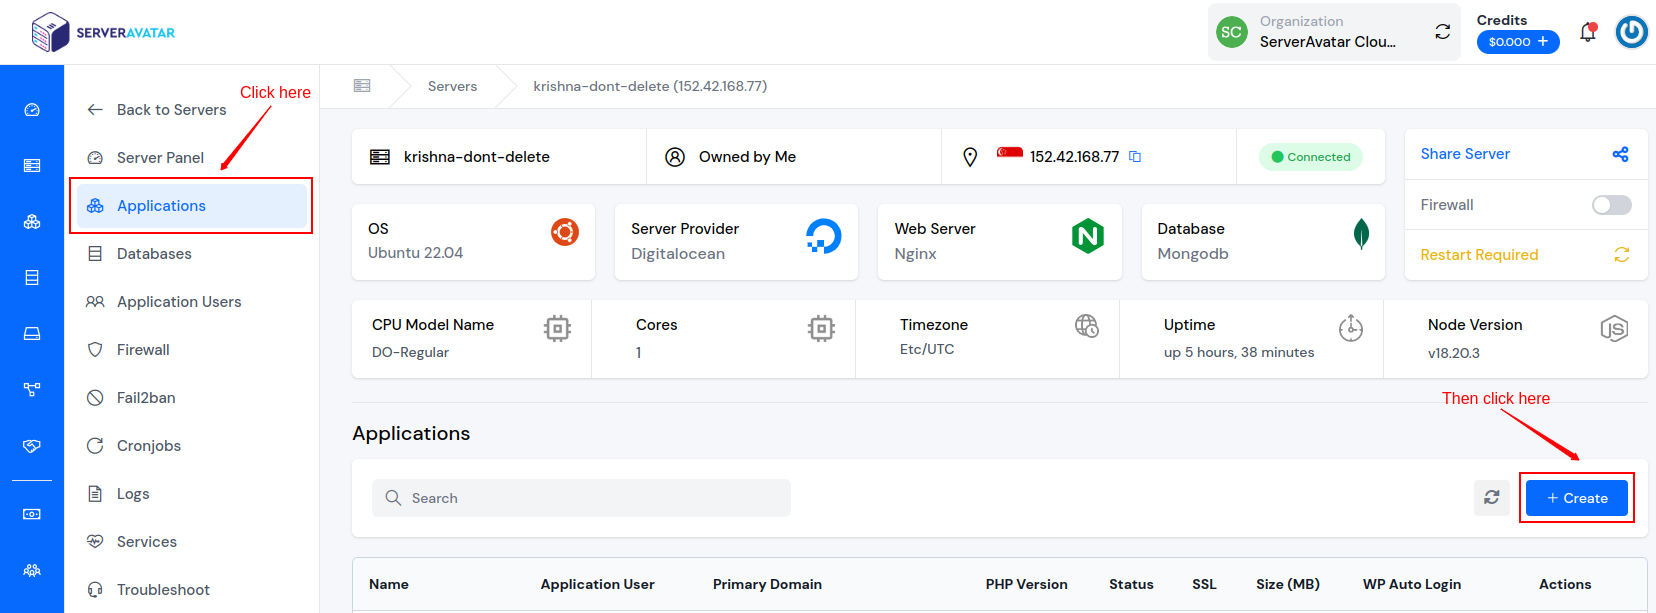
Step 1: Create An Application
On the ServerAvatar server panel, navigate to the Applications tab and click the Create button like the following image.
To proceed with the installation and deployment of UptimeKuma, ensure you have met the prerequisites.
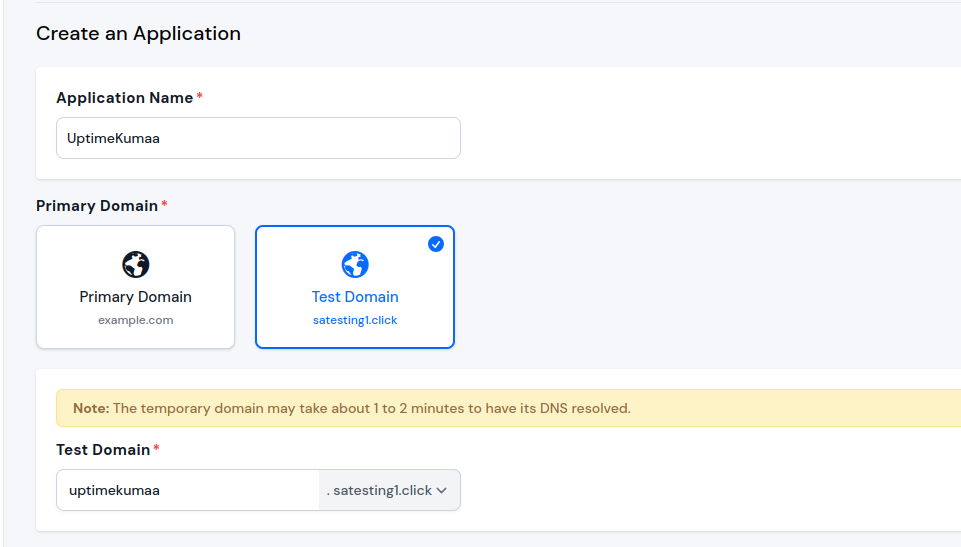
- Enter an Application Name of your choice.
- Specify a Domain (choose between a Test Domain or a Primary Domain).
Note: If hosting Uptime Kuma on your own domain, ensure your domain points to your server's current IP address.
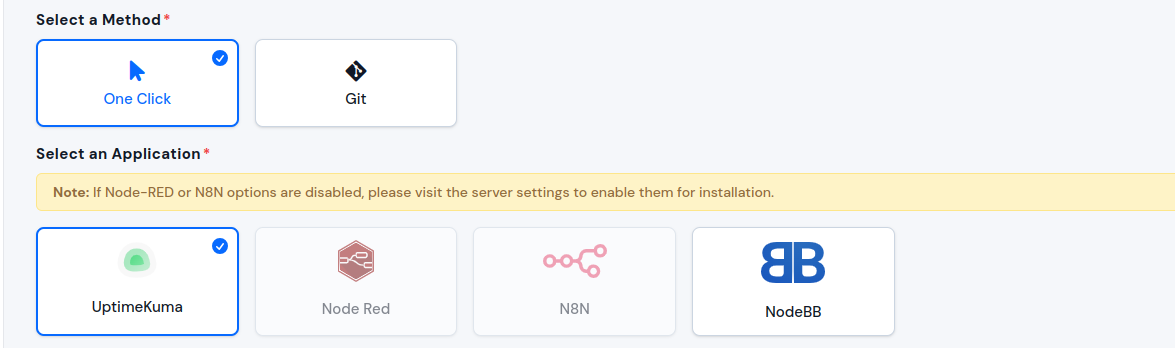
Select the following options:
Method: One Click Application: UptimeKuma
Now, click on Show Advanced Options to create a new system user or select an existing one based on your needs.
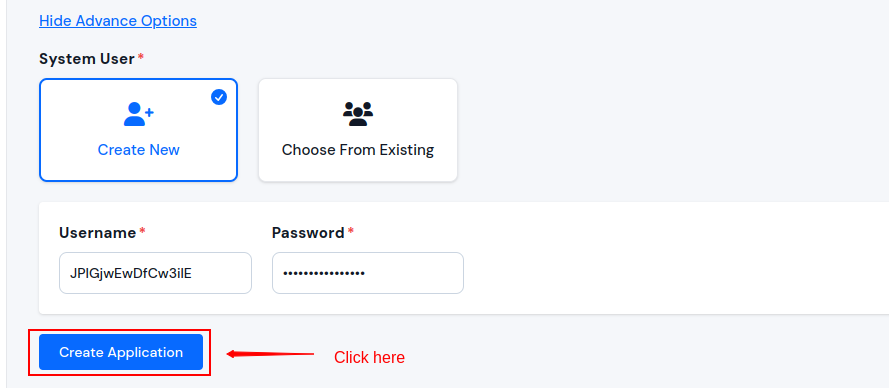
Click on the Create Application button. You will be redirected to the Application Installation Status page where you can monitor the installation process and view command outputs.
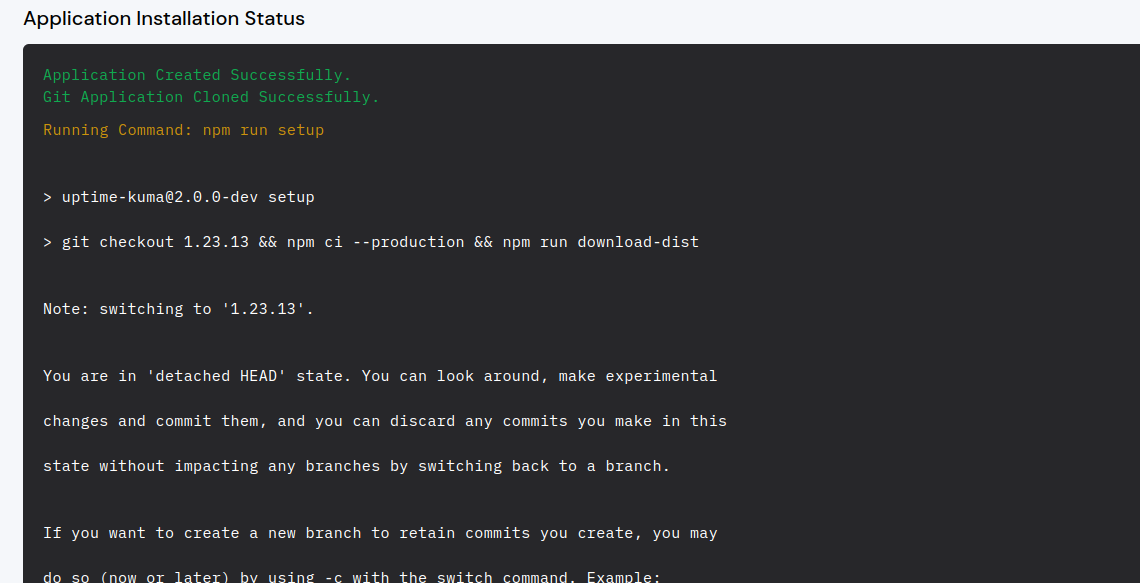
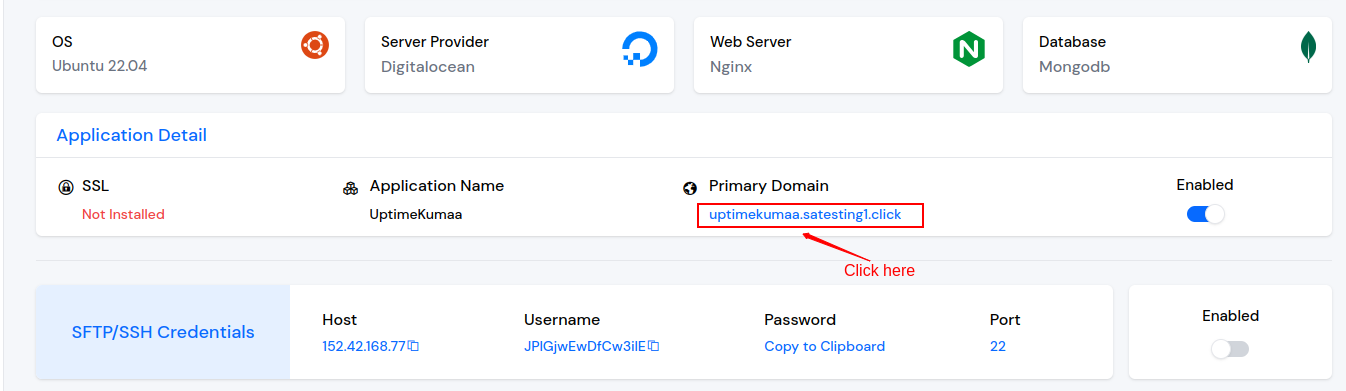
Once all commands run successfully you will redirect to the Application Dashboard.
Visit your domain to access your Uptime Kuma application.
Now, create your admin account for Uptime Kuma.

Congratulations! You have successfully installed and deployed Uptime Kuma through ServerAvatar.