NodeBB is an open-source forum software designed to enhance community engagement with its advanced features and modern architecture. NodeBB offers powerful tools for discussion management, user interaction, and content organization, allowing administrators to create dynamic and engaging forums efficiently. It simplifies the process of building and managing online communities with its user-friendly interface and modular framework. Hostinger is a dependable hosting option for NodeBB, providing scalable infrastructure and simple deployment solutions. ServerAvatar makes it easy and user-friendly to deploy the NodeBB on the Hostinger platform.
Create a VPS in Hostinger
Getting started with Hostinger:
Discover how simple it is to create an account and set up a cloud VPS on Hostinger, one of the top hosting providers. Follow our step-by-step guide to swiftly establish your account to deploy a server and complete its initial setup.
What Is Hostinger?
Hostinger is a popular web hosting company known for its affordable hosting solutions and user-friendly interface, offering services like domain registration, website hosting, and cloud hosting to help individuals and businesses manage their online presence effectively.
Step 1: Create an account
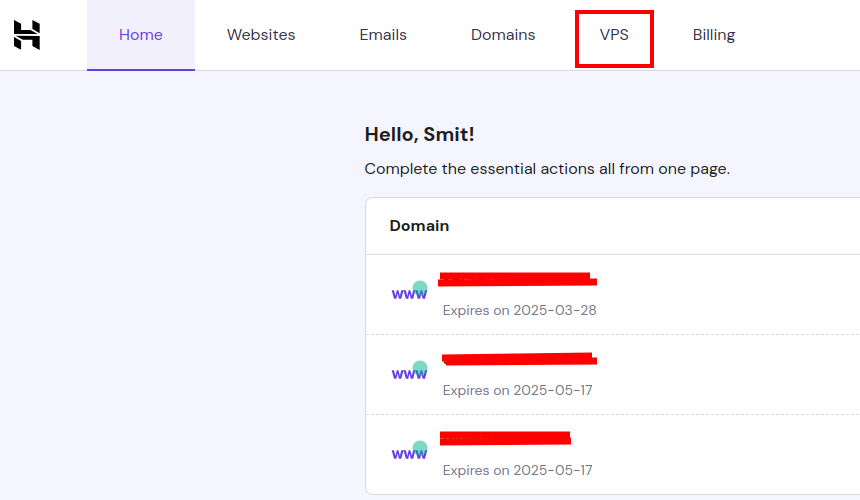
- Log in to your Hostinger account. If you don’t have an account, create an account on Hostinger.
- After login, Click on the VPS option as shown in the image below.
Step 2: Select the plan
- Next, you will see various plans offering different specifications for hosting your VPS. Select the plan that best fits your requirements.
- The minimum requirements for hosting NodeBB are At least 2GB of RAM for better performance and a minimum of 20GB of free disk space is recommended, depending on your anticipated data storage needs and log files. The exact amount will depend on your usage and data storage needs.

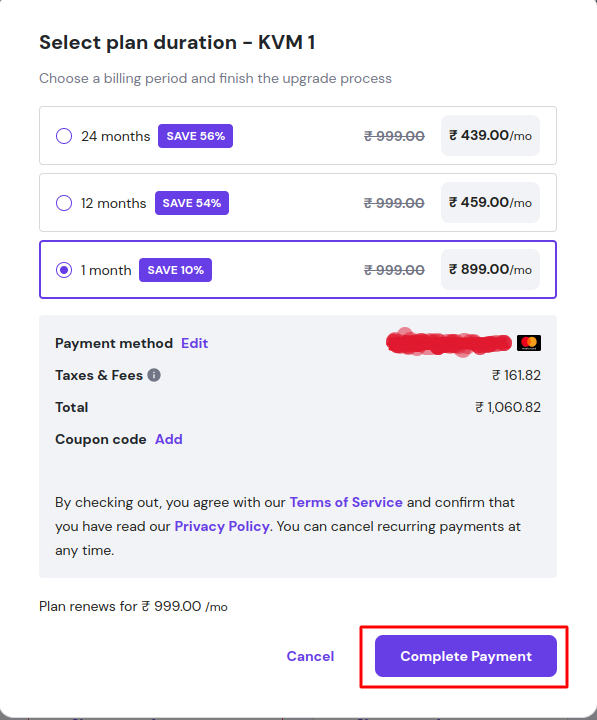
Step 3: Complete your Payment
- Now, you have to proceed to complete the payment for your VPS plan.
Step 4: Start with Setup
- Once the payment is complete, you will be redirected to the page to begin setting up your VPS. Click on the Start Now option to proceed.

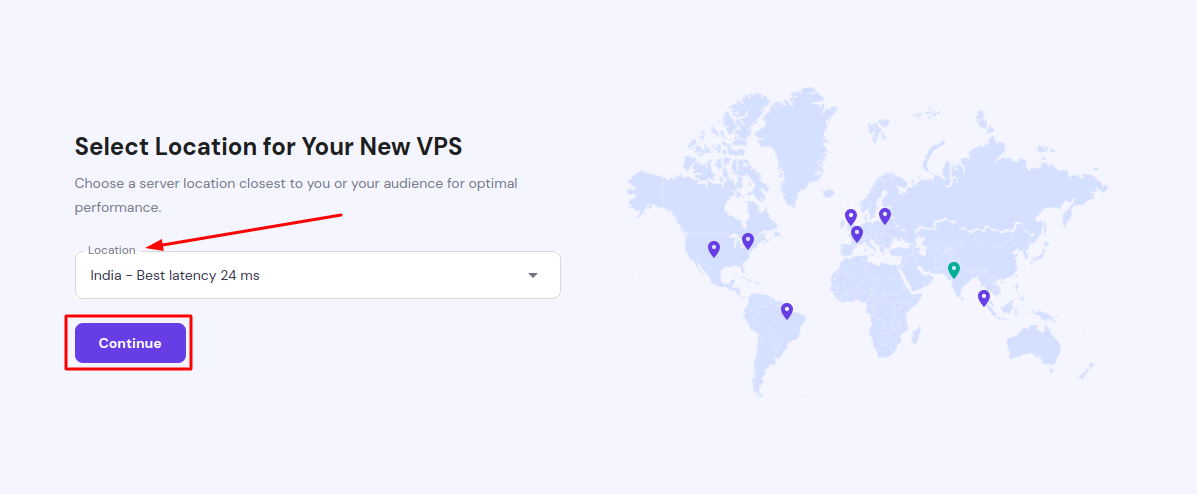
Step 5: Select Location
- Next, you have to select the location for your server. Hostinger provides various locations for setting up your VPS.
- The general rule is to select the region that is closest to your audience. It means that for the majority of your audience, Your sites will load faster due to lower latency.
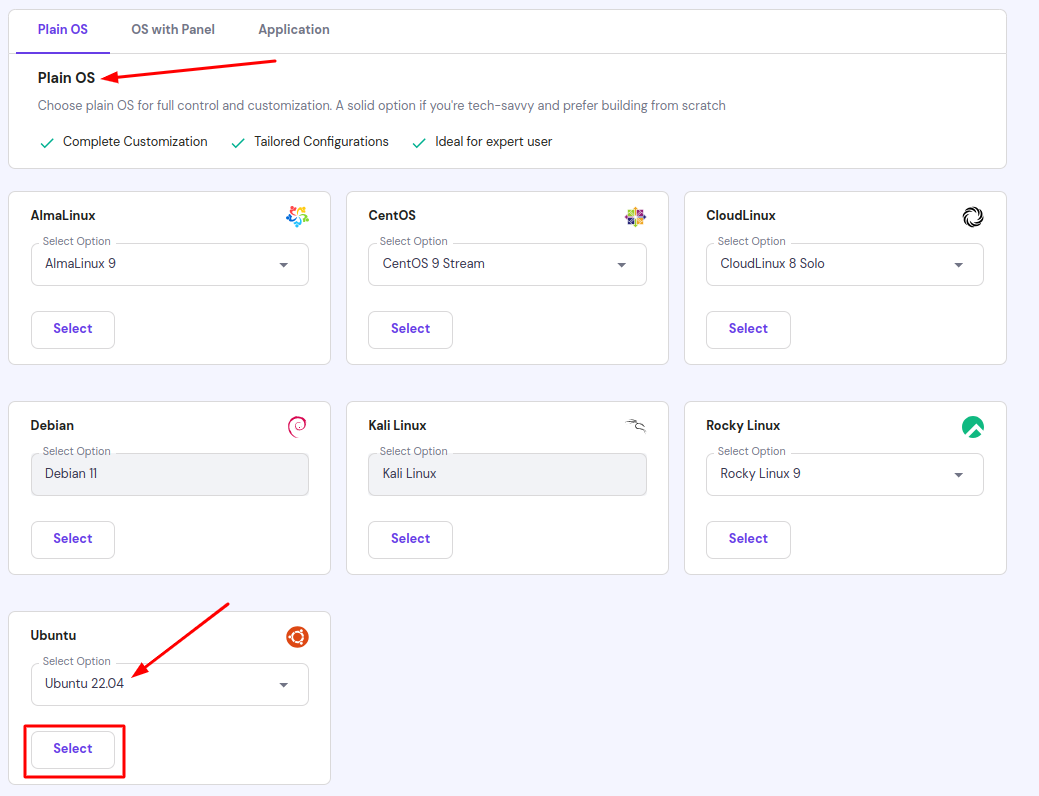
Step 6: Select an Operating System
- In this step, you need to select your server operating system. We recommend selecting Ubuntu 20.04 LTS x64 or Ubuntu 22.04 LTS x64. These operating systems are required if you are using ServerAvatar to manage your servers.
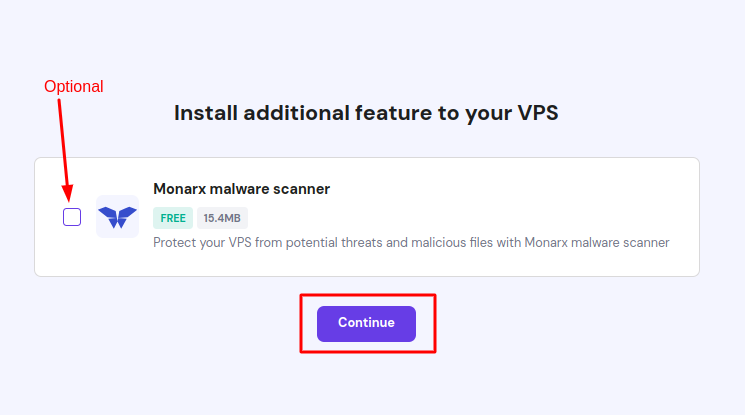
Step 7: Adding Additional Feature (Optional)
- The next option is to install an additional feature to your VPS. You can enable the malware scanner by selecting the provided checkbox. This step is optional; if you want to add it, select the checkbox and click on Continue.
Step 8: Login Method
- Next, you need to set a Root Password for your VPS and provide a Hostname. Additionally, you can add an SSH Key, which is optional. Once you have completed these steps, click on Continue.

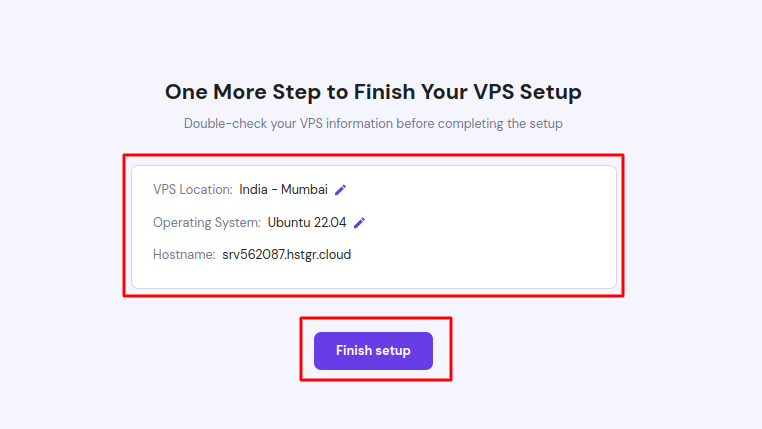
Step 9: Finalise Details
- In the last step of this process, you need to verify the VPS information. Click on the Finish Setup option to complete the setup process.
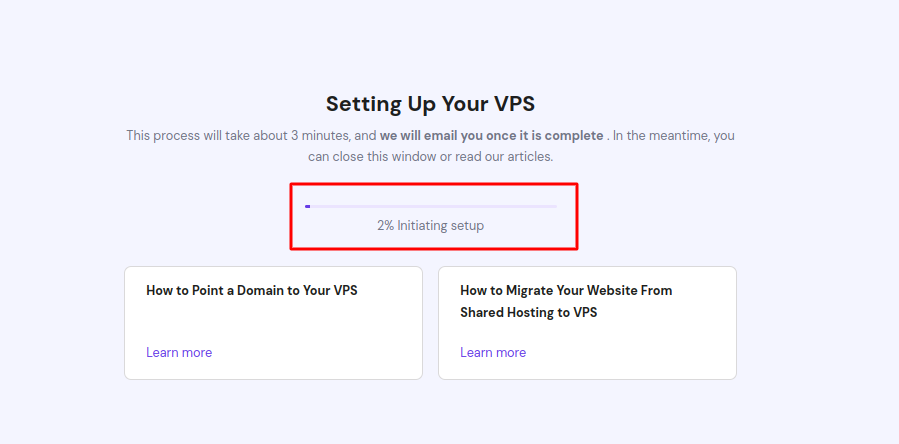
- After clicking the Finish Setup button, You can see the Initiating Setup process as displayed in the image below.
Step 10: VPS Management and SSH Key Access
- Once the setup is complete, you will find the option to Manage VPS, allowing you to manage your VPS from its Custom Dashboard. Additionally, you will have the SSH Access option, which enables server access via Terminal.
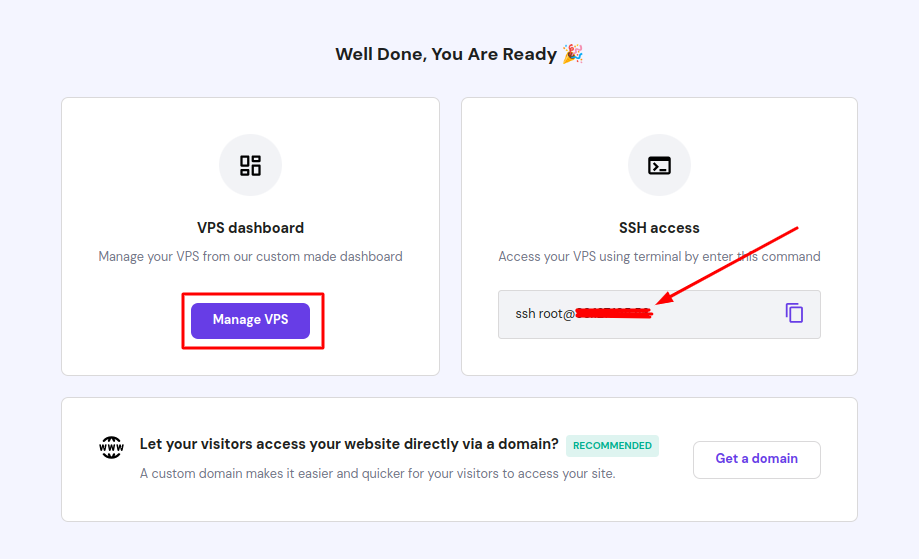
- Congratulations! You have successfully created your Hostinger VPS, which is now ready to connect with ServerAvatar.
Initial Server Configuration
The Initial server configuration includes the installation and configuration of various packages required to host your website. Usually, You have to write commands and modify configuration files. Luckily, With ServerAvatar, Your full server configuration and optimization can be automated.
Here are the three ways to automatically configure your server with ServerAvatar.
Connect a server using a direct method
- Login/Register to ServerAvatar account, click the Create button from the right side of the screen, and select Server from the dropdown.
- Select Direct Method in the serve connecting method section.
- Type the Server Name as per your choice.
- Select a Tech Stack as per your need. You can either select Apache, Nginx, OpenLiteSpeed or Node Stack.
- Select a Database: MySQL, MariaDB or MongoDB.
- Enable the toggle if you want to install the latest LTS version of node.js on your server.
- Select a Management plan and click the Connect Now button.
- You’ll see the command on your screen. Login to your server using an ssh connection and execute that command as a root user.
- The server connection process will be started on your ServerAvatar account after executing the command.
Connect a server using integration
- Login/Register to your ServerAvatar account, navigate to the Integration tab from the sidebar of the panel, and access Cloud Platform from the dropdown.
- Now Select a cloud platform you want to link with ServerAvatar.
- The popup form will appear on your screen. Enter details to link your cloud provider account. The integration method is different based on the cloud provider you select.
- You can integrate five different cloud provider platforms with ServerAvatar, which is-
Check the above link of cloud platforms to know more about integrating cloud platforms with ServeAvatar.
Connect a server using commands
Step 1. Login to your server using root user
Once you create a server as per your requirements, connect to your server using an ssh connection and execute the below three commands as a root user in your server console area.
wget https://srvr.so/install
chmod +x install
./install
Step 2. Select a web server
It will ask you which web server you would like to install on your server: Apache, Nginx, OpenLiteSpeed or Node Stack. Type anyone that you would like to install on your server and hit the enter button.
Step 3. Claim your server
Completing the process will give you a link to claim your server.
Open the link on your browser to access the ServerAvatar server panel.
Install and Setup NodeBB on Cloud using ServerAvatar
Getting Started With NodeBB:
NodeBB is a next-generation discussion platform that leverages web sockets for instant interactions and real-time notifications. It includes many modern features such as social network integration, streaming discussions, a full REST API, and a plugin framework for extensive third-party extensibility. As an open-source project, NodeBB can be forked on GitHub.
Requirements:
- Node.js
Let's begin by creating the application.
Step 1: Create a NodeBB application
- Log in to your ServerAvatar account and navigate to the Application tab from the server panel. click on the Create button.
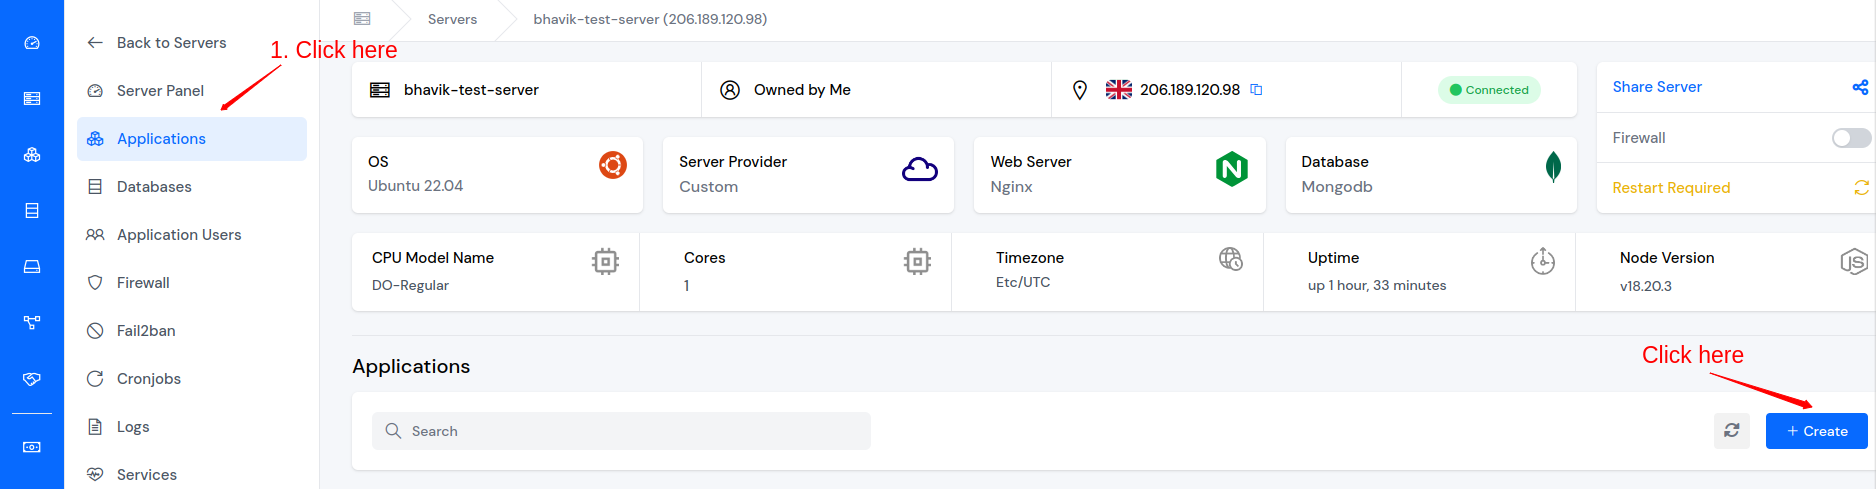
-
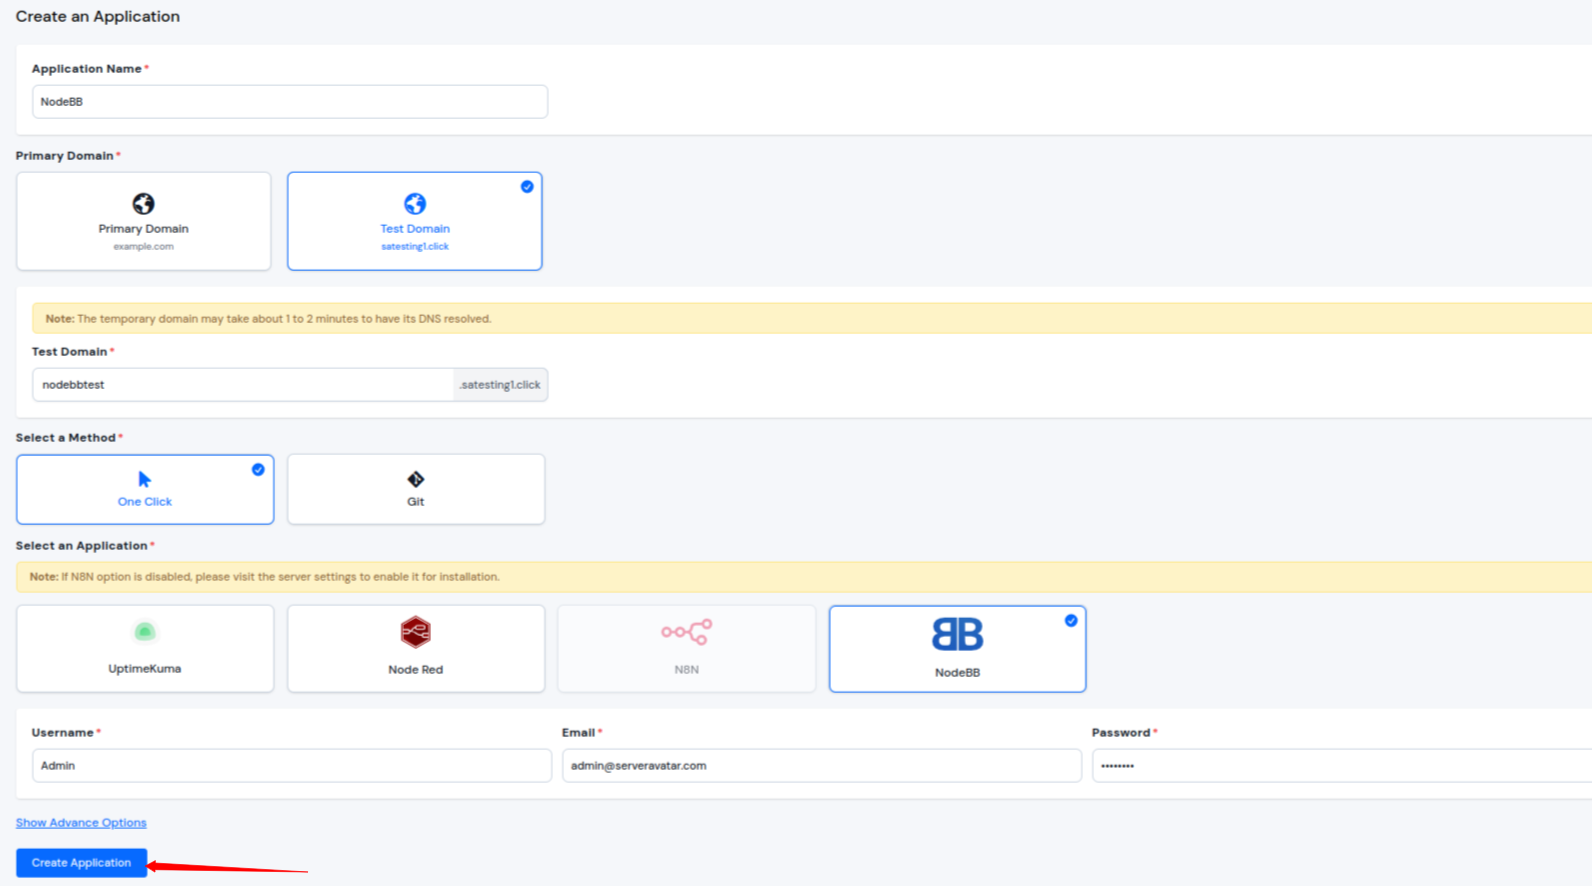
On the following screen, fill in the Application details, including:
- Application Name: Enter your Application Name.
- Select Domain: Select between a Test Domain or a Primary Domain as per your requirements.
- Enter Domain: Enter your Application Domain.
- Method: Select One Click as your application method.
- Select Application: Select NodeBB as an Application.
- Username: Enter your application Username.
- Email: Enter your user Email id.
- Password: Enter the Password for your application.
-
After Filling up the details, click on the Create Application button.
Step 2: Access NodeBB
- Once the NodeBB Application is created, click on the domain link of your NodeBB application.
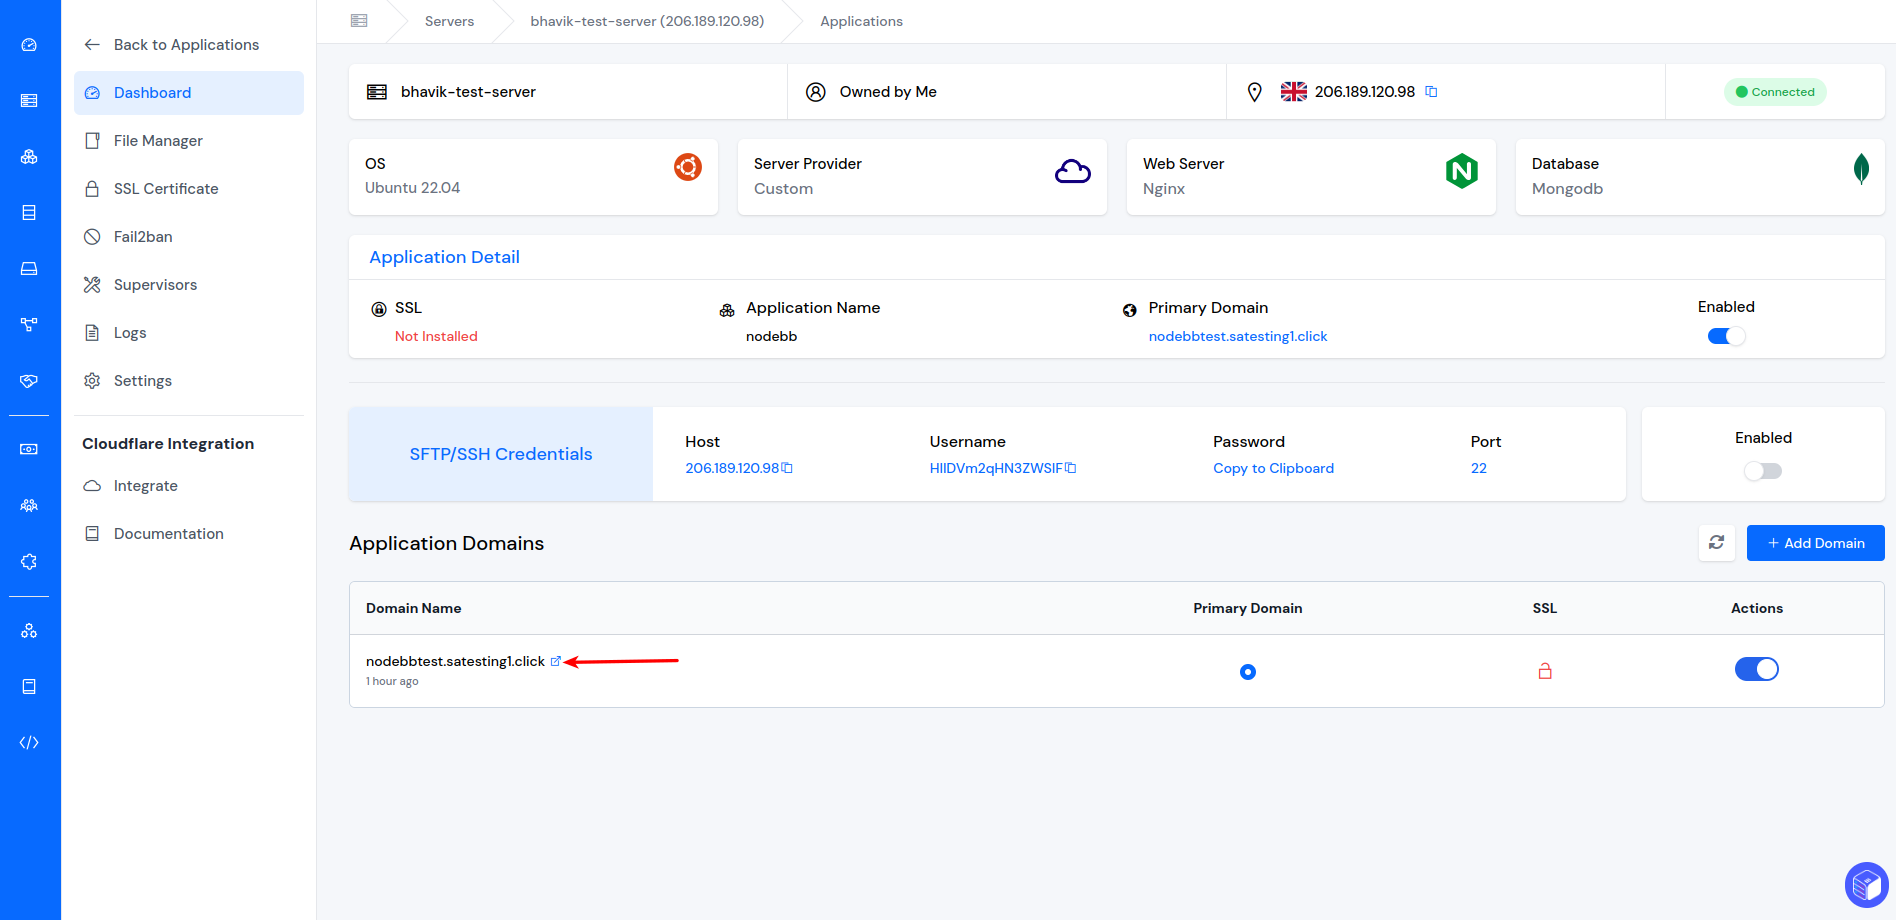
-
The NodeBB interface will open, showing that the installation and setup have been completed successfully.
- Enter your Username and Password.
- Click the Login button.
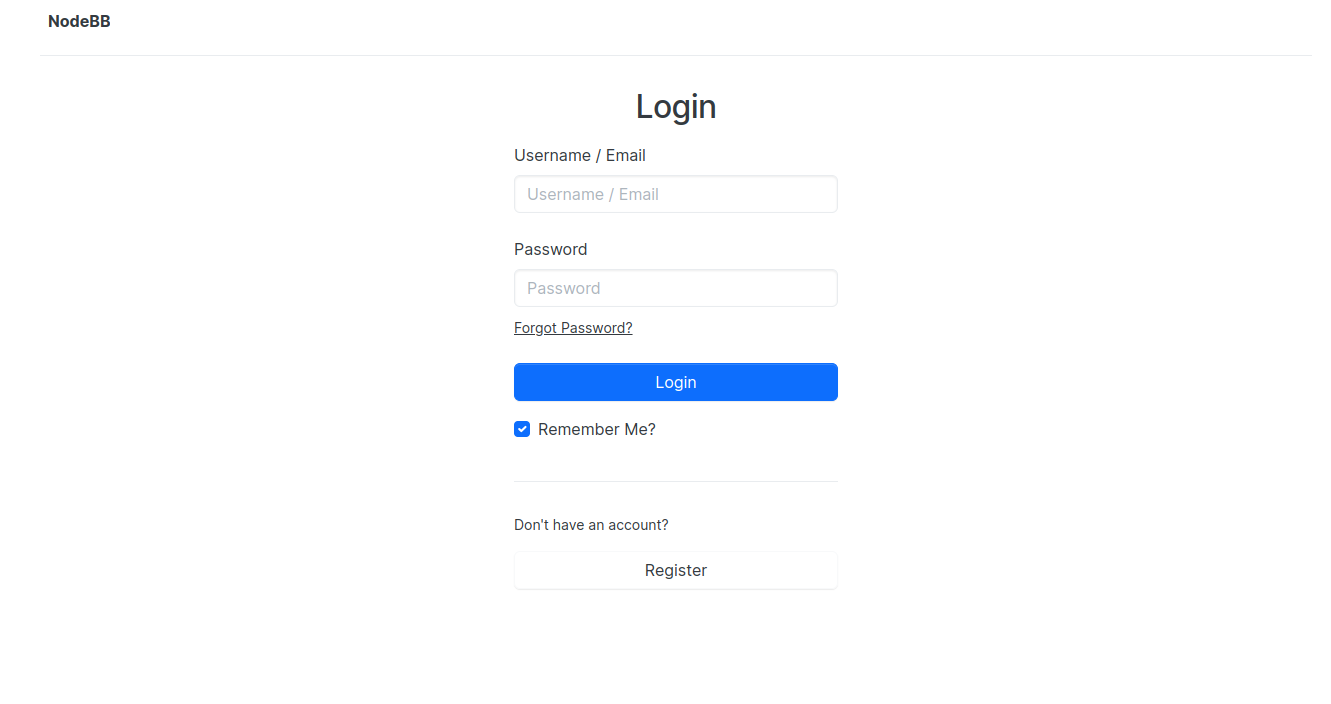
- Congratulations! You've successfully set up a fully functional NodeBB application using ServerAvatar. Enjoy exploring the robust features.