Servers
The Servers section provides a detailed overview of all servers of users. It includes the server's unique ID, name, associated user, subscription plan, web server, database, status, and actions for viewing the details of a particular server and deleting the particular server.
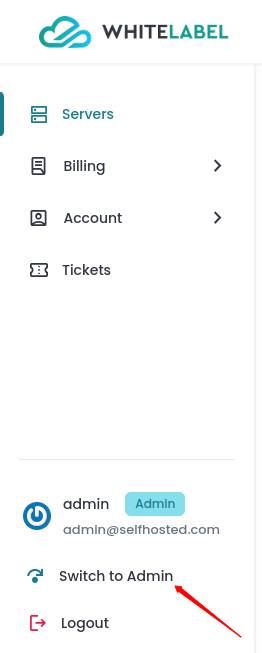
Step 1: First, log in to the Self Hosted panel, and go to the admin side by clicking on Admin as shown in the image below.
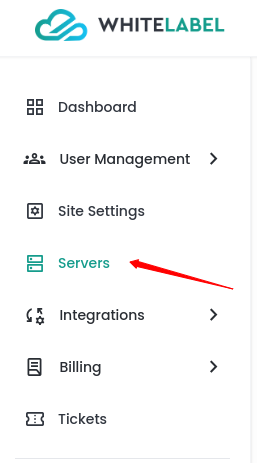
Step 2: Click on the Servers option from the left side panel.
Each entry in the log includes the information related server as shown in the image below.
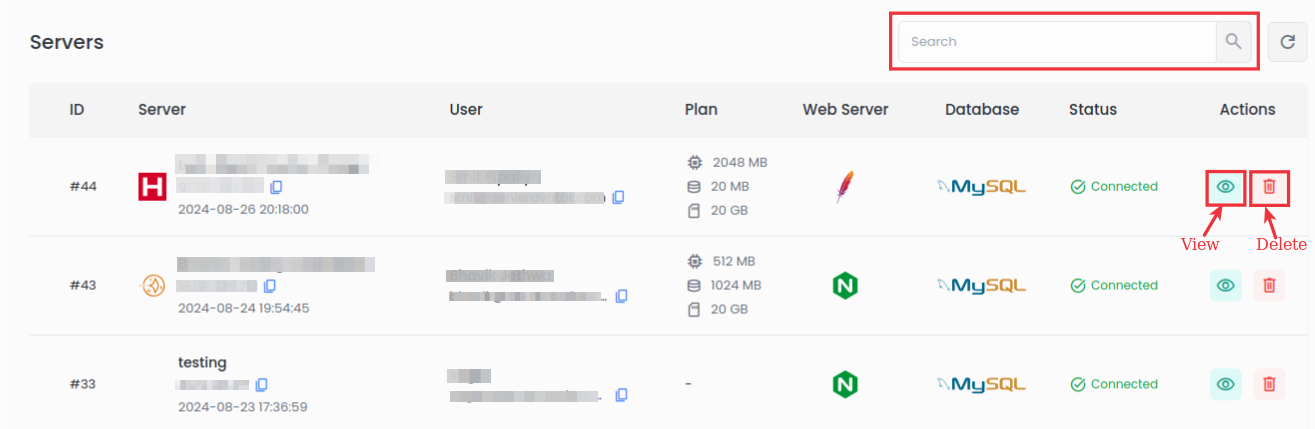
The column Server shows the server's name with it's IP address, User column indicating the users assosiated with the account and their email ID , and the Plan column specifies the type of subscription or service plan assigned to the server.
The Web Server and Database columns views the types of web server and database systems in use.
The Status column provides real-time updates on the server's operational condition, such as connected, or disconnected.
Each column has Actions which include options to View detailed information about the server or Delete the server from the list as shown in the image.
Additionally, a search function is available, allowing users to efficiently locate a specific server by entering relevant identifiers, thereby streamlining server management and monitoring.
View Server
- You can view the details and update the plan of particular Server. Simply, click on the View icon next to the particular server to view the detailed information as shown in the below image.
-
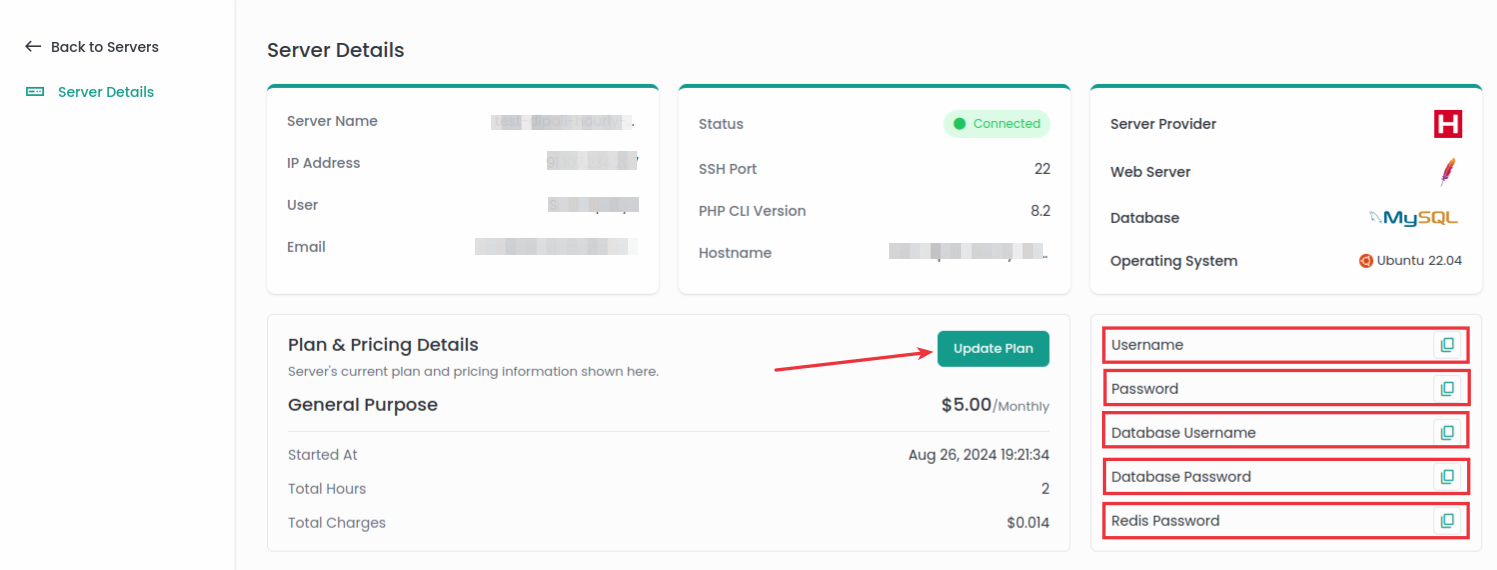
Server Details: You can see the server details including the server name, IP address, username, email ID, server status, SSH Port of the server, PHP CLI Version of the server, hostname, server provider, installed Webserver, installed database, and operating system of the Server.
-
Plan & Pricing Details: Here, you can view the plan and pricing of the server including the starting date of the plan with the total usage hours and total usage charge. Additionally, You can update the server's plan by clicking on the Update Plan button.
-
Additionally, you can copy the server's username and password, the database username and password, and copy the Redis password by clicking on the provided copy icon next to each detail.
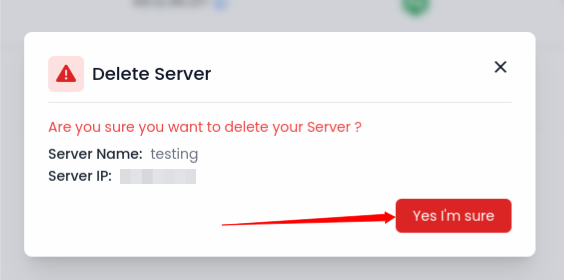
Delete Server
- You can delete the server by simply clicking on the Delete icon and then select the Yes, I'm sure option to delete the particular server from the User Account.