Manage Members
Overview
In ServerAvatar, you can add multiple members to your organization and assign them appropriate roles and designations. Each role comes with different permissions based on the member's responsibilities.
Adding a New Member
Step 1: Log in to ServerAvatar.
Step 2: Navigate to the Team Management option from the sidebar.
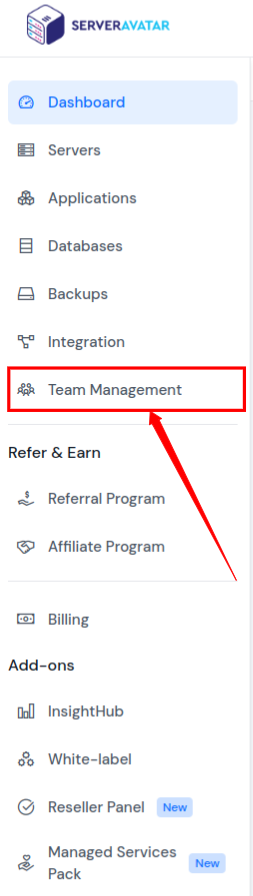
Step 3: Open the Members section as shown in the image below.

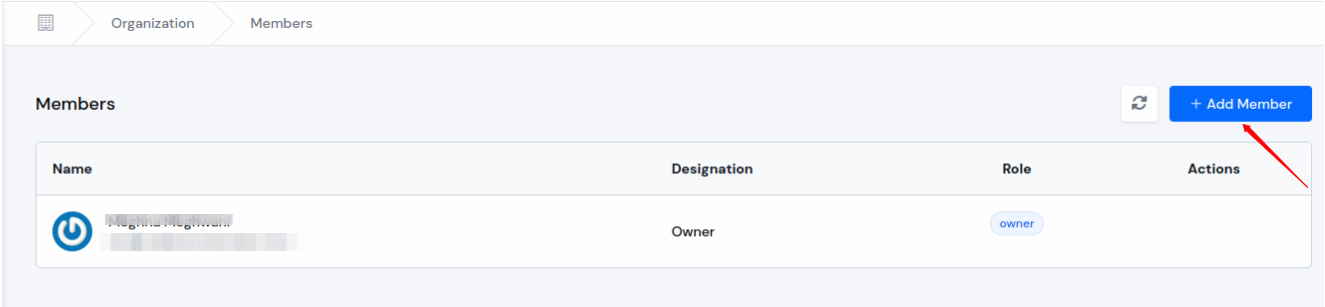
Step 4: Click on the Add Member button on the Members page.
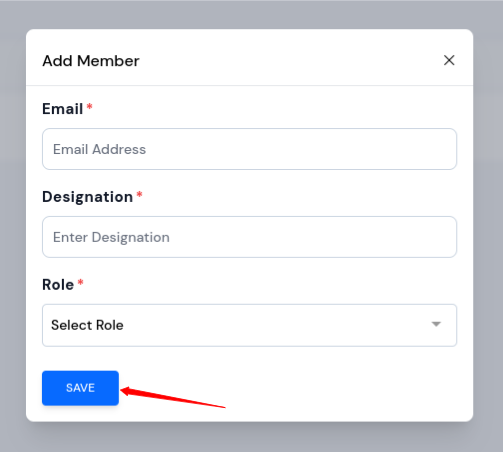
Step 5: A form will appear. Enter the email address of the person you want to add as a member.
Step 6: Enter the member's designation.
Step 7: Choose the role you want to assign to the member.
Step 8: Click on the Save button to add the member.
Once saved, the member will appear in the Members list and will receive access based on the assigned role.
Editing Member Details
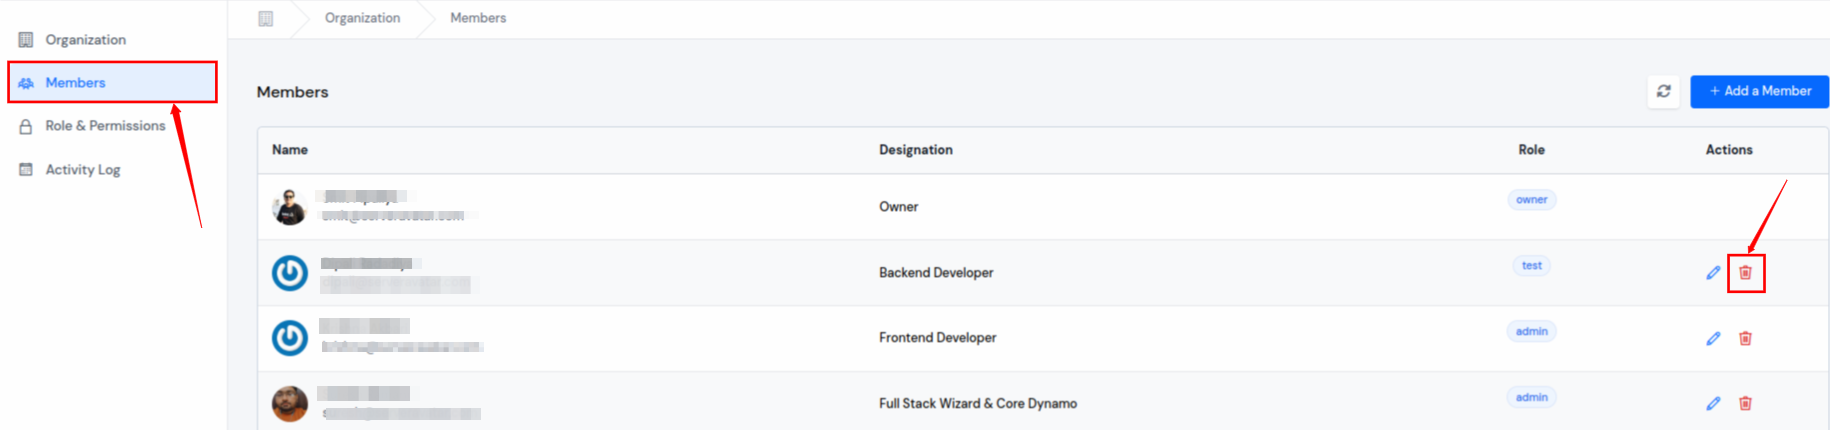
- You can edit the Designation and Role of a member by clicking on the Edit icon next to their name.

- A pop-up will appear where you can change the Designation and Role of the member. After making the necessary changes, click on the Save button.

Removing a Member
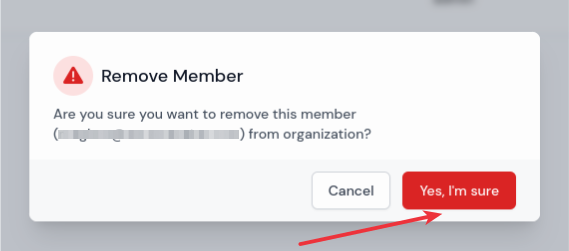
- You can remove a member by clicking on the Remove icon next to their name. If you remove a member, they will lose access to the organization's resources immediately.
- A pop-up will appear for the confirmation to remove the member. Click on Yes, I'm sure to remove the member.
Conclusion
By following these steps, you can easily add, update, and remove members in your organization within ServerAvatar. If you have any questions or face any issues, please contact our support team for further assistance.