Change a Server IP
Changing a server's IP address is a fundamental task in managing computer networks. Whether it's due to network upgrades, security concerns, or reorganization, this process involves assigning a new numerical label to the server. The IP address is what allows other devices on the network to find and communicate with the server, so altering it requires careful planning and execution to prevent disruptions in connectivity.
ServerAvatar enables users to change a server's IP from two different locations. Below are the steps for changing an IP Address of your server ServerAvatar:
By Following the below given steps you can easily change your Server IP:
Method 1:
Step 1: First, log in to the ServerAvatar Account.
Step 2: Click on the Dashboard button for the server you want to change the IP Address for.

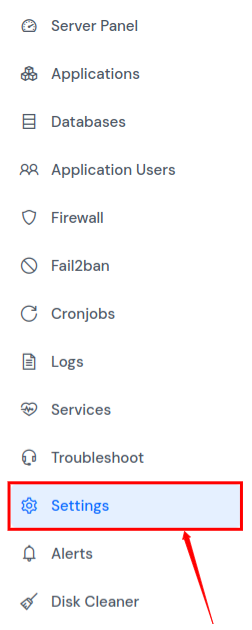
Step 3: In the left-hand sidebar of the server panel, click on Settings.
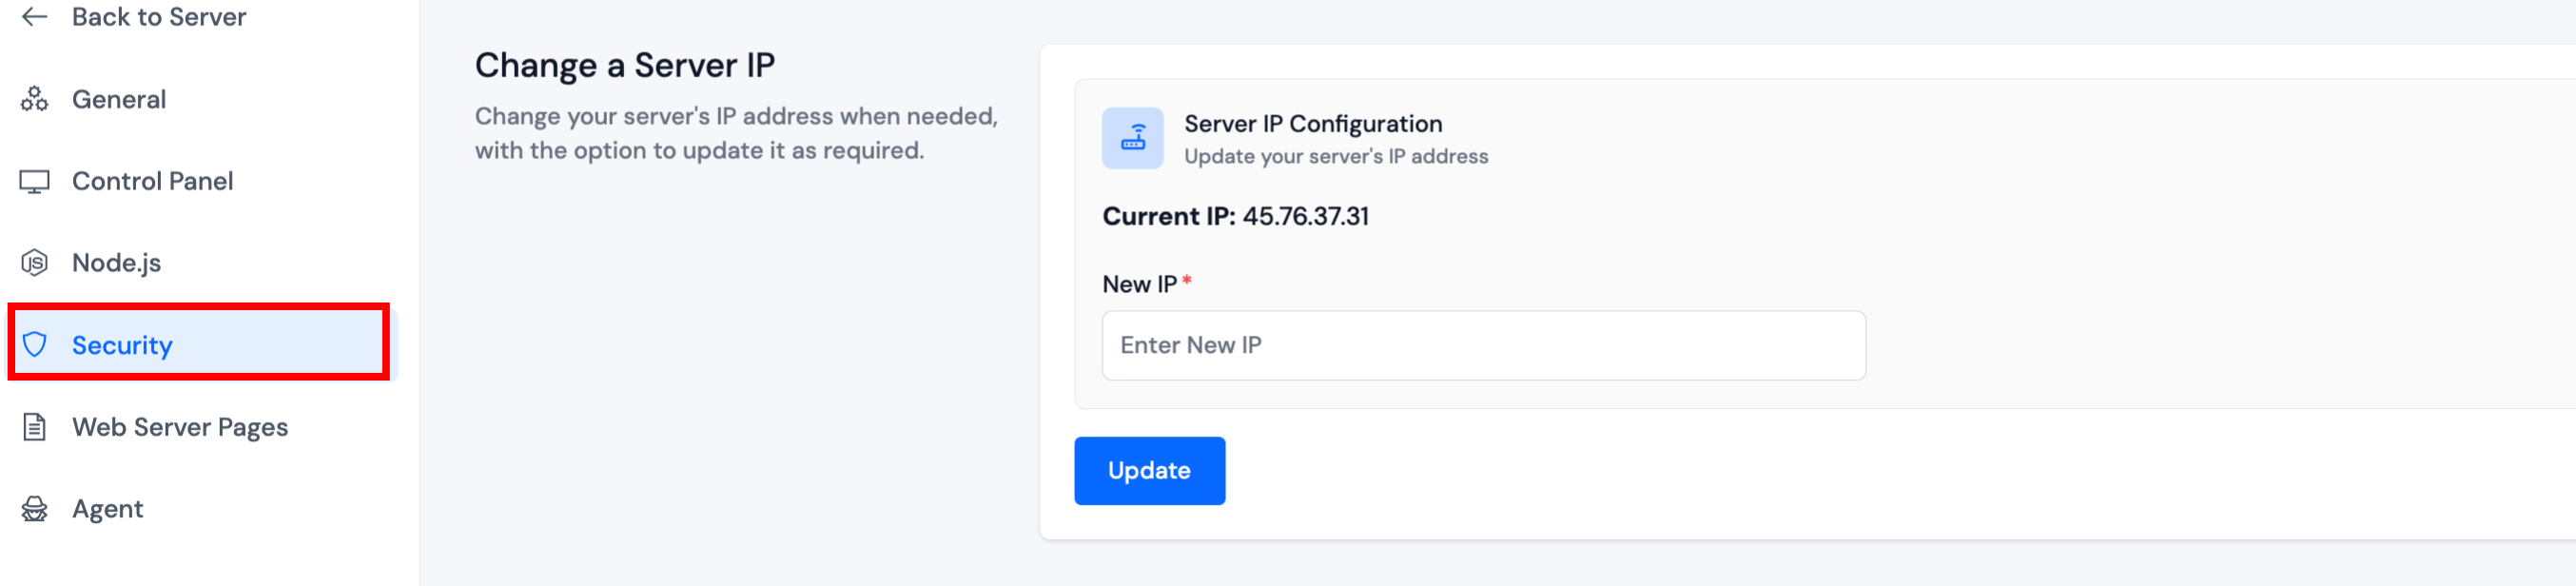
Step 4: In the settings sidebar, click on Security. Find the Change a Server IP section. Here, you'll see the current IP address and a field to enter the new IP address.
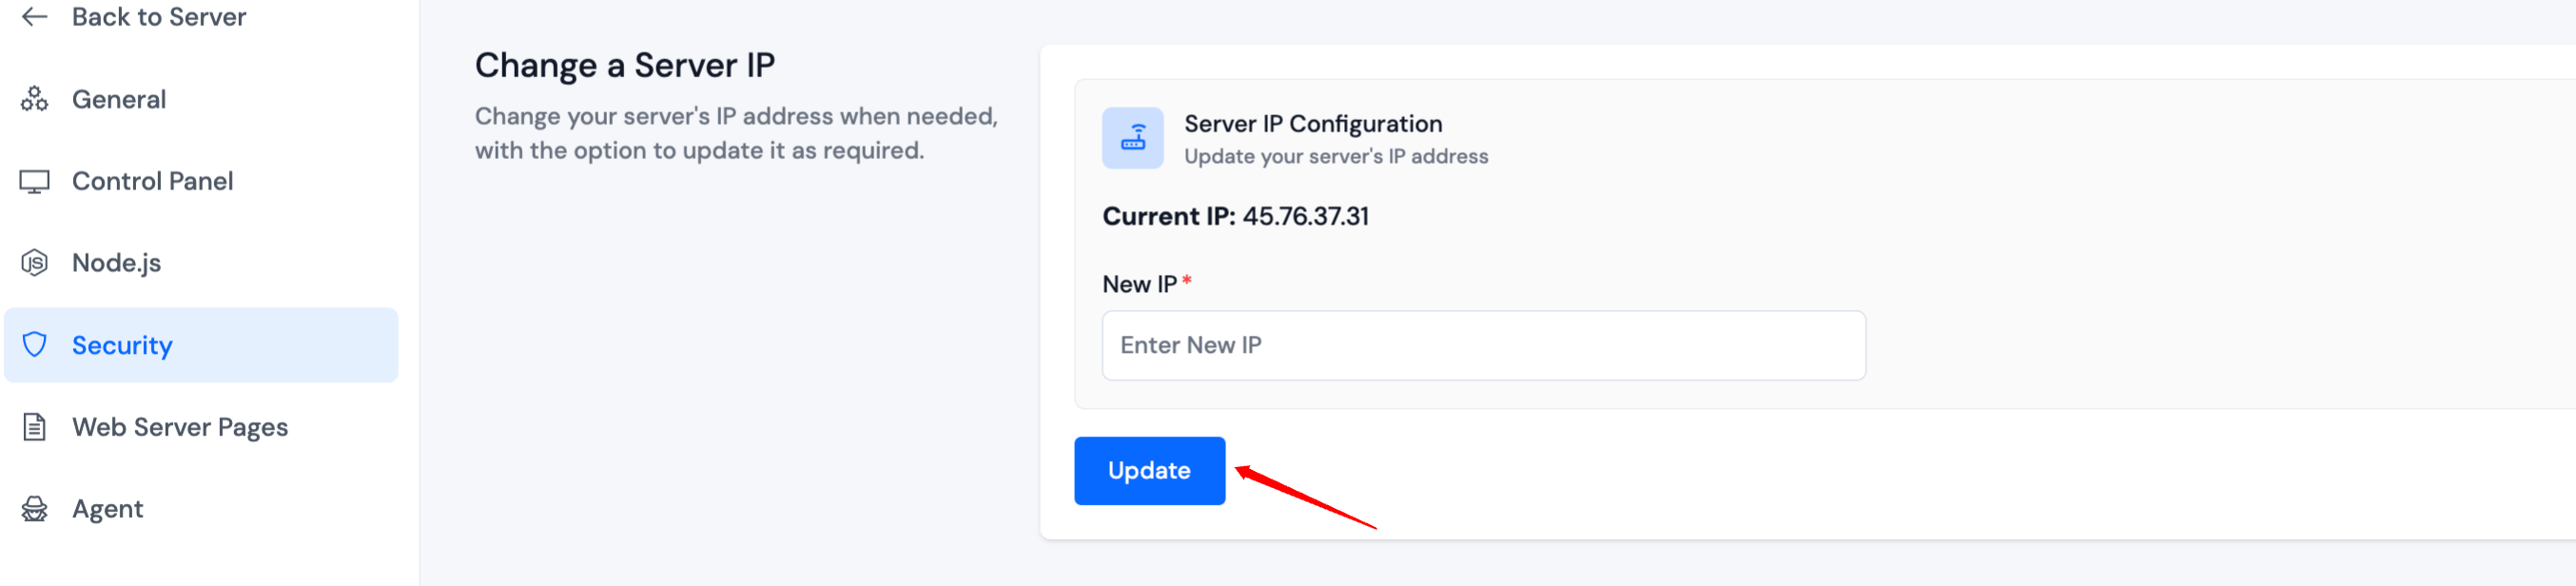
Step 5: You can see the Current IP of your Server and you have the option to enter New IP there, as shown in the image below. After making your changes, simply click the Update button to apply them.
Method 2:
Step 1: First, log in to the ServerAvatar Account.
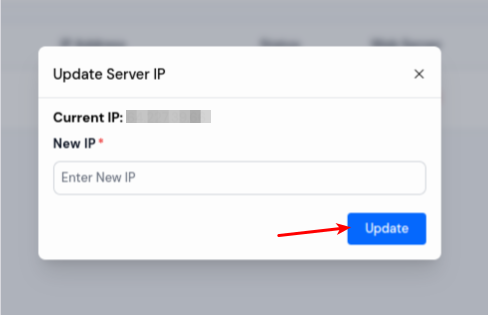
Step 2: Now, you will see the IP Address section in the Server List, as shown in the image below. Click on the edit icon next to the IP Address of the server you want to change and enter the new IP Address.