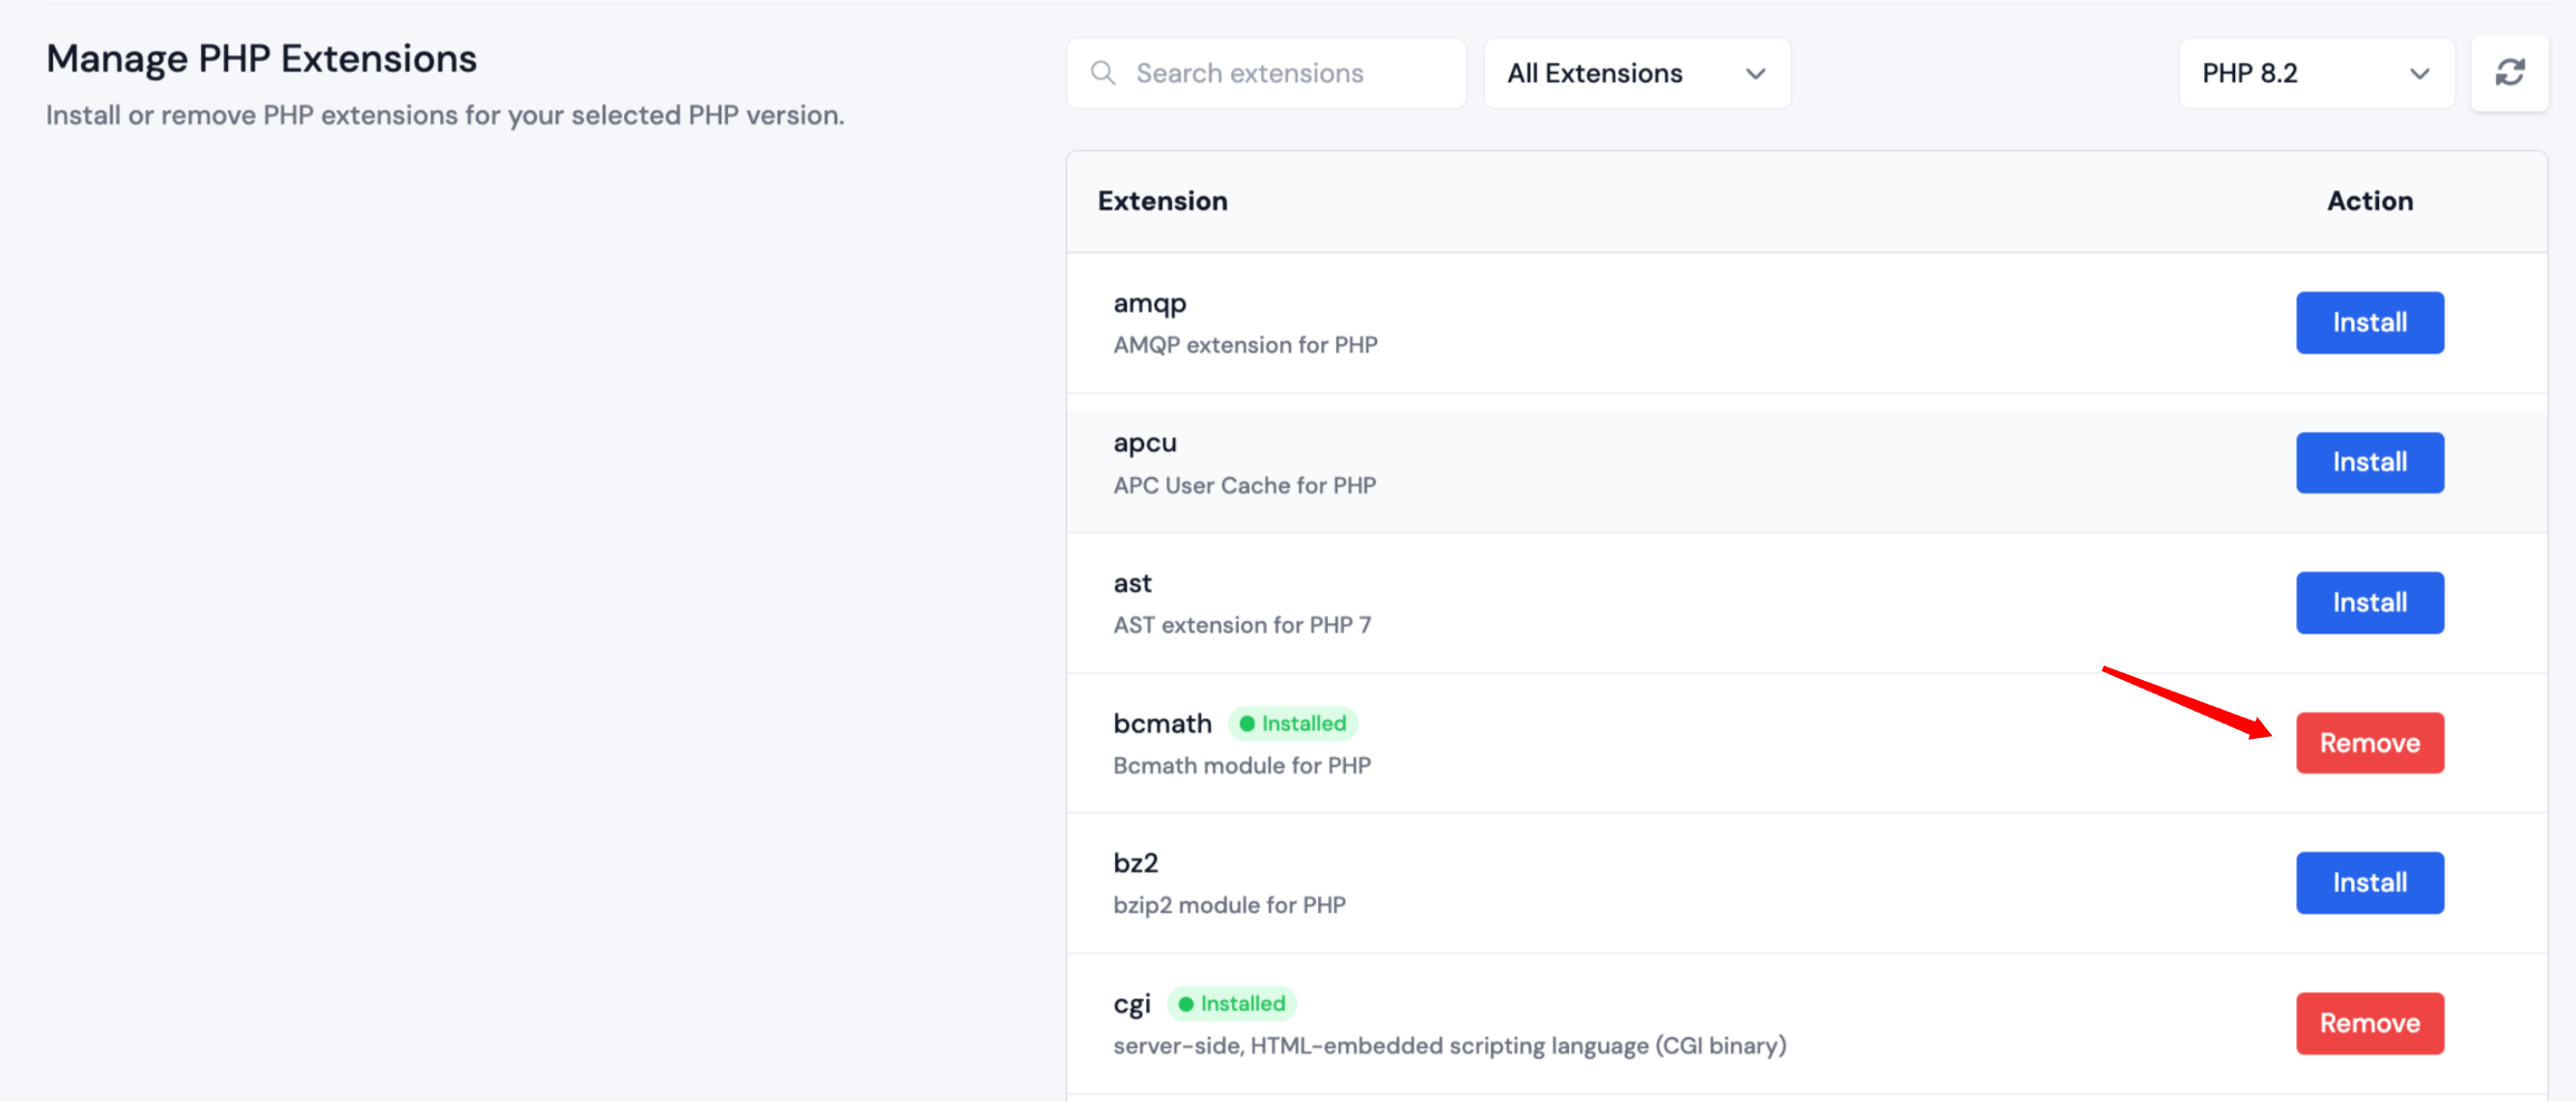
Manage PHP Extensions
ServerAvatar lets you install or remove PHP extensions directly from the server settings panel. The Manage PHP Extensions section lists every extension available for the PHP version currently running on your server, so you can enable the ones you need without touching the command line.
Open the Manage PHP Extensions view
Step 1: Log in to your ServerAvatar account.
Step 2: Open the server dashboard for the machine where you want to change PHP extensions.

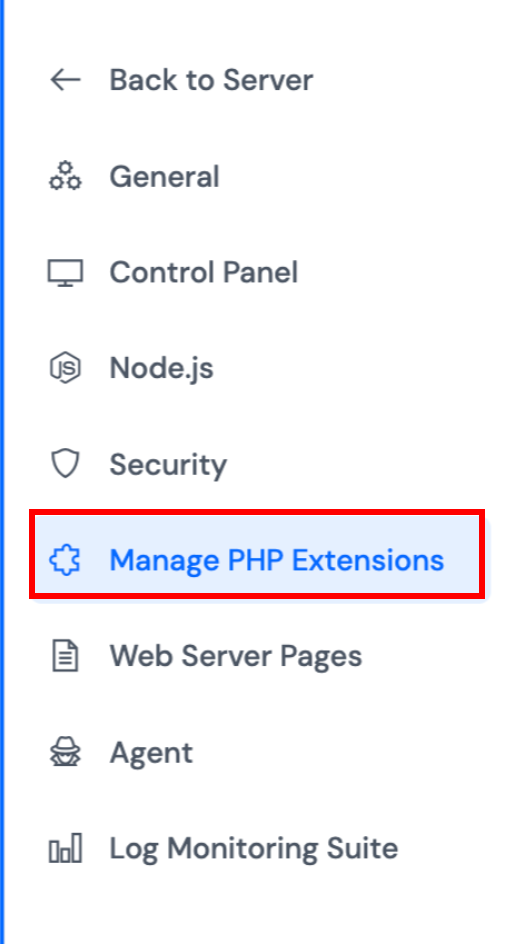
Step 3: In the server sidebar, click Settings and then select Manage PHP Extensions.
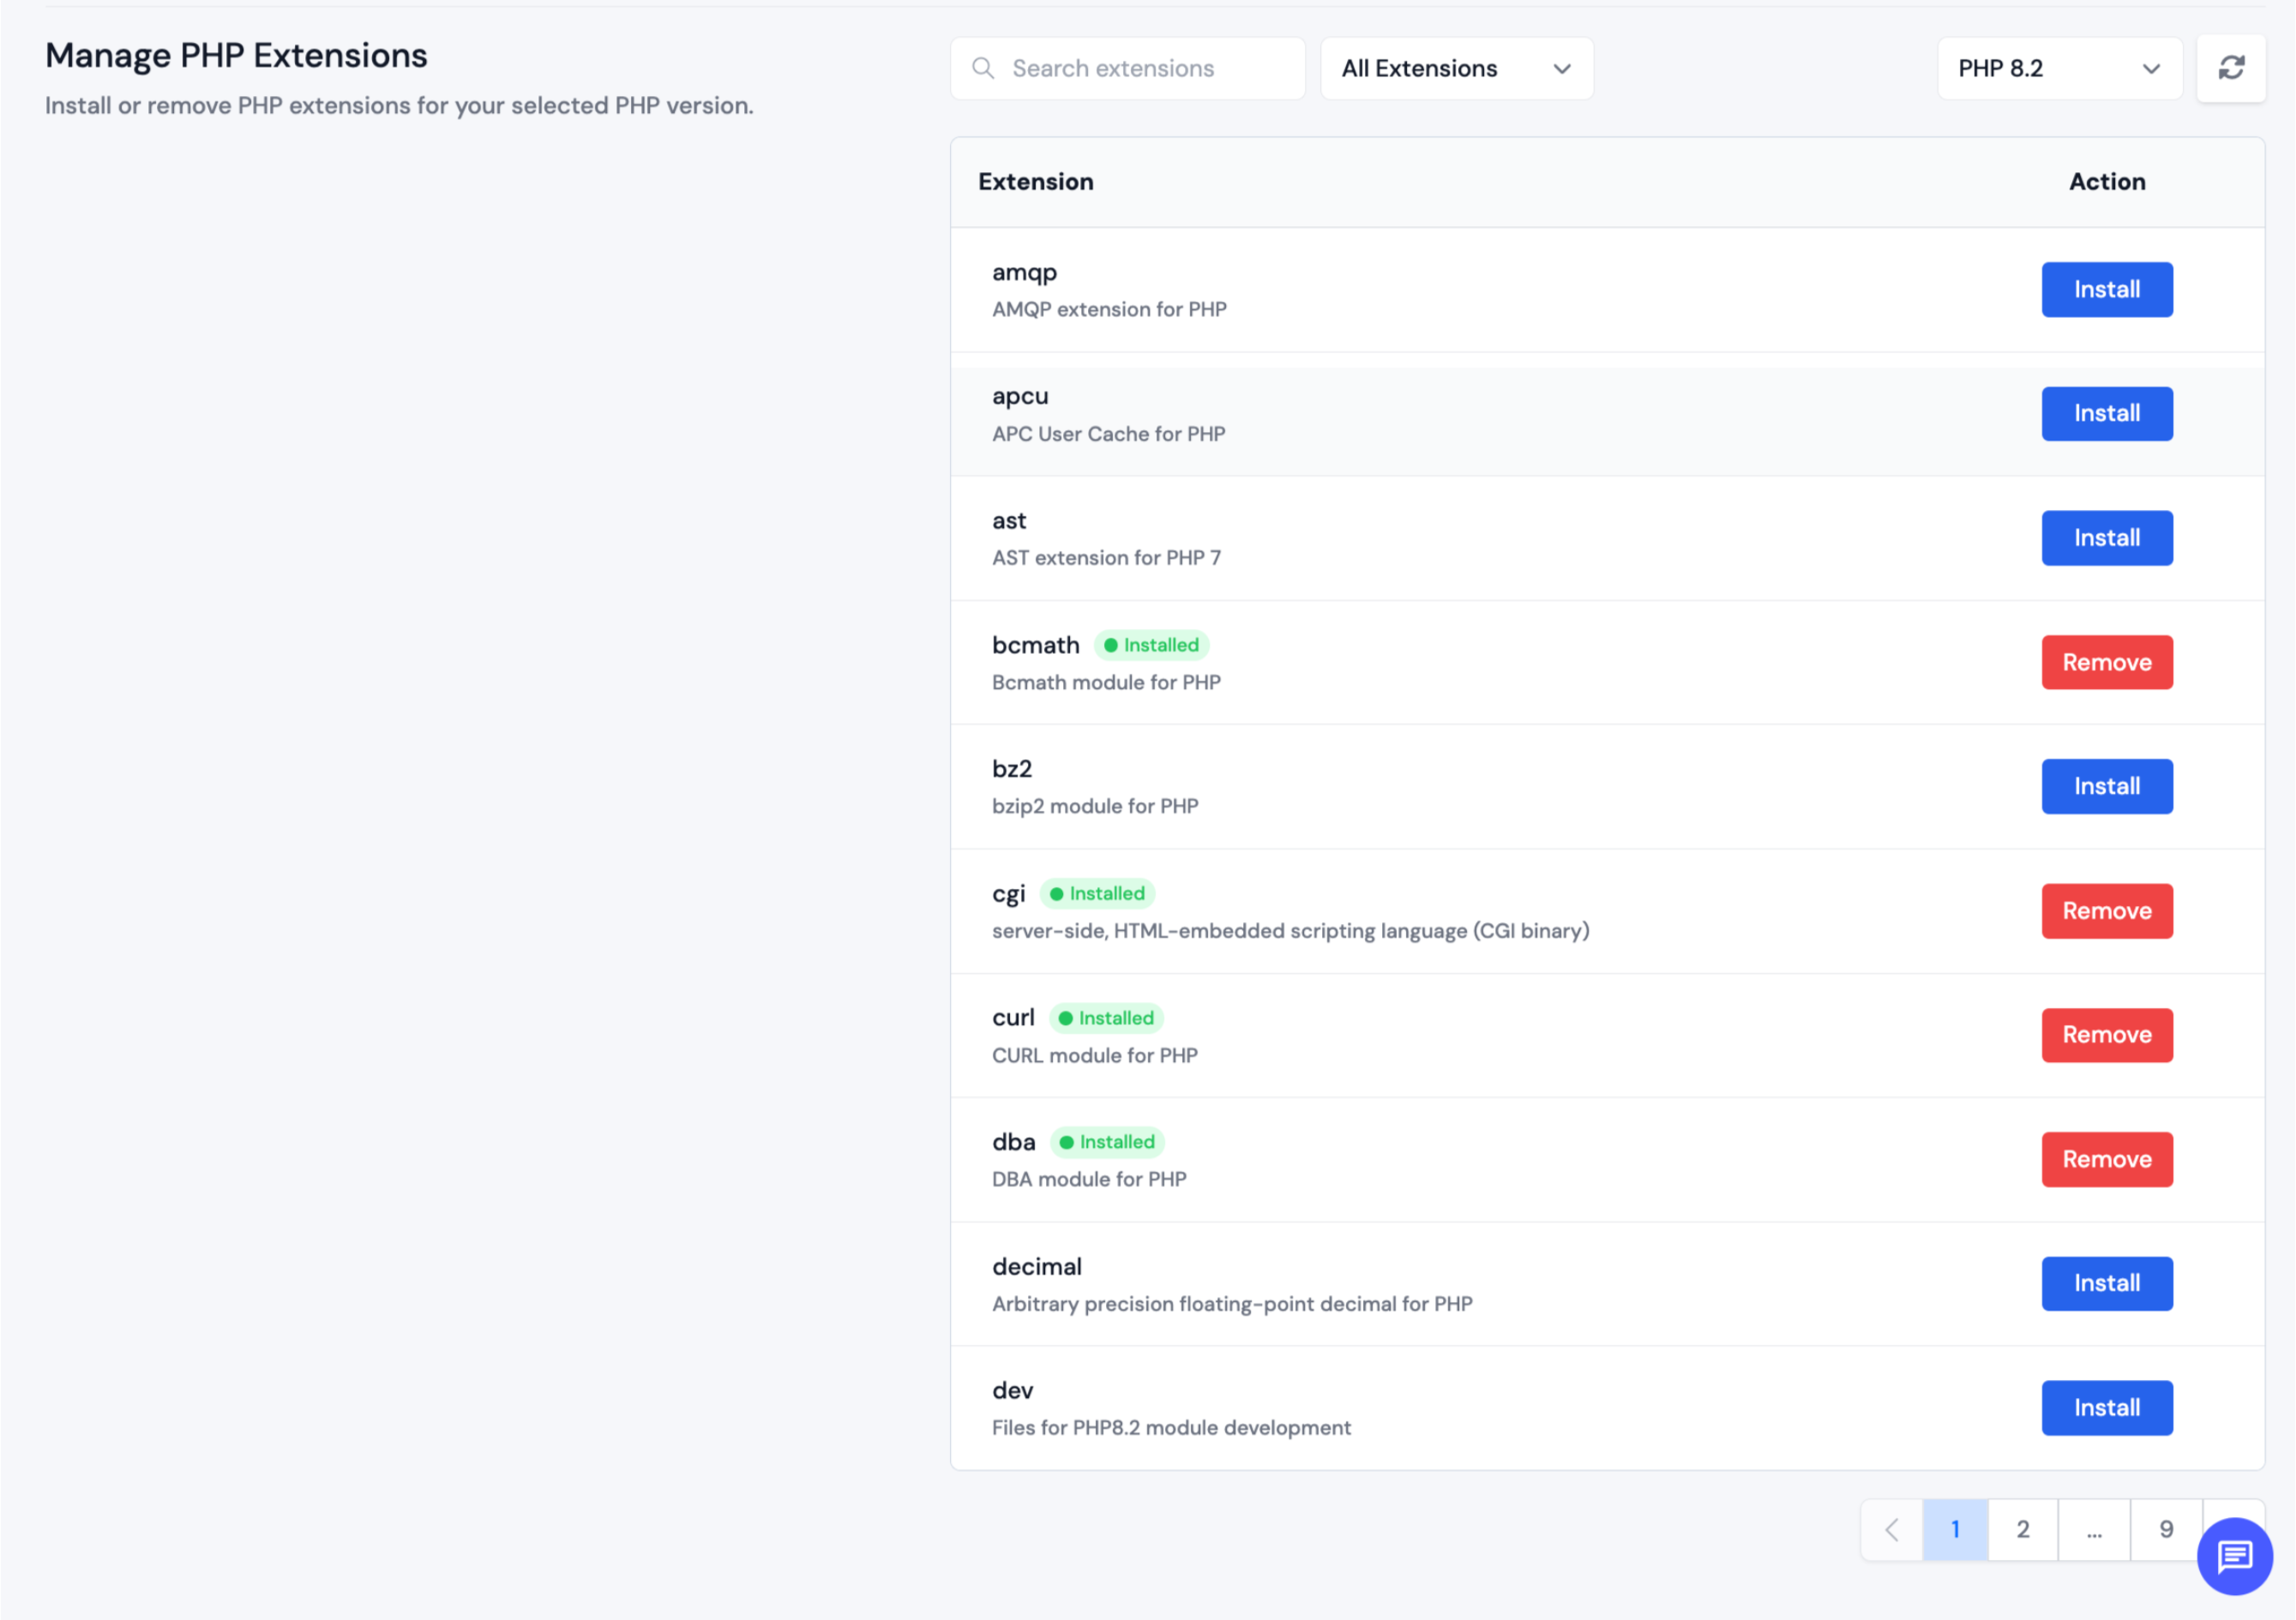
Step 4: Use the PHP version dropdown in the upper-right corner to pick the PHP version you want to manage (for example PHP 8.2). The list refreshes to display extensions that match that version. Each entry shows its status and provides a button under the Actions column.
Install a PHP extension
- Locate the extension you need (use the search box to filter the list if necessary).
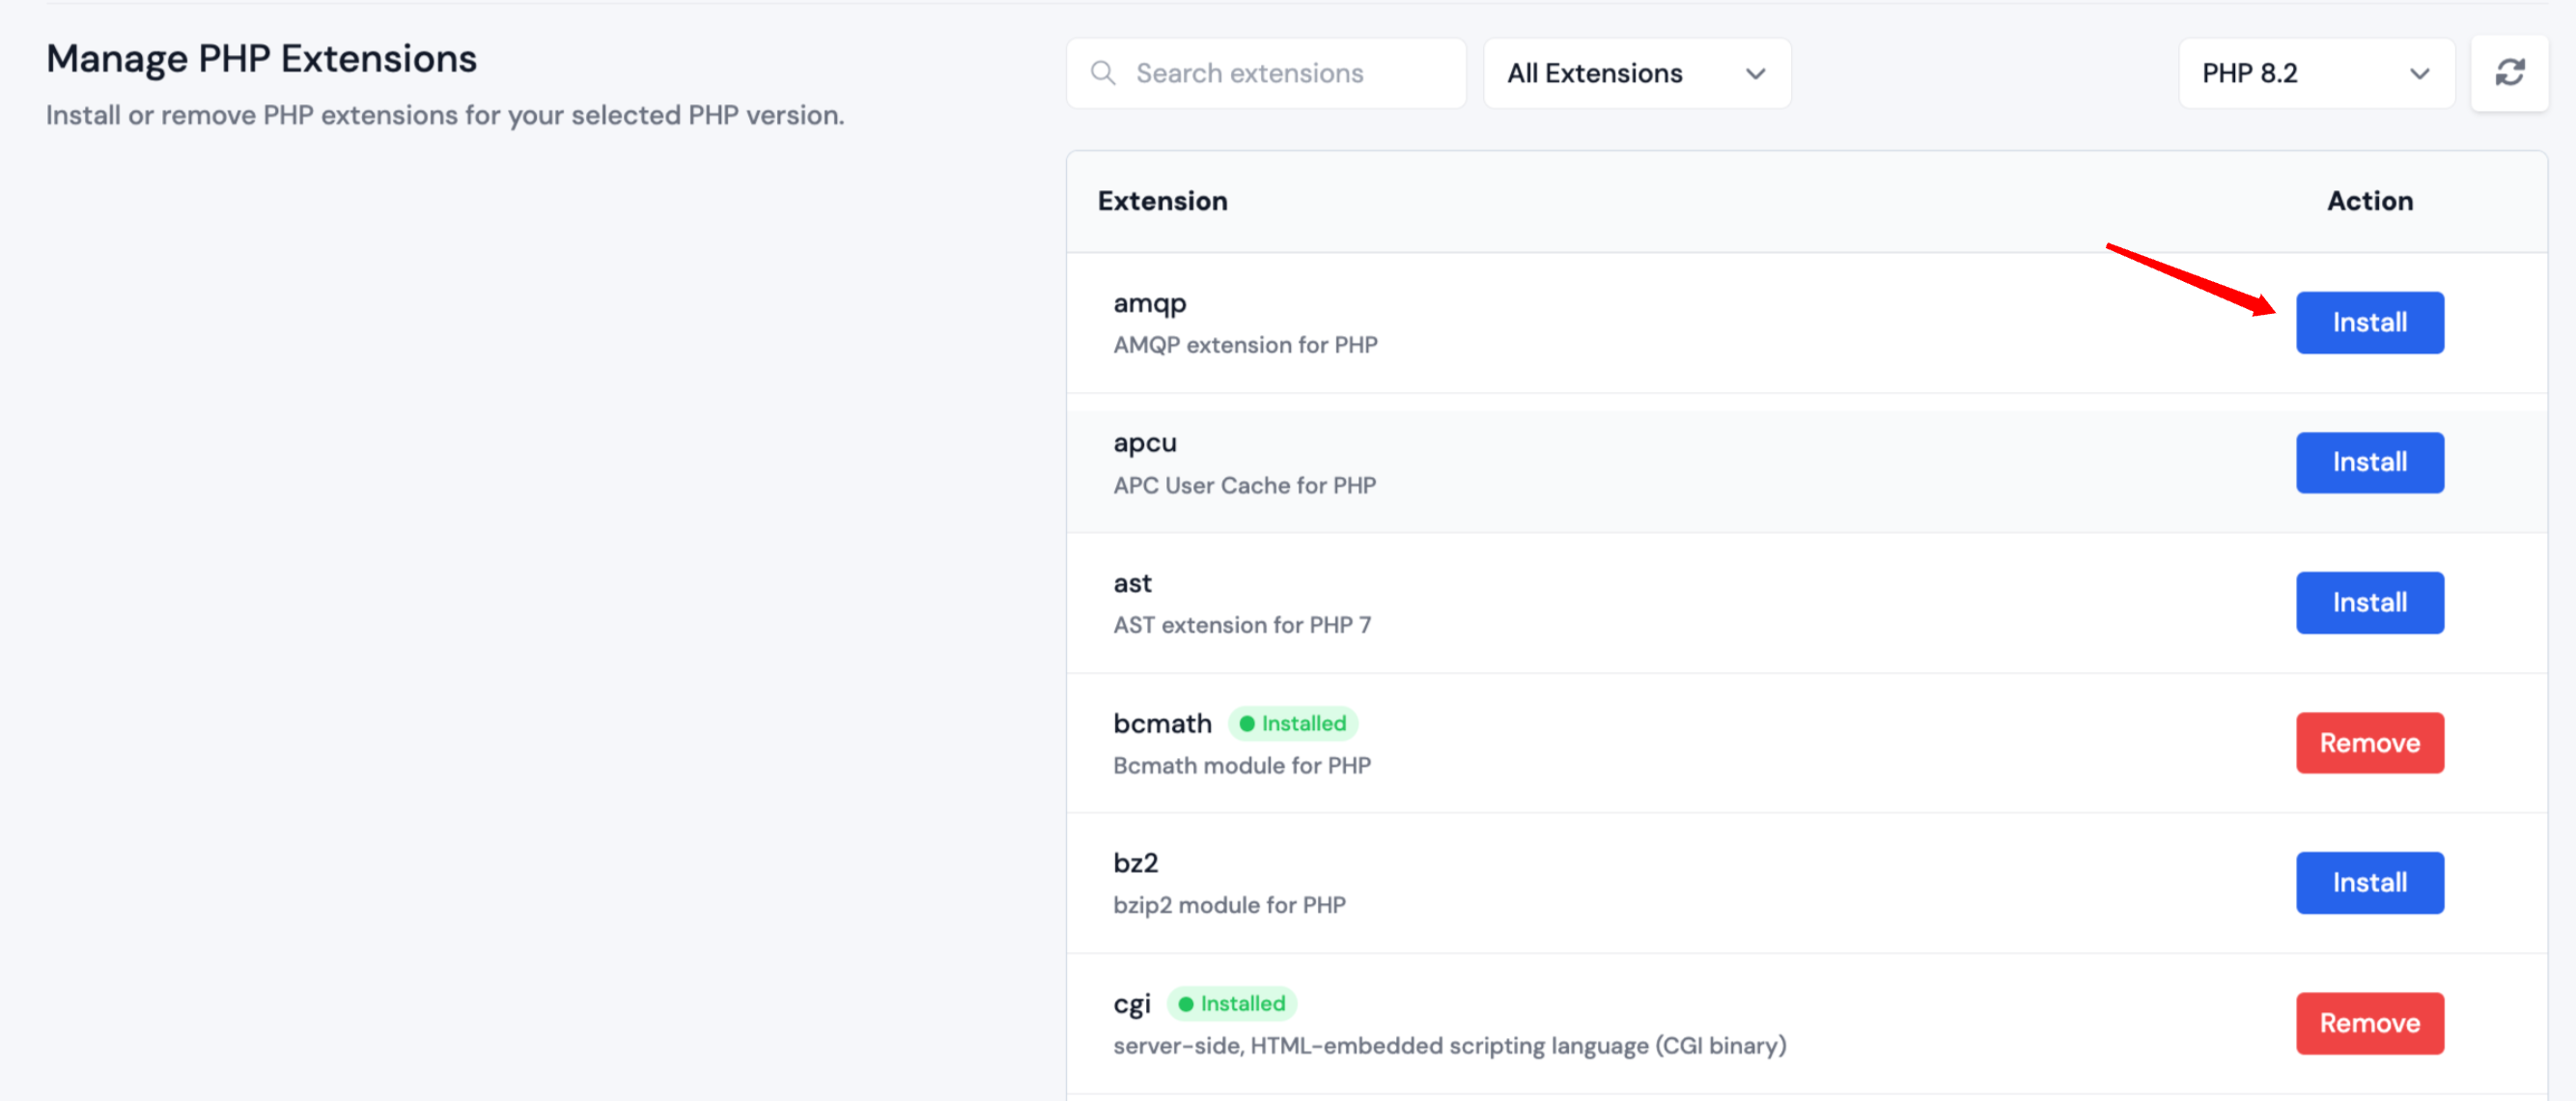
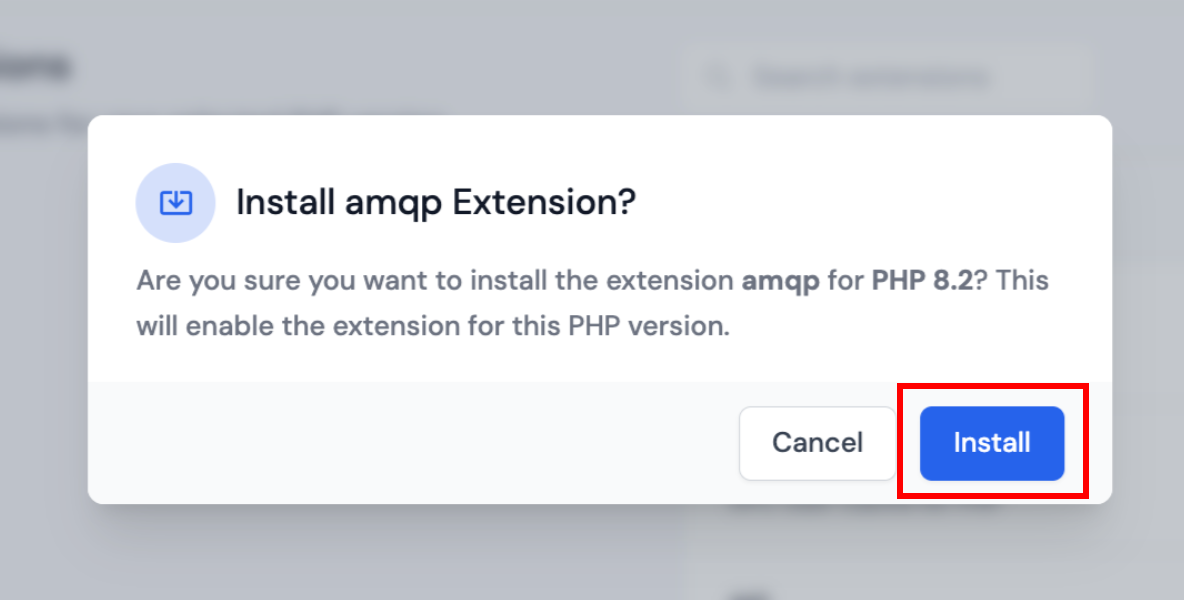
- Click Install button in the Actions column. ServerAvatar displays a confirmation modal describing the PHP version that will be affected.
- Click Install to begin the installation. While the extension is being installed the status badge switches to Installed once the process completes.
Installing an extension only affects the selected PHP version, so repeat the process if you rely on multiple PHP versions across applications.
Remove a PHP extension
- Find the installed extension in the list (installed extensions show a green Installed badge).
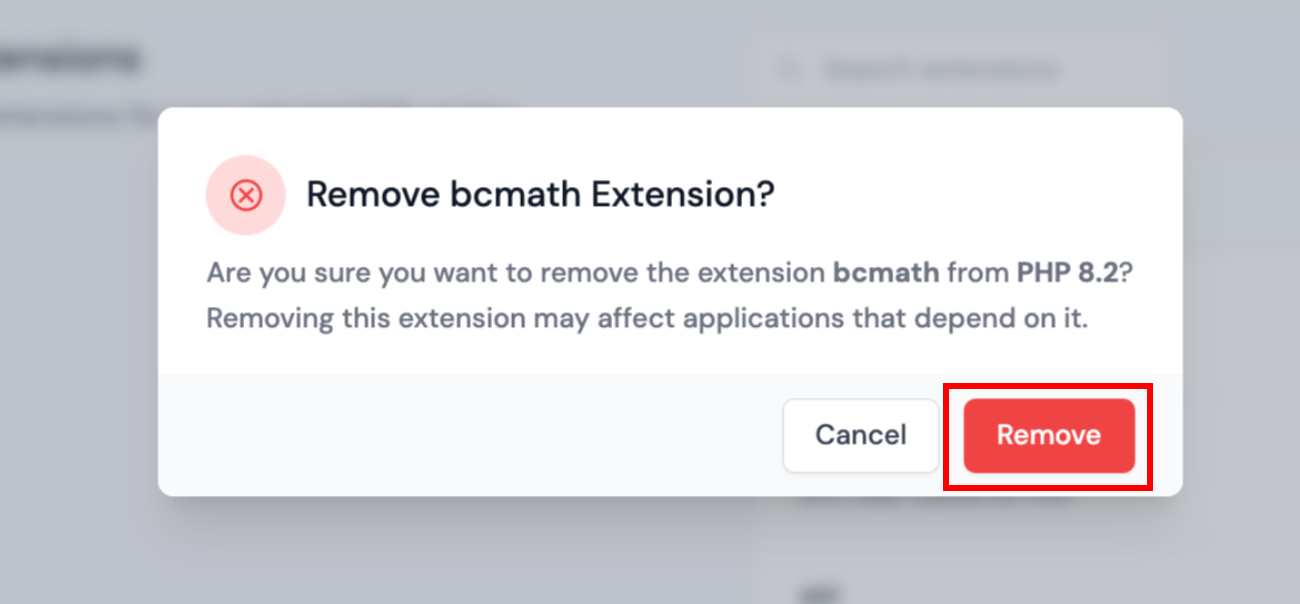
- Click Remove button. ServerAvatar warns you that removing the extension can impact applications that rely on it.
- Click Remove in the confirmation modal to uninstall the extension from the selected PHP version.
You can reinstall the extension at any time by repeating the installation steps above.