Staging Area
The "Staging Area" of your site is an environment that does not face your live customers or visitors. Initially, it is a clone of your site. You can make changes in the staging area, test them, and once you are ready to go live, you can copy all the changes from the staging area to the production site with a single click.
To access the staging site, you get a "temporary domain." A staging area is a complete application/site with all the features of an individual application. It means that you can change anything, but it will not affect your production or main site. If you mess up, you can delete the staging area and create a new one.
If you want to push updates from the staging area to a production site, you can do it with a single click on the "Sync" button. Follow the steps given below to learn how to use the staging area.
Step 1: First, log in to the ServerAvatar account.
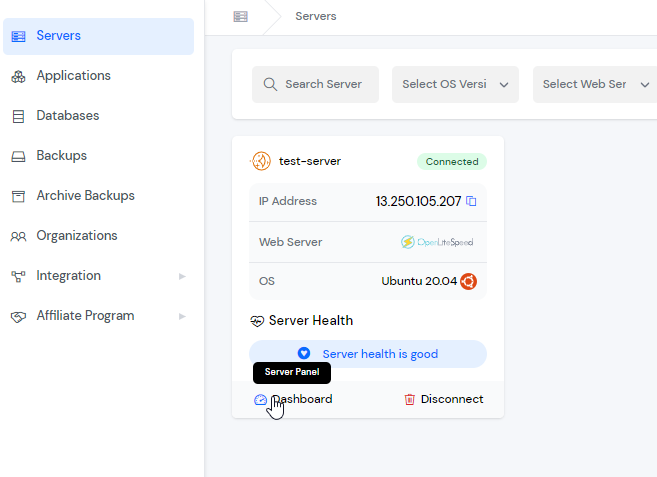
Step 2: Click on the Server Dashboard button.
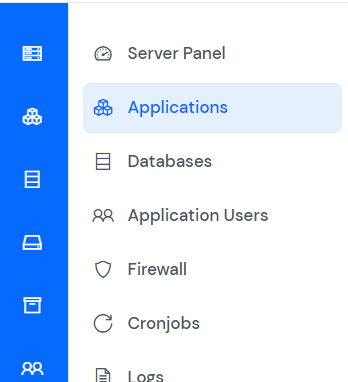
Step 3: Now, you will see the Applications option on the left-hand sidebar of the Server Panel. Click on Applications.
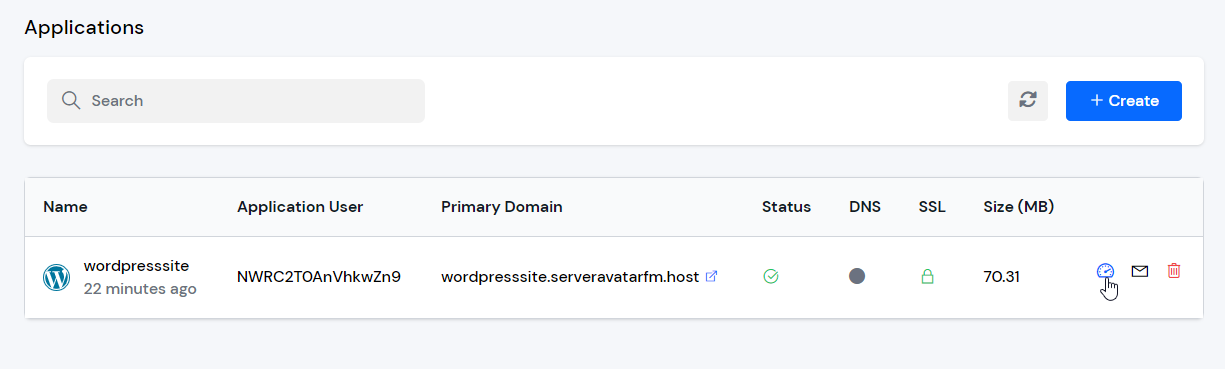
Step 4: You will see the Applications table, as shown in the image below.
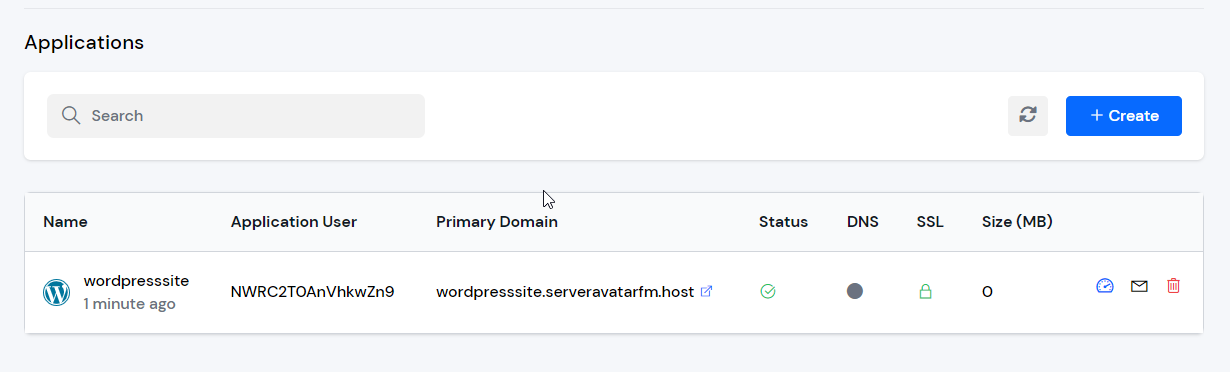
Step 5: Click on the Application Name or Dashboard icon to access the application panel.
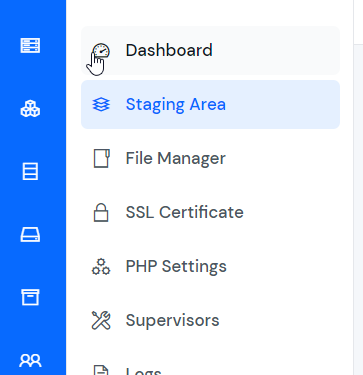
Step 6: Now, you will see the Staging Area option on the left-hand sidebar of the Application Panel. Click on the Staging Area.
Step 7: Now, you will see the Staging Area form, as shown in the image below.
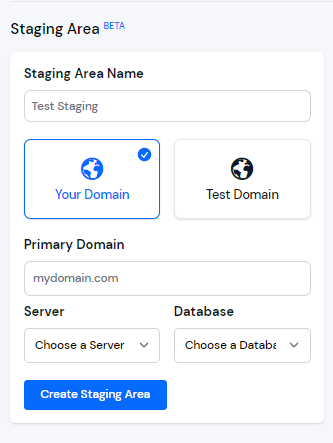
Step 8: Fill in all the details, and then click on the “Create Staging Area” button.
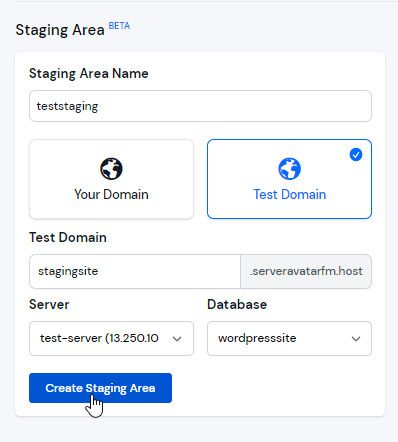
After that, you will see the staging area creation process.

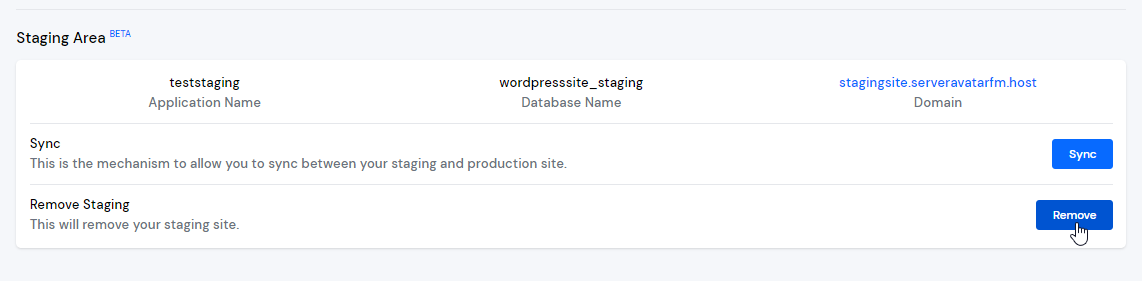
Step 9: After successfully creating the staging area, you will see the Staging Area, as shown in the image below.
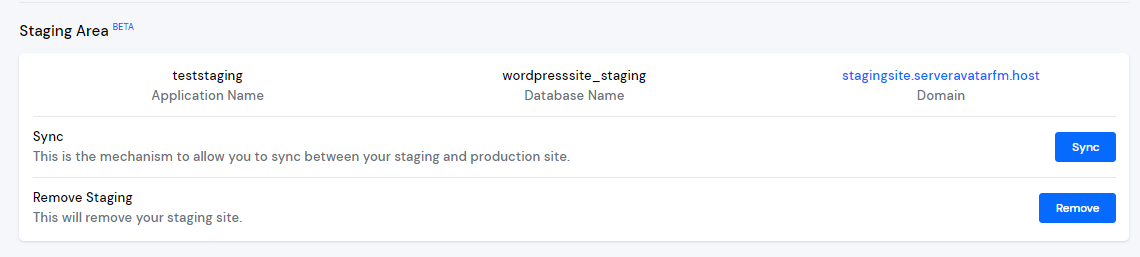
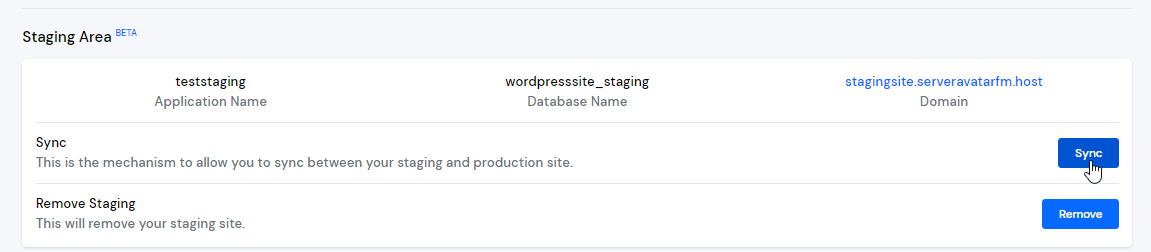
Step 10: If you want to Sync between your staging and production site, click on the “Sync” button.
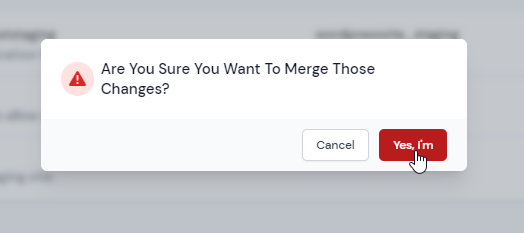
After that, a modal will pop up on your screen to merge your changes. Then click on the “Yes, I'm” button.
Step 11: If you want to Remove the staging area, click on the Remove button.