Blueprints
WordPress Blueprints let you save reusable WordPress configurations (themes and plugins from WordPress.org or custom ZIP packages, permalink structure, language, timezone, and format settings) and apply them automatically when you deploy new WordPress sites.
Accessing Blueprints
Step 1: Log in to your ServerAvatar account.
Step 2: Ensure you have purchased the WordPress Toolkit add-on.
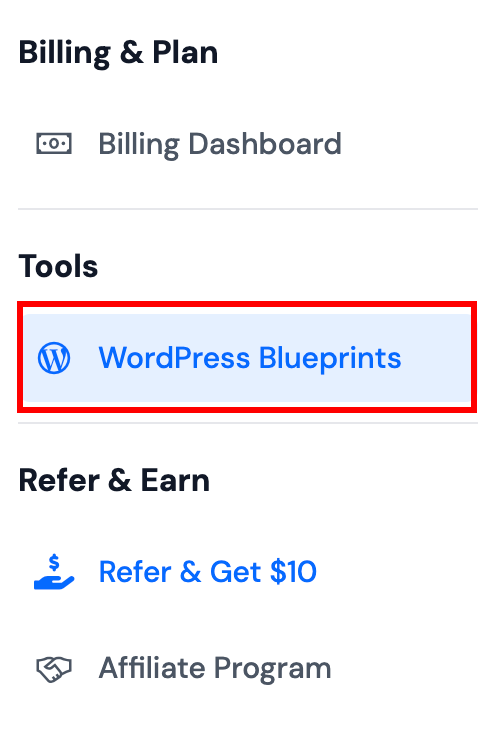
Step 3: In the main left-hand sidebar, scroll to the Tools section and click WordPress Blueprints.
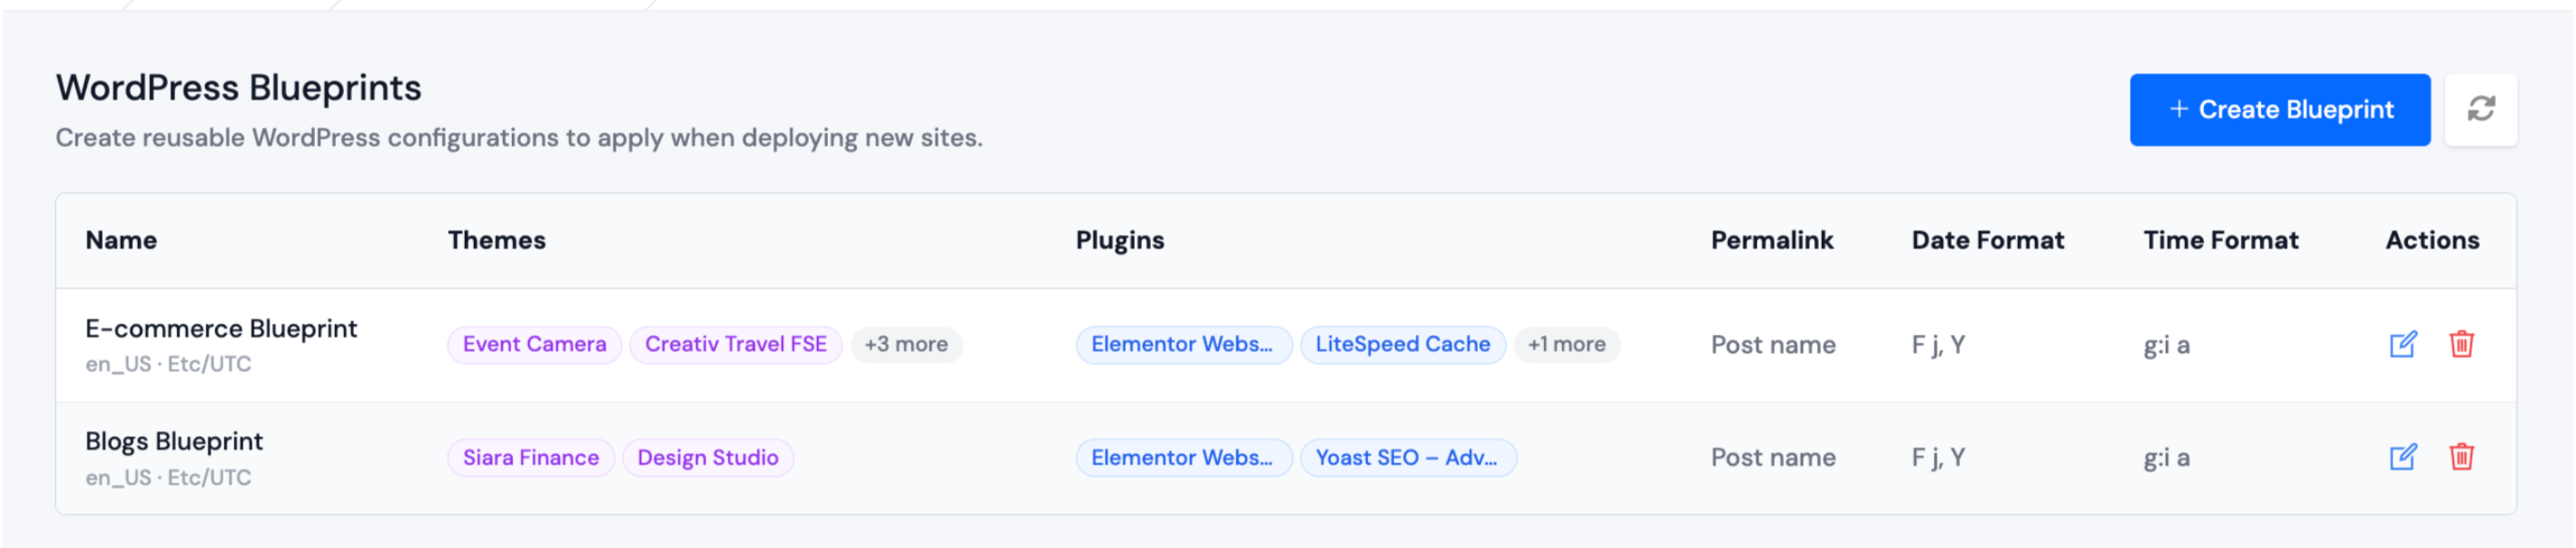
Step 4: You will see the WordPress Blueprints page with a list of all your saved blueprints.
After you purchase WordPress Toolkit, WordPress Blueprints appears in the main sidebar under Tools. You can open it directly anytime.
Create a Blueprint
Click Create Blueprint to open the blueprint form. See Create Blueprint for full field-by-field instructions.
Edit a Blueprint
Step 1: On the blueprint list, locate the blueprint you want to change.
Step 2: Click the Edit icon for that blueprint.

Step 3: Update the configuration and save your changes.
Delete a Blueprint
Step 1: On the blueprint list, click the Delete icon for the blueprint.
Step 2: Confirm deletion in the popup dialog.
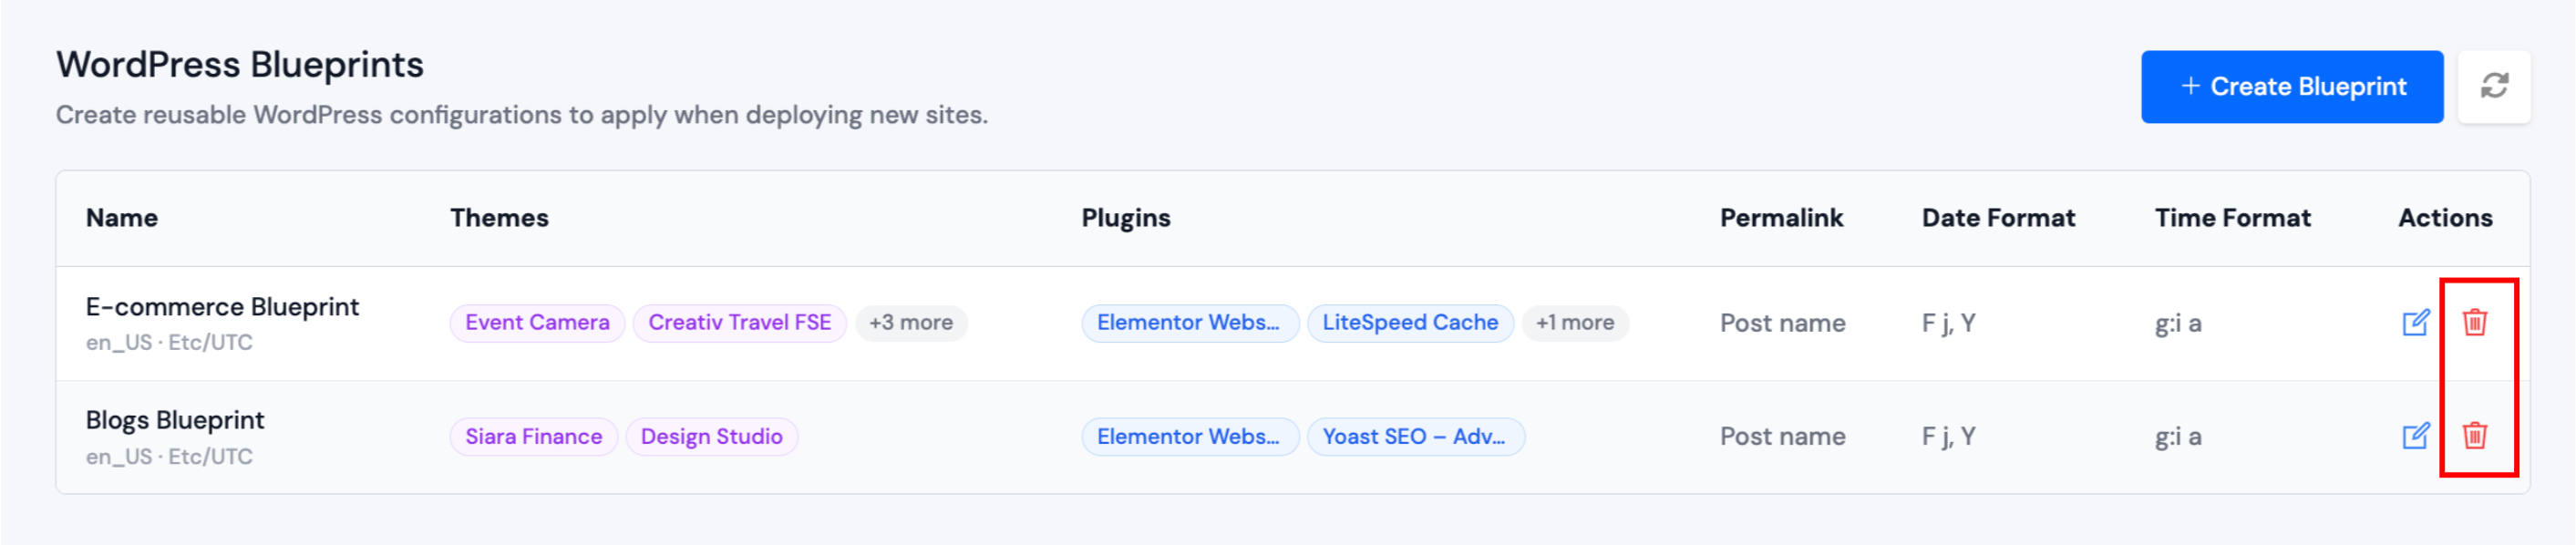
Deleting a blueprint does not affect existing WordPress applications that were already created with that blueprint. It only removes the preset for future deployments.
Apply a Blueprint When Creating an Application
When you create a new WordPress application, you can select a blueprint so ServerAvatar applies your saved configuration automatically. See Apply Blueprint.