Create Blueprint
A WordPress Blueprint stores themes, plugins, site preferences, and optional cleanup rules so new WordPress applications launch with your preferred configuration.
Open the Create Form
Step 1: Log in to your ServerAvatar account.
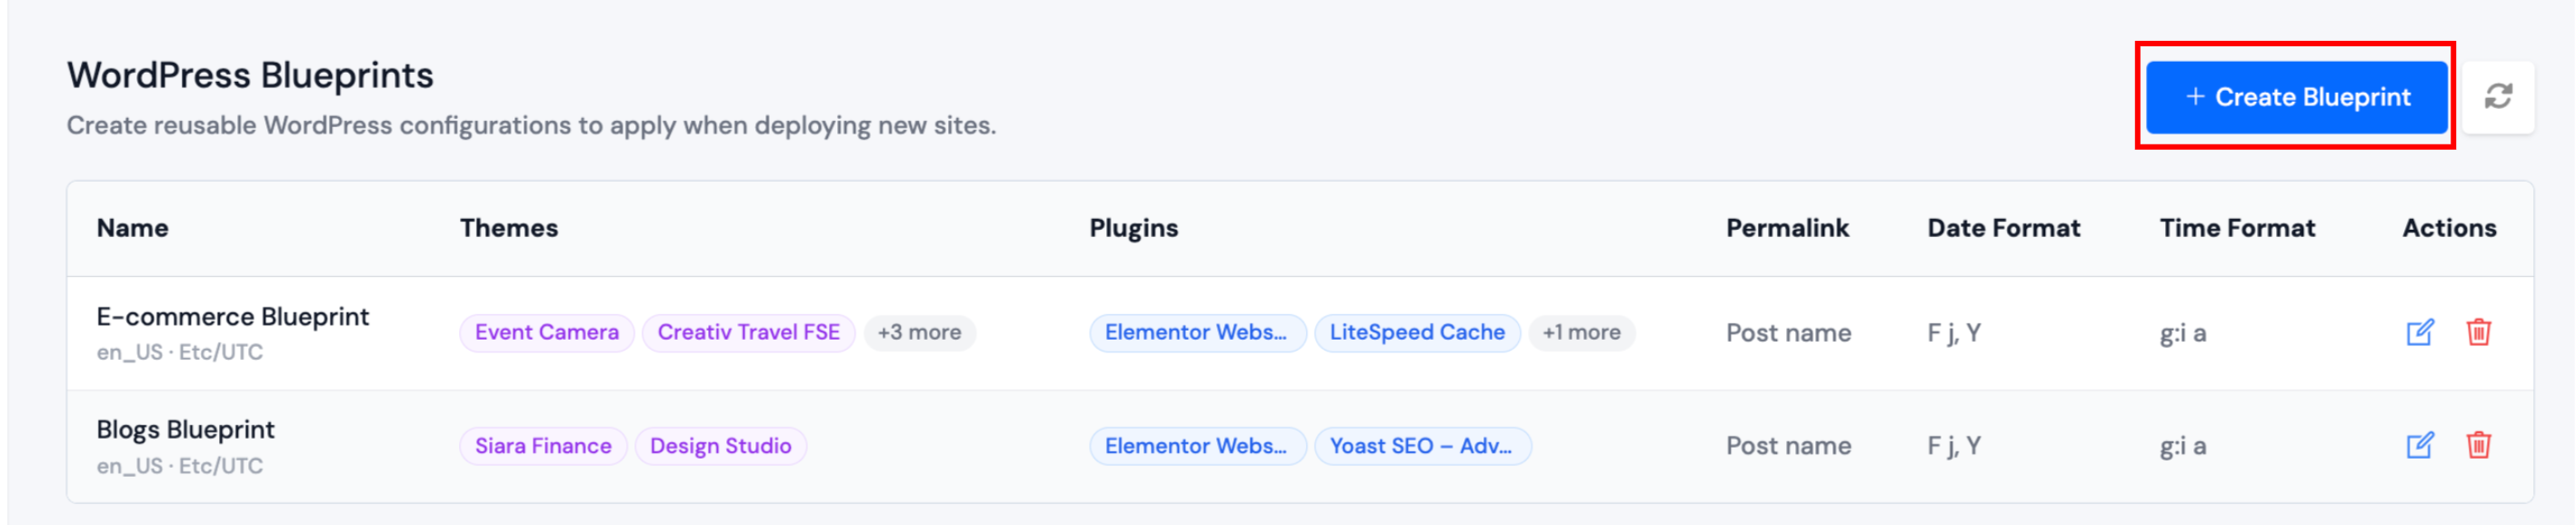
Step 2: Go to WordPress Blueprints.
Step 3: Click Create Blueprint.
Configure the Blueprint
Complete each section on the form, then click Create Blueprint (or Update Blueprint when editing).
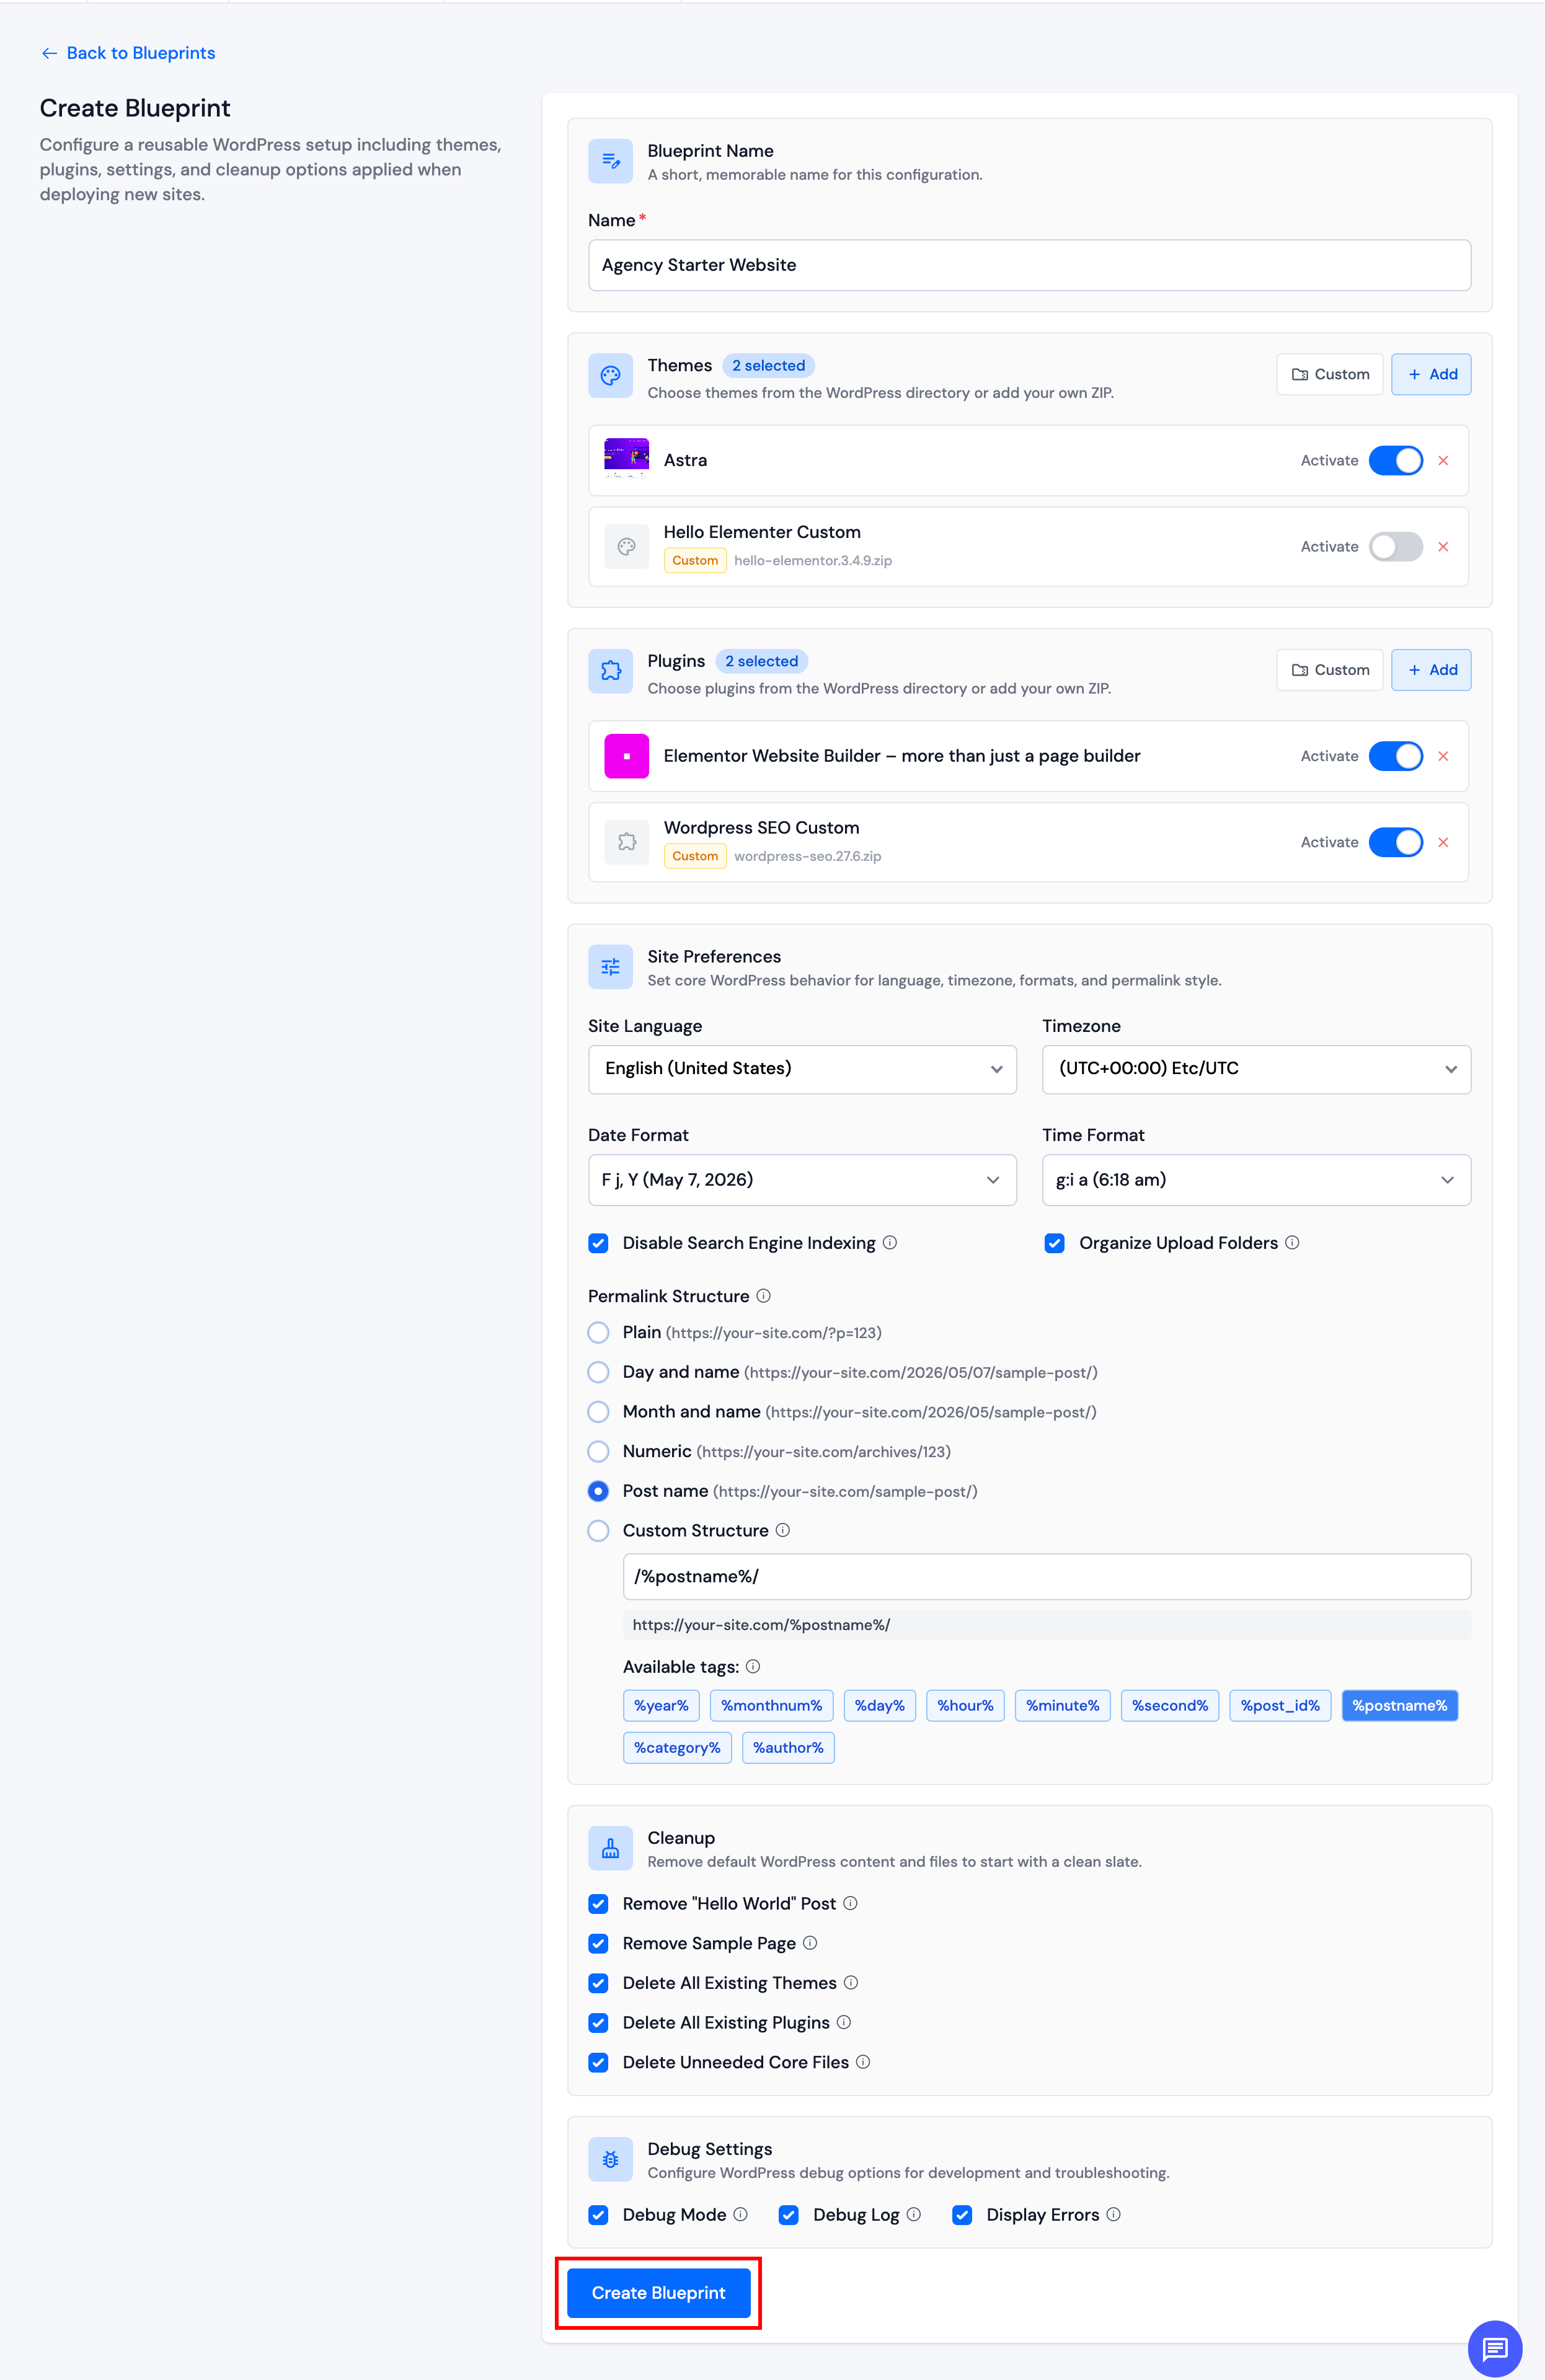
Blueprint Name
Give the blueprint a clear name so you can recognize it later (for example, Agency Starter Website).
Themes and plugins
For both Themes and Plugins, you can:
- Use + Add to pick items from the WordPress.org directory.
- Use Custom to add a theme or plugin that is not in the directory (premium builds, private packages, etc.).
After items are added, use Activate to control what is active on the new site. Only one theme can be active. Multiple plugins can be active.
Custom ZIP packages
- Click Custom in the Themes or Plugins section.
- Enter a display name and provide the package as a download URL or uploaded
.zipfile (up to 100 MB). - Save with Add theme or Add plugin.

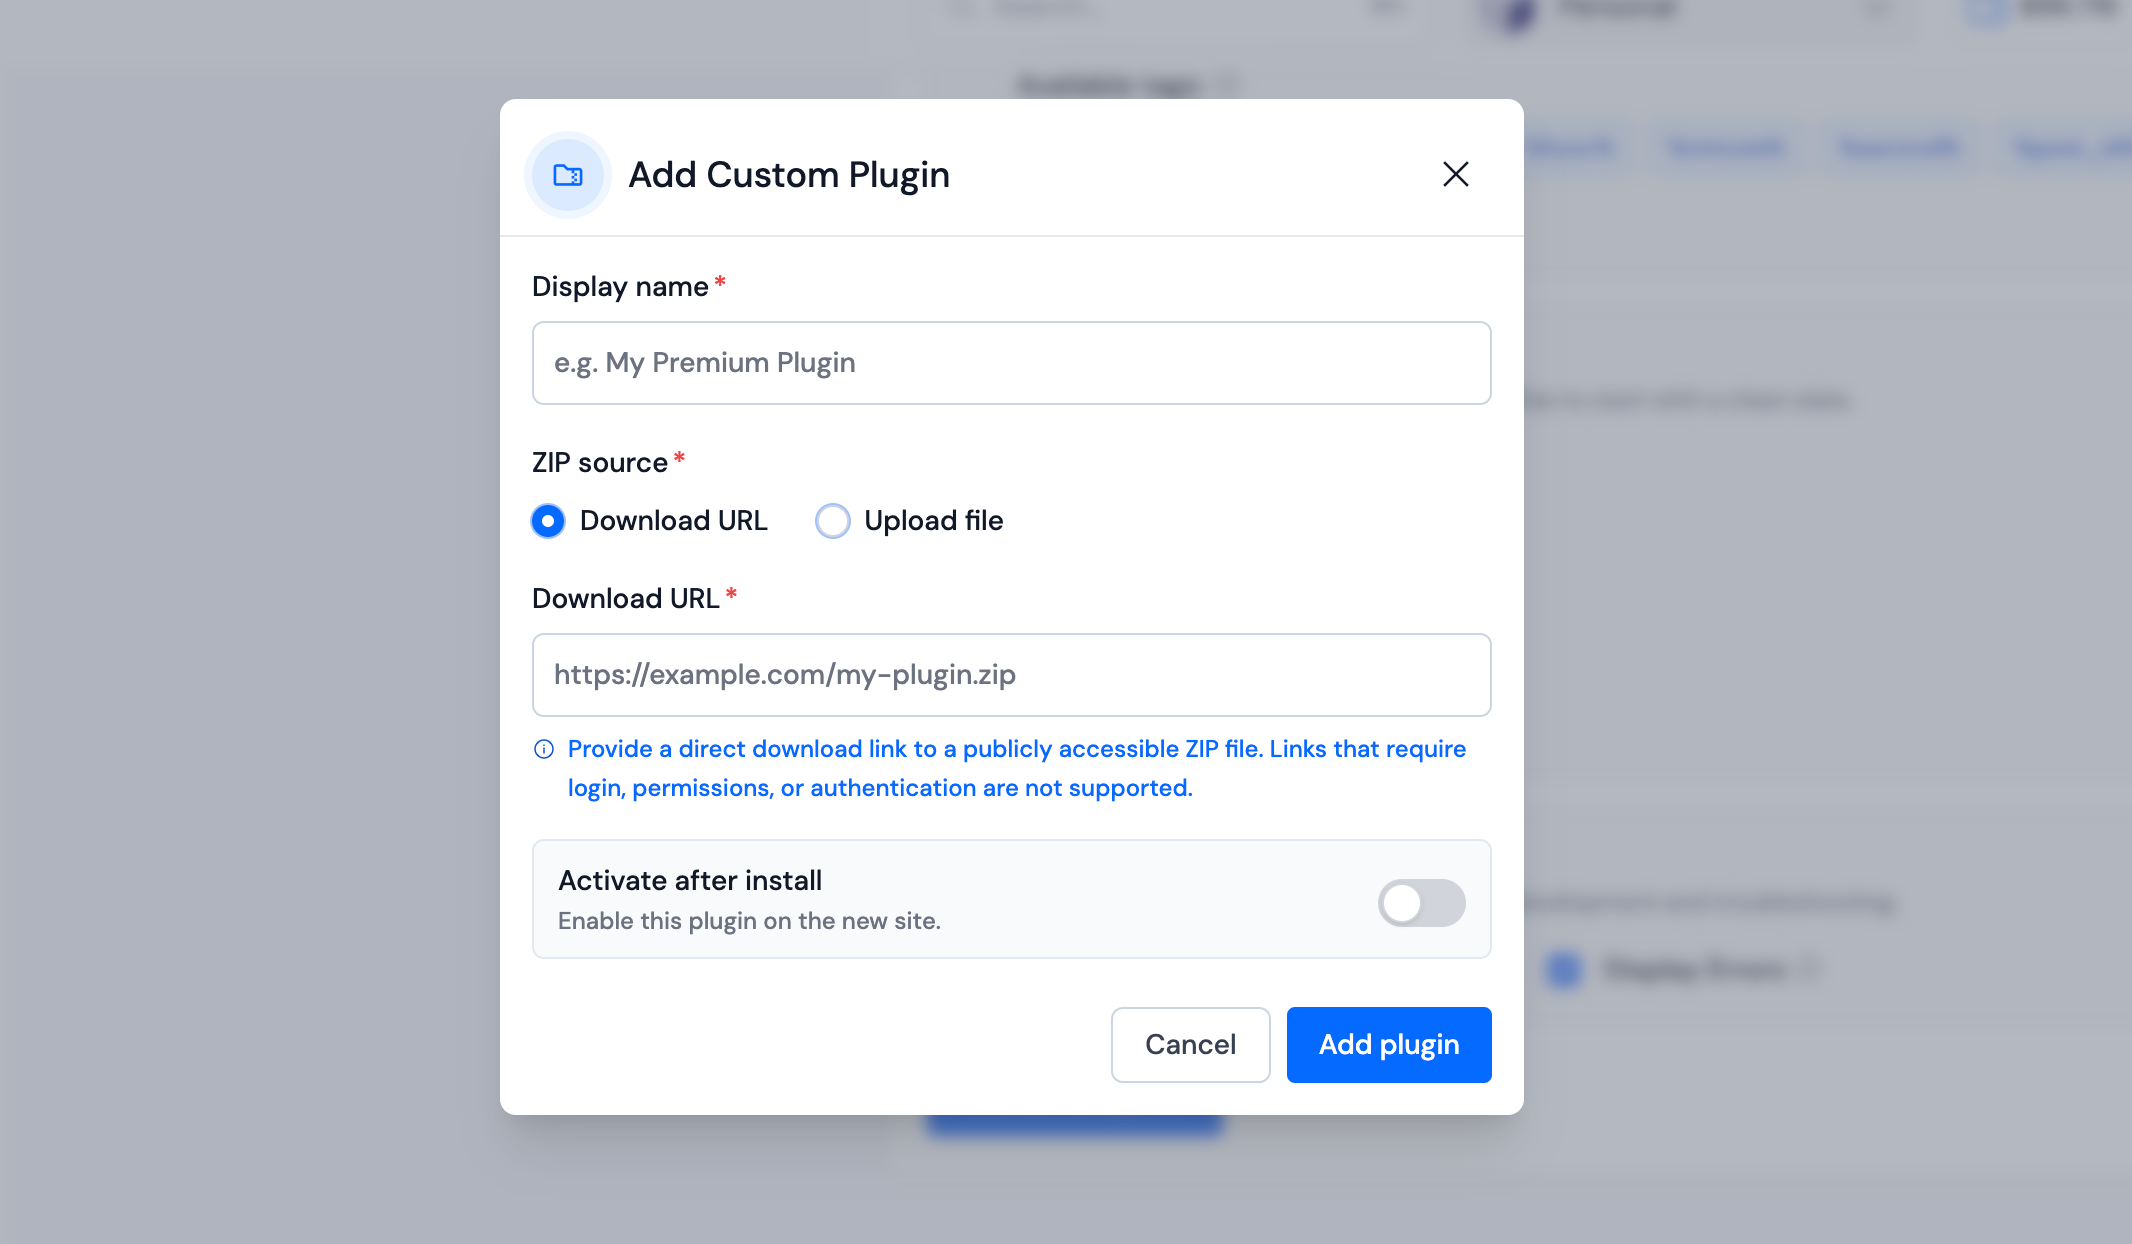
Download URLs must point directly to a public .zip file. Links behind login or permission checks are not supported.
Site Preferences
Choose default language, timezone, date/time formats, permalink style, and whether to discourage search engine indexing or organize uploads by month/year. These values are applied to every new site that uses this blueprint.
Cleanup (Optional)
Optionally remove default WordPress content (sample post/page), wipe existing themes or plugins before install, or delete unneeded core files. If you delete all themes or plugins, make sure the blueprint includes everything the site still needs.
Debug Settings (Optional)
Turn on WordPress debug options for staging-style presets. Avoid Display Errors on blueprints used for production sites.
After saving, the blueprint appears on your list. Use it when creating a WordPress application by selecting it under WordPress Blueprint.
Edit an Existing Blueprint
On the blueprints list, click Edit, update the form, and click Update Blueprint.