Apply Blueprint
When you create a new WordPress application, you can attach a WordPress Blueprint so ServerAvatar installs your chosen themes, plugins, and site settings automatically.
Prerequisites
- WordPress Toolkit add-on must be active on your account.
- At least one blueprint created under WordPress Blueprints.
Apply a Blueprint When Creating an Application
Step 1: Log in to your ServerAvatar account.
Step 2: Open the Server Dashboard for the server where you want to create the application.

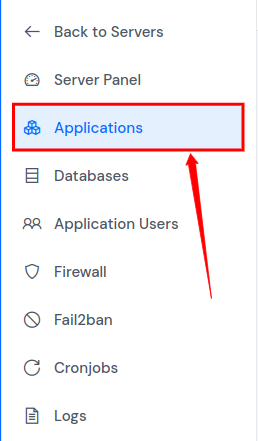
Step 3: Click Applications in the server panel sidebar.
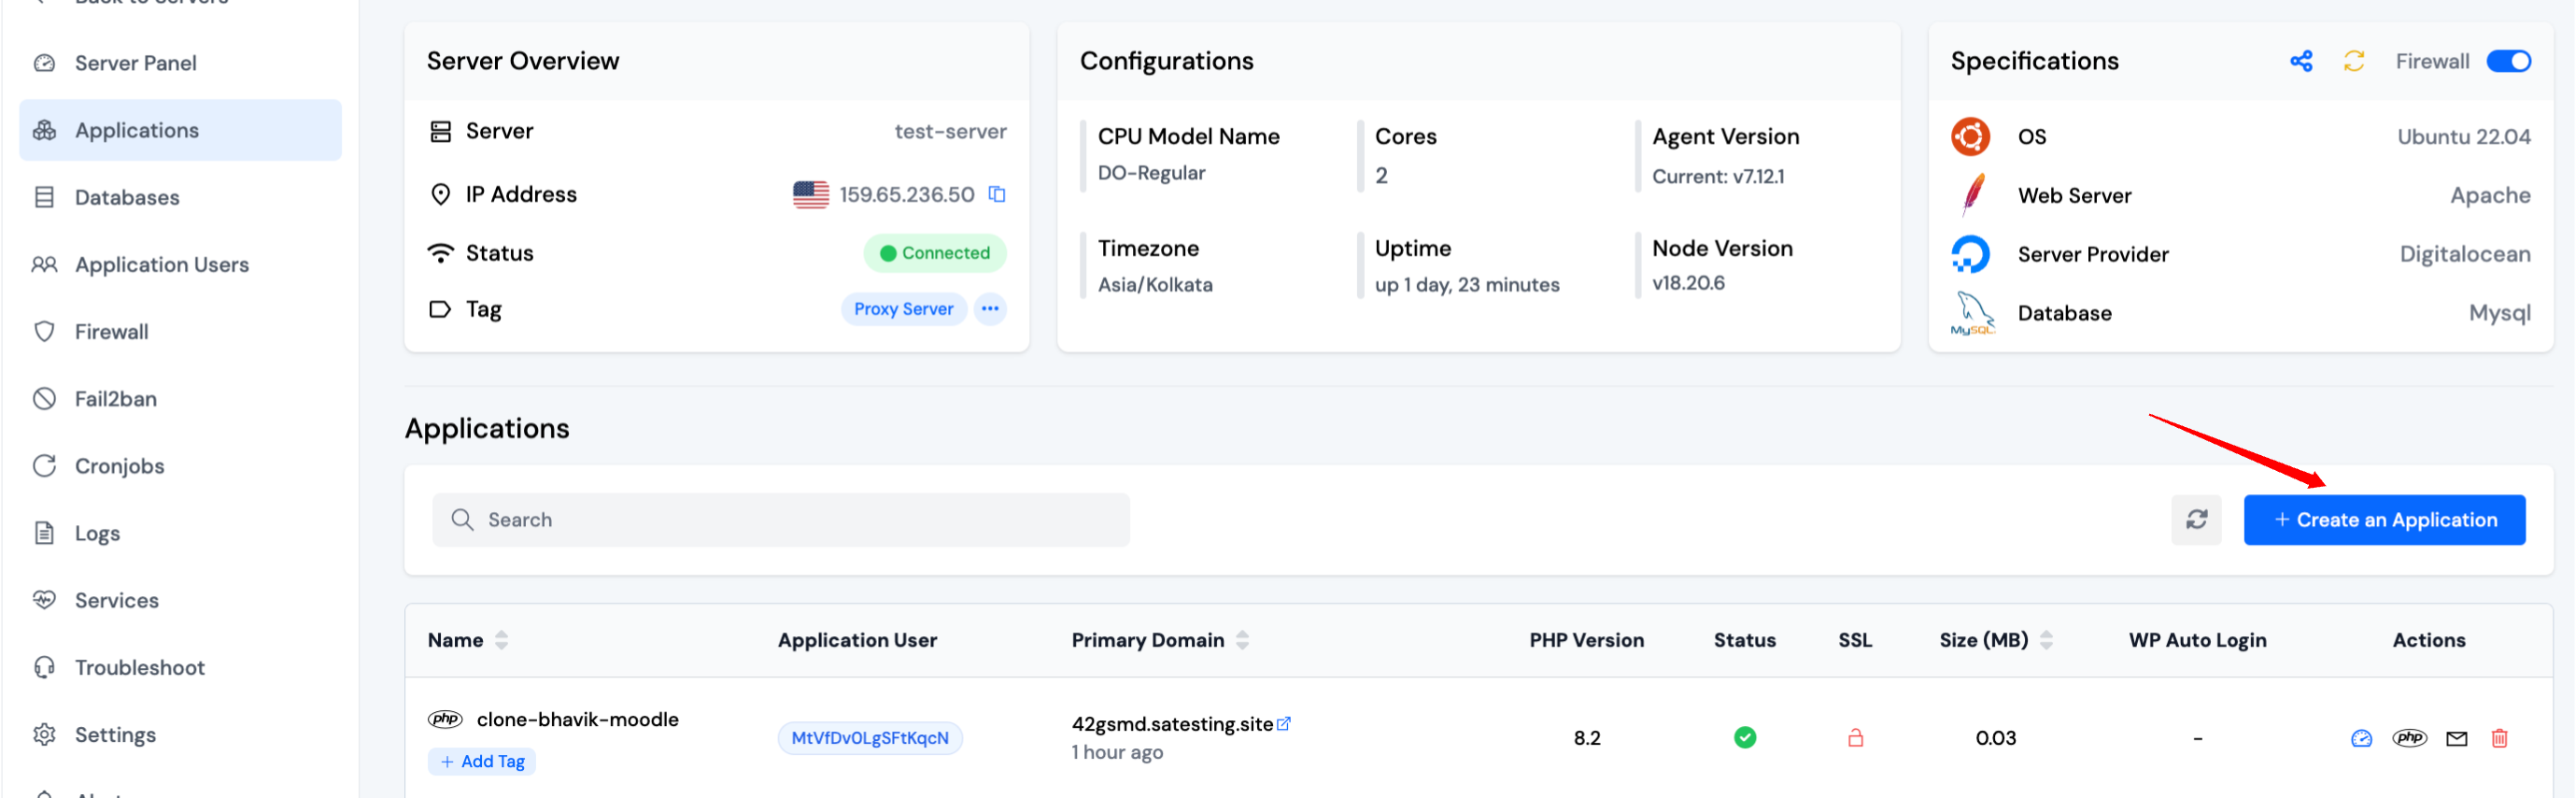
Step 4: Click Create on the Applications page.
Step 5: On the Create Application screen, complete Basic Details (application name and domain).
Step 6: Under Application, choose One-click and select WordPress.
Step 7: In the WordPress Blueprint section:
- Use the Blueprint dropdown to select a saved blueprint.
- Click the refresh icon to reload the blueprint list.
- Click Add Blueprint to open the blueprint creation page if you need a new preset.
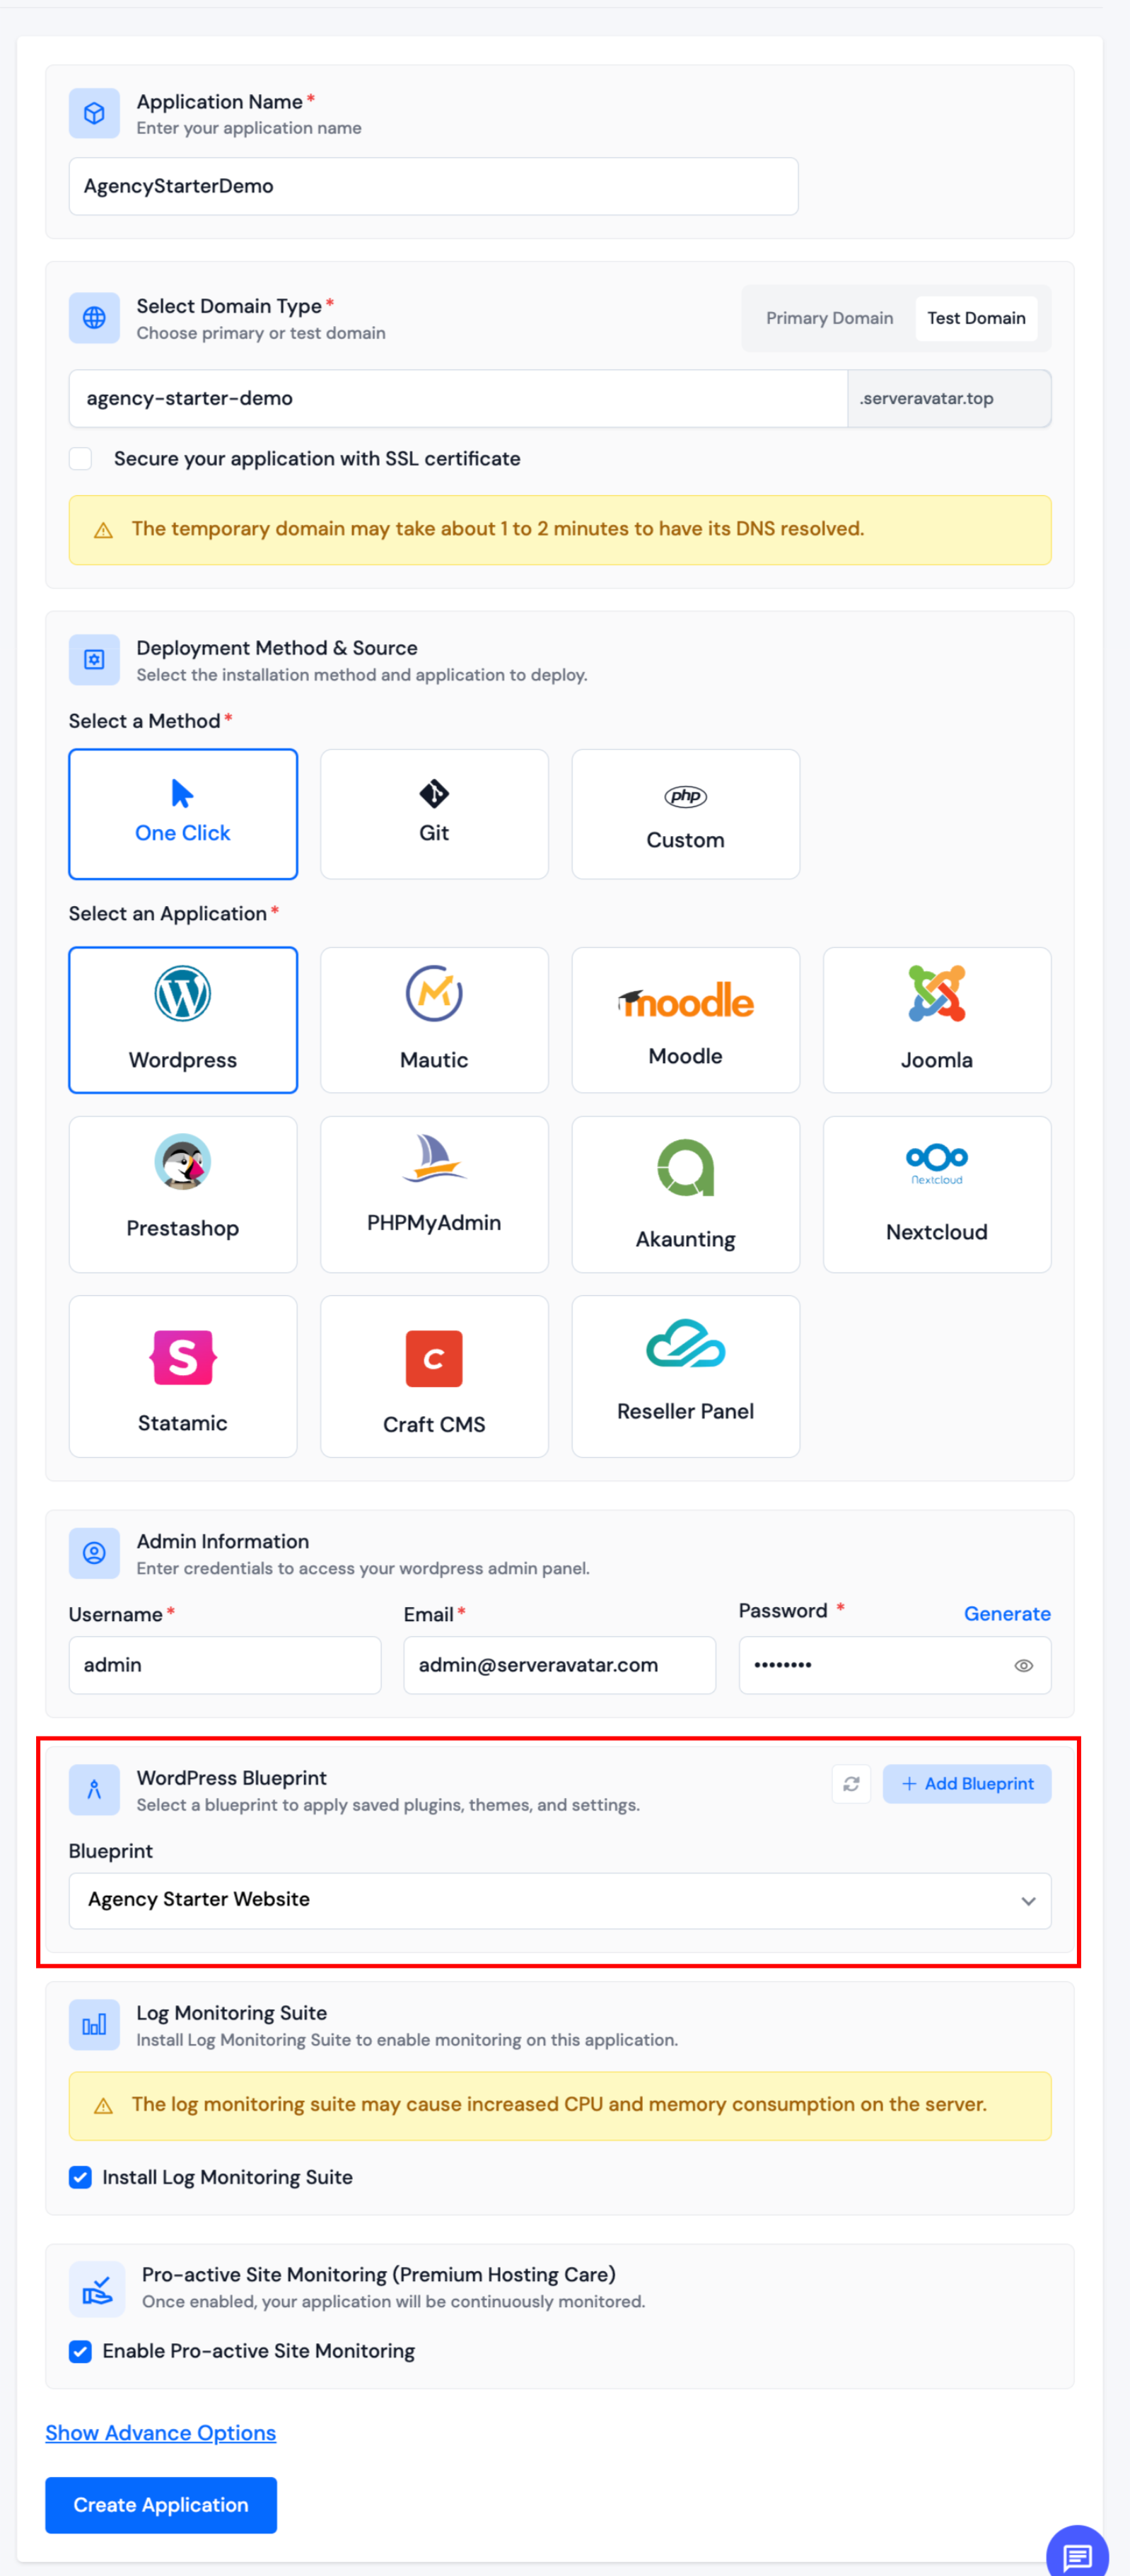
Step 8: Complete remaining fields (admin user, database, advanced options) and click Create Application.
ServerAvatar deploys WordPress and applies the blueprint configuration to the new site.
If you do not select a blueprint, the create form behaves as a standard WordPress one-click install with manual site settings.
After Deployment
Once the application is ready:
- Open the application panel → WP Toolkit to manage plugins, updates, security, and other toolkit features on the live site.
- Use WP Toolkit Overview to view site summary cards and quick actions.