Cloudflare Controls
The Cloudflare Controls page allows you to manage important Cloudflare features directly from the ServerAvatar panel.
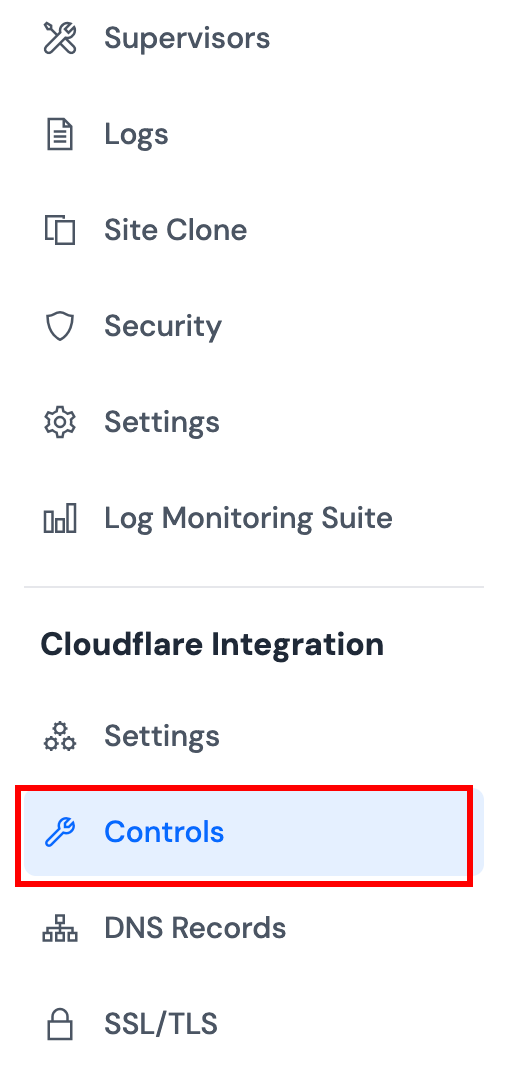
Accessing Cloudflare Controls
Navigate to Application Dashboard → Cloudflare Integration → Controls.
From this page, you can manage cache purging and security settings to optimize your website's performance and security.
Purge Cache
Purging clears cached content so Cloudflare fetches fresh files from your origin server. Use this when you've updated content and need changes to appear immediately.
Purge Everything
Step 1: Click the Purge Everything button on the Purge Cache section.

Step 2: Confirm the action in the confirmation modal.
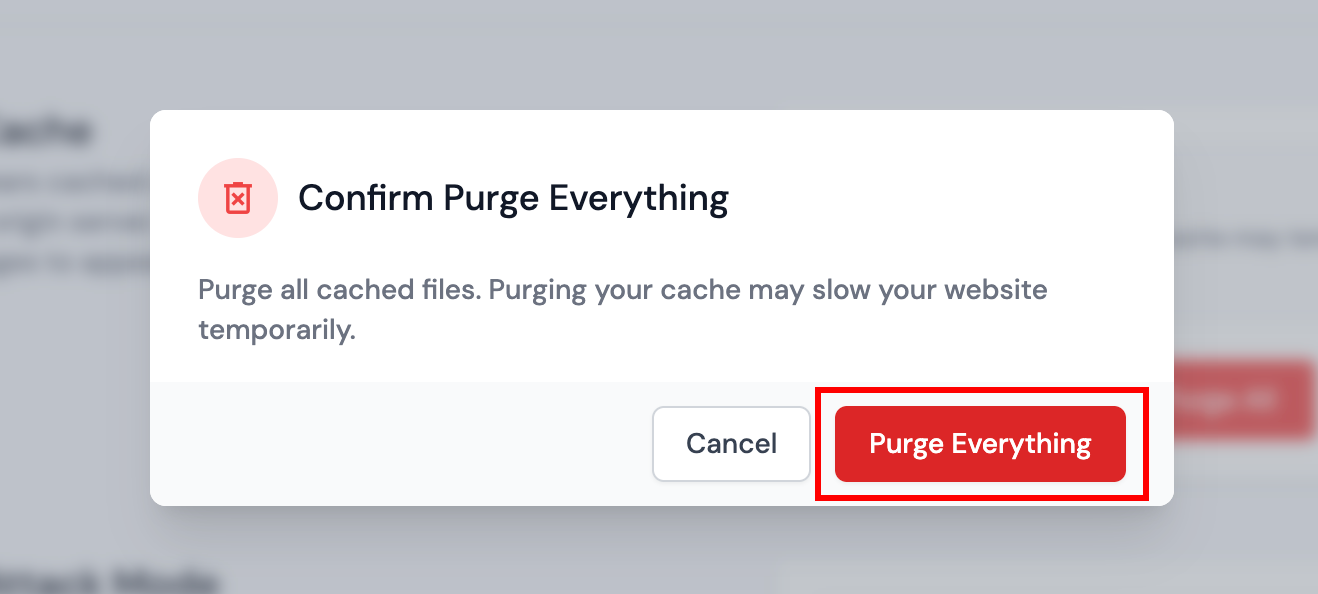
Purging all cache may temporarily slow your website and increase load on your origin server. Use this option only when necessary.
Custom Purge
Step 1: Click the Custom Purge button on the Purge Cache section.

Step 2: Select the purge method from the options:
- URL: Purges assets that match the URL(s) exactly. You can purge up to 30 URLs at a time. Specify the full path to the file. Wildcards are not supported with single URL purge.
- Hostname: Purges any assets at URLs with a host that matches the provided values. You can purge up to 100 hostnames at a time. Separate hostnames with commas or one per line.
- Tag: Purges assets served with a Cache-tag response header that matches the provided values. You can purge up to 100 tags at a time. Separate tags with commas or one per line.
- Prefix: Purges any assets in the specified directory. You can purge up to 100 prefixes at a time. Separate prefixes one per line.
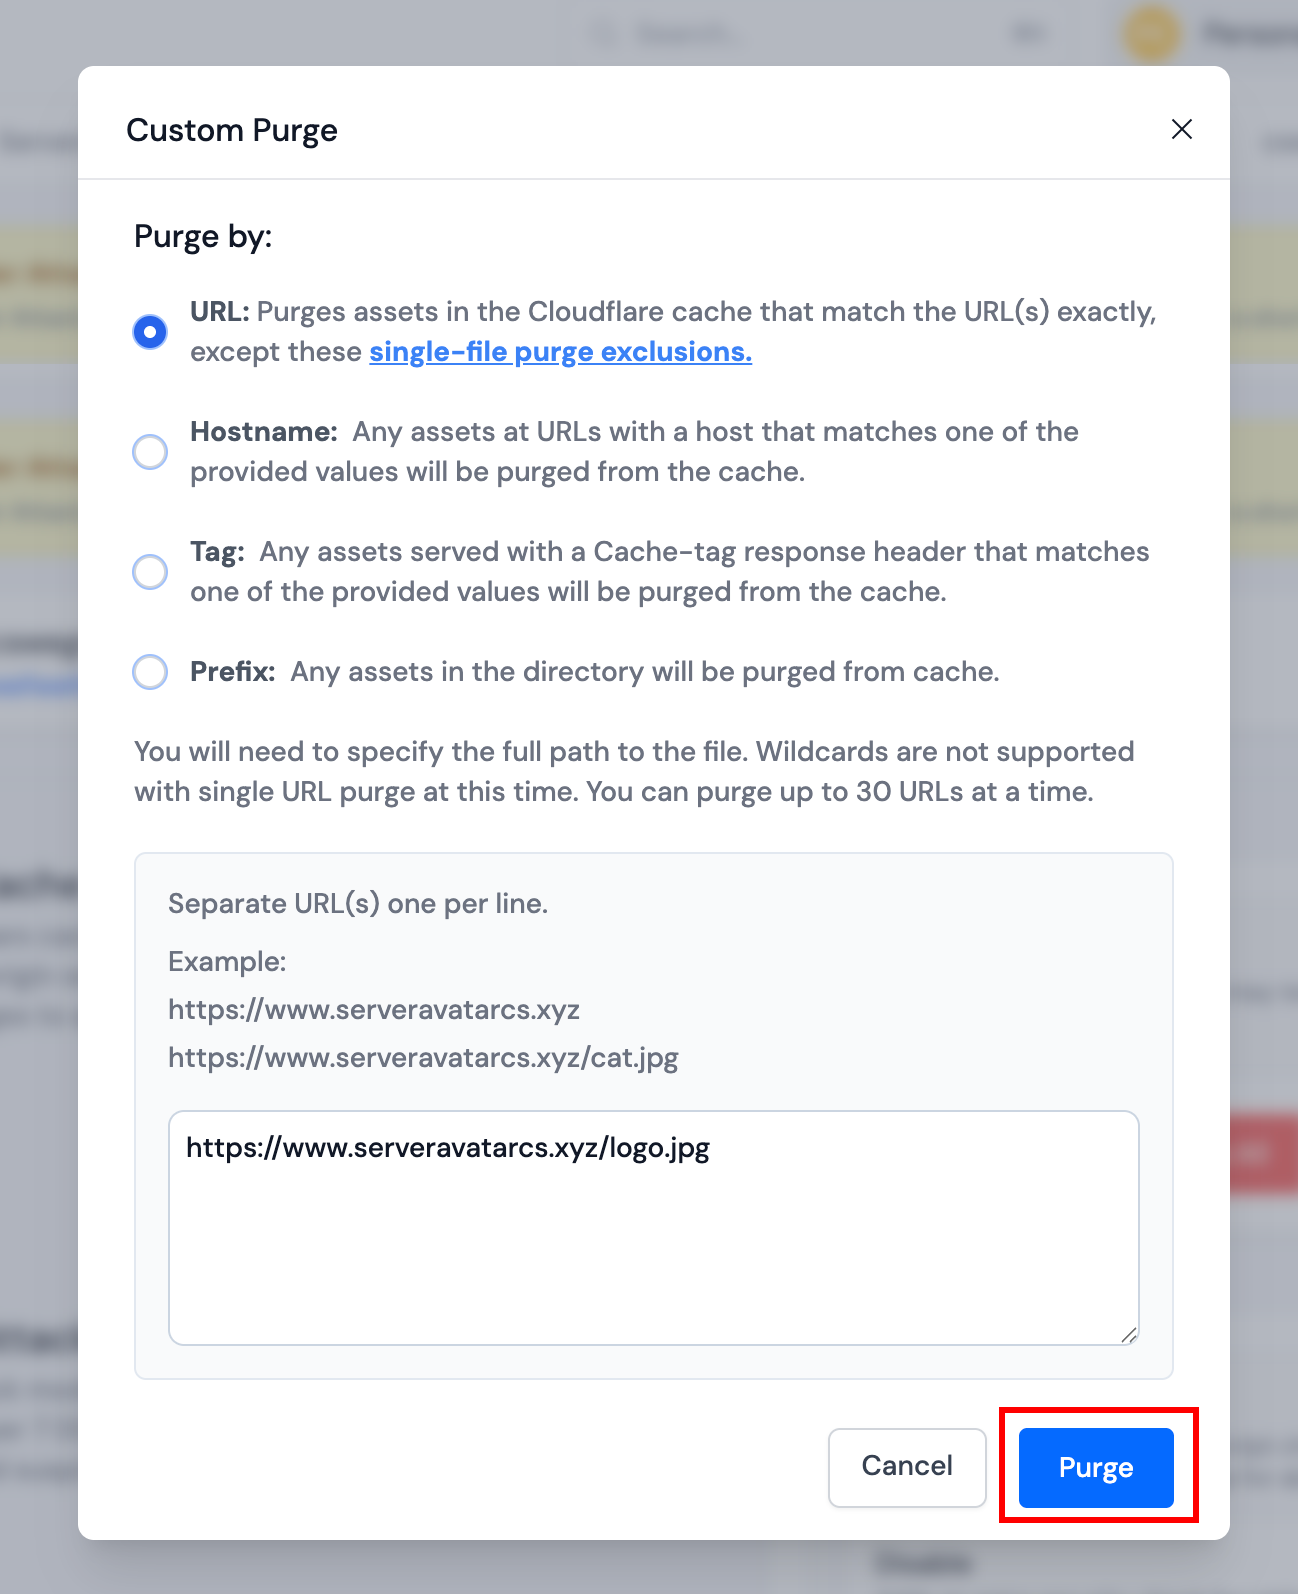
Step 3: Enter the URLs, hostnames, tags, or prefixes (depending on your selection) in the text area. Separate multiple entries with commas or one per line.
Step 4: Click Purge to execute the purge operation.
Custom purge allows you to selectively clear specific cached content without affecting your entire cache, which helps maintain website performance.
Under Attack Mode
Under Attack Mode performs additional security checks to help mitigate layer 7 DDoS attacks. Validated users access your website and suspicious traffic is blocked.
Step 1: Toggle the Under Attack Mode switch to enable or disable it.
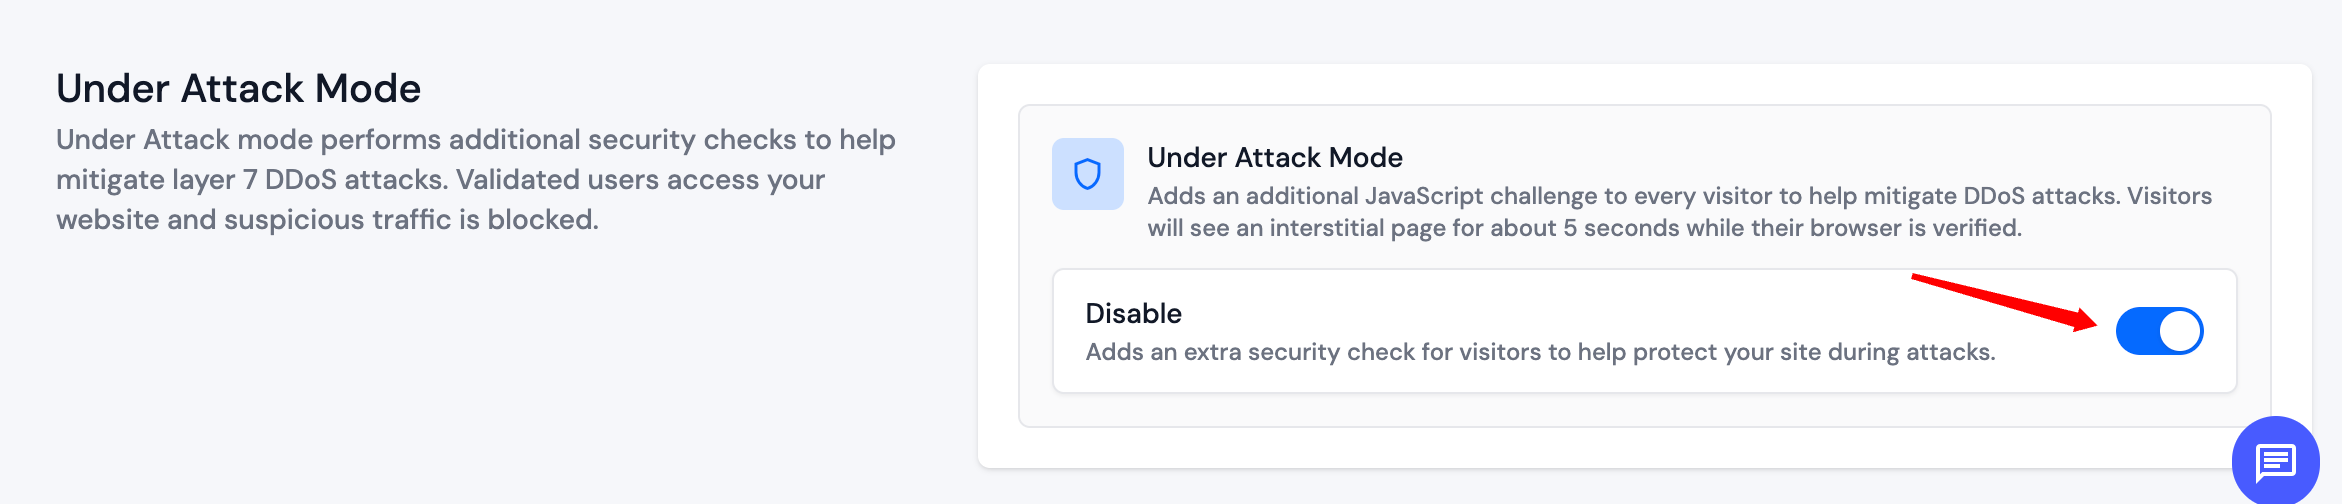
When enabled, Under Attack Mode adds an additional JavaScript challenge to every visitor to help mitigate DDoS attacks. Visitors will see an interstitial page for about 5 seconds while their browser is verified.
Under Attack Mode adds an extra security check for all visitors, which may slightly delay legitimate users. Only enable this mode when your website is experiencing or at risk of DDoS attacks.