Cloudflare DNS Records
After integrating your Cloudflare account with ServerAvatar, you can manage your Cloudflare DNS Records directly from the ServerAvatar panel.
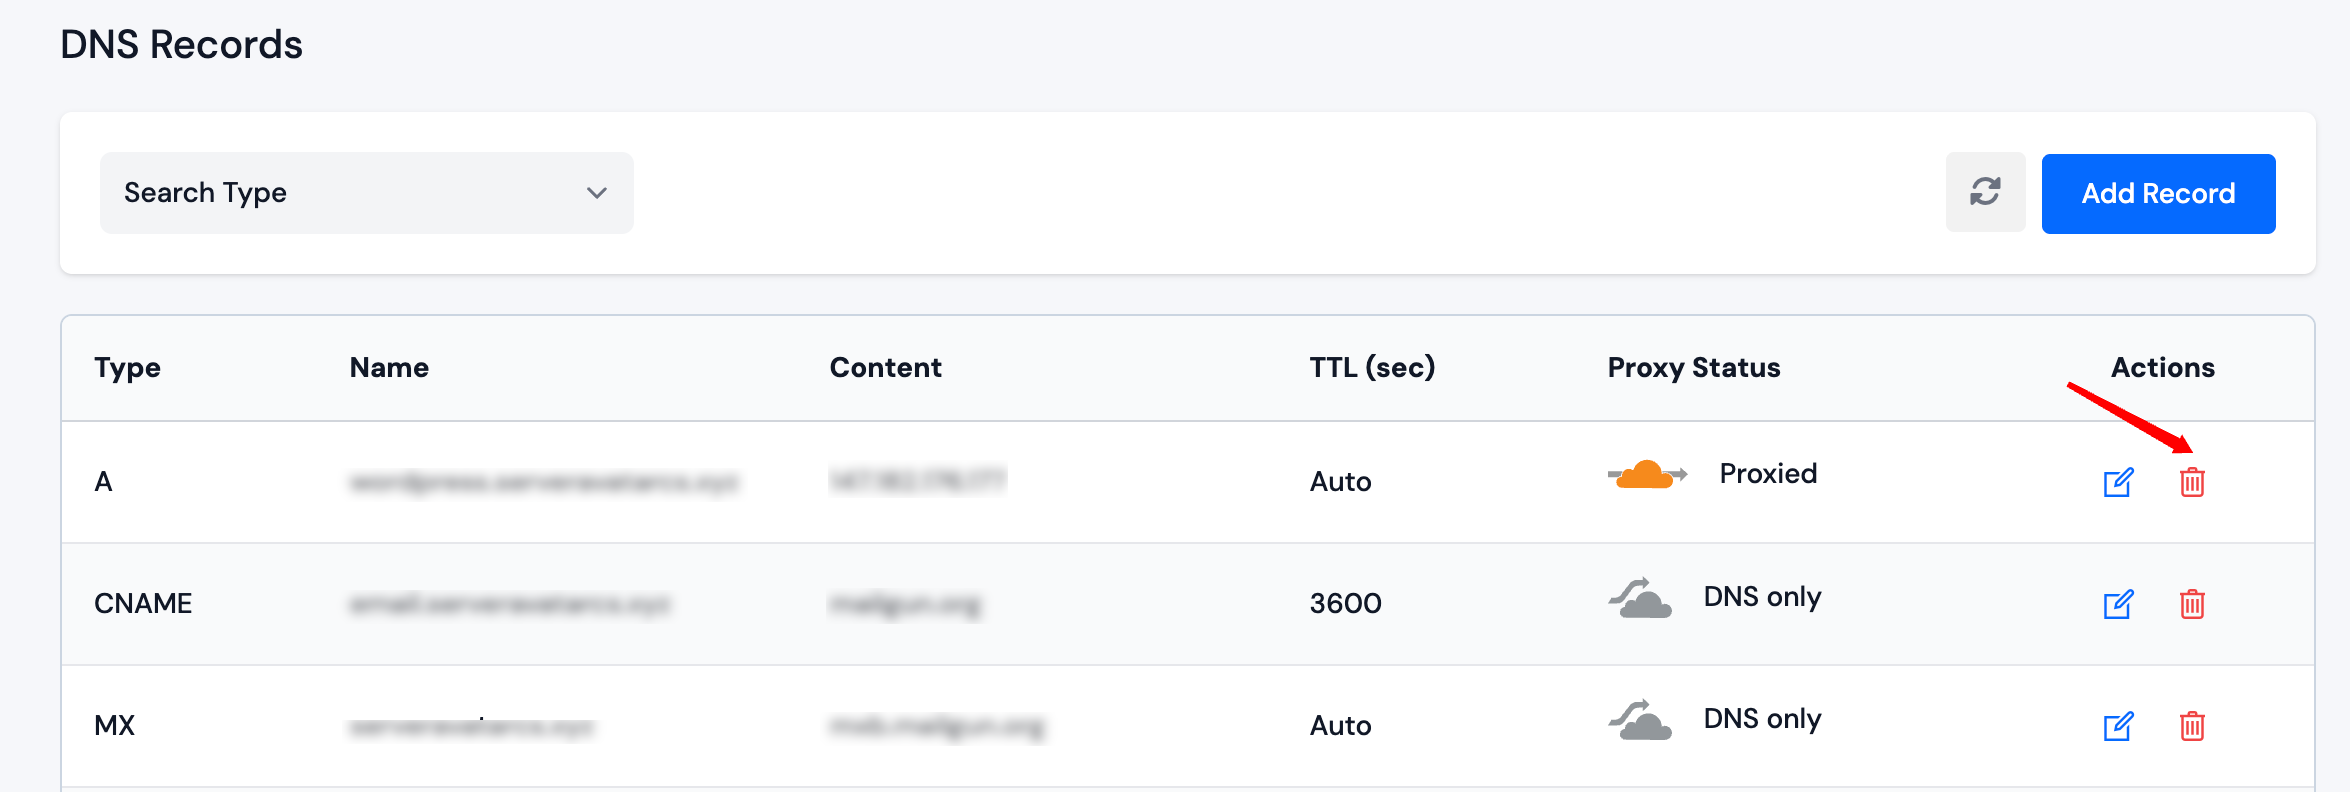
View DNS Records
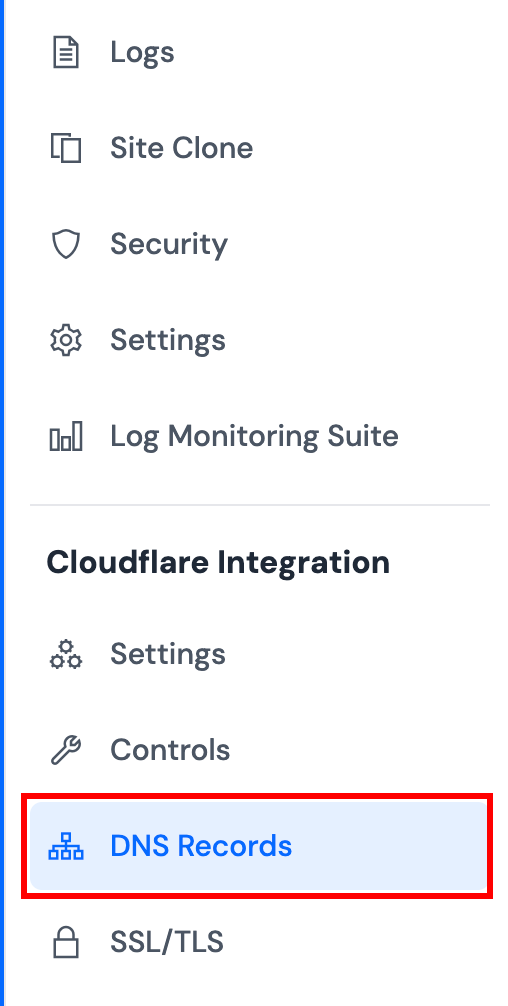
Step 1: Navigate to Application Dashboard → Cloudflare Integration → DNS Records.
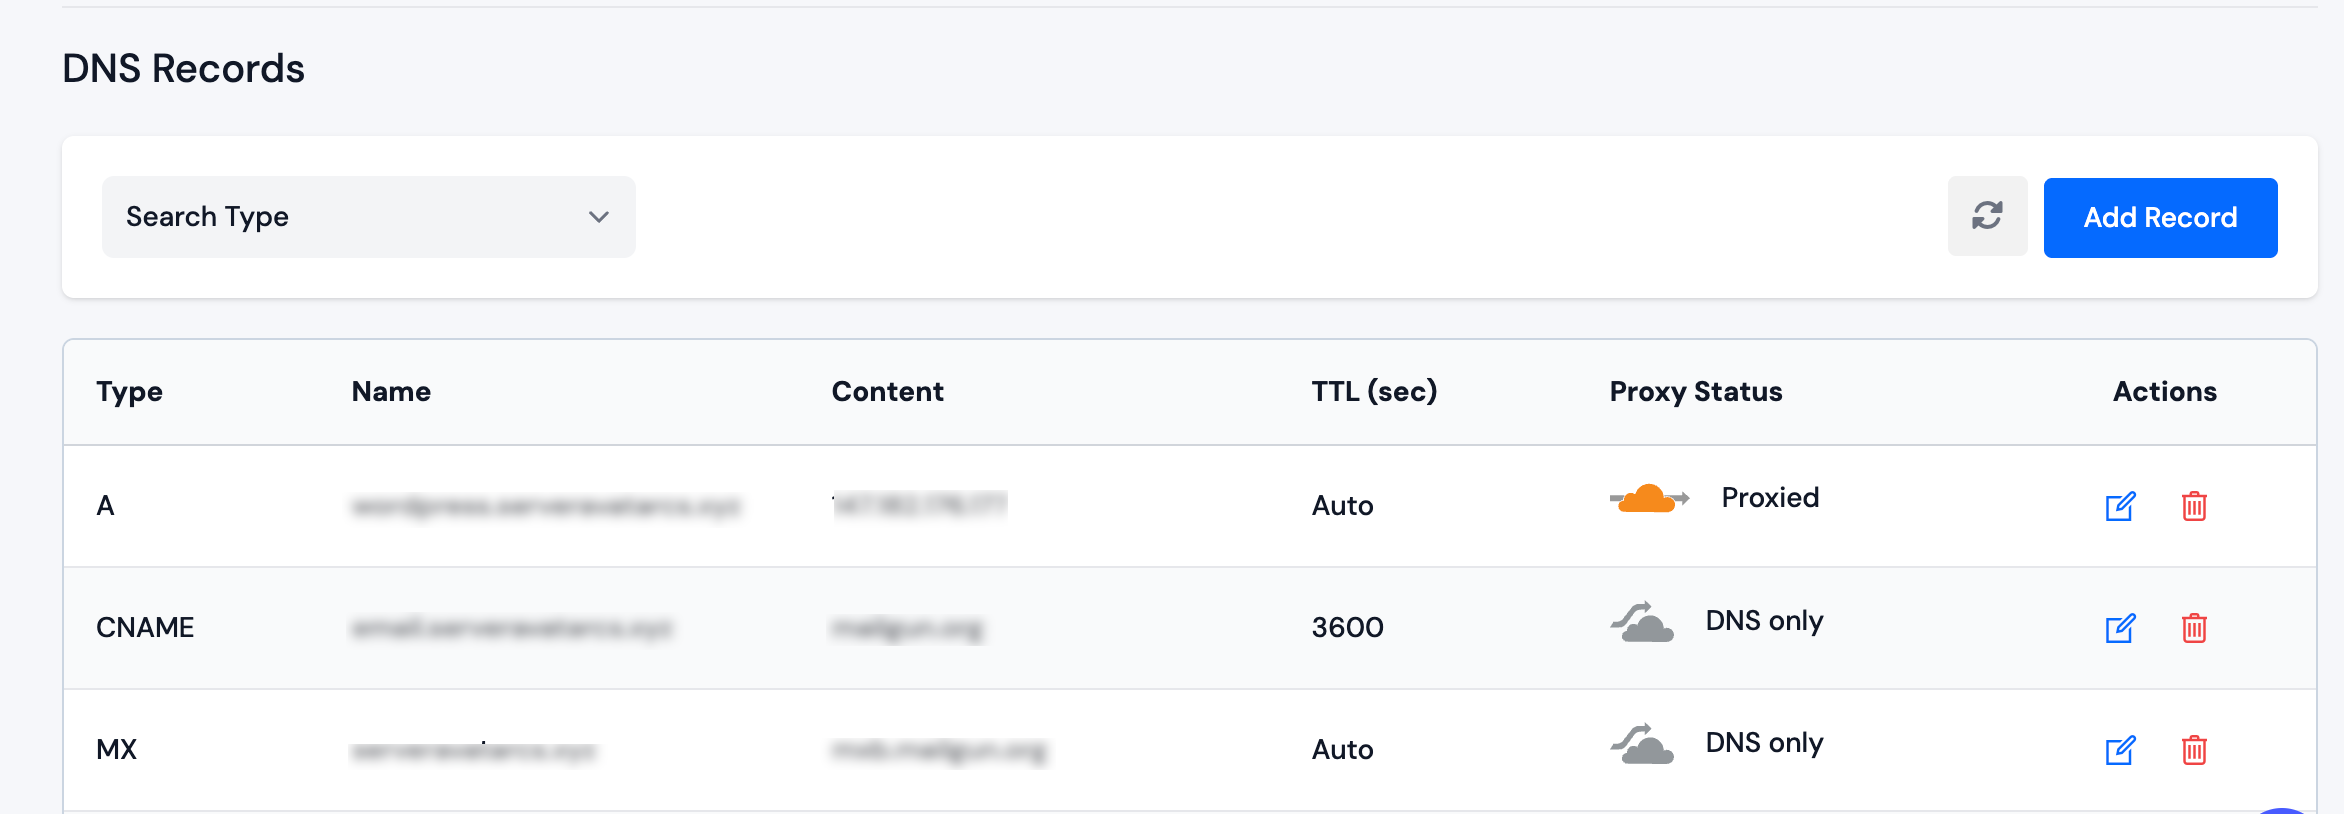
From this page, you can view all your DNS records for the integrated Cloudflare domain. The table displays key information such as record name, type, content, proxy status, and TTL.
Add DNS Record
Step 1: Click on the Add Record button on the DNS Records page.

Step 2: Fill in the required information in the modal.
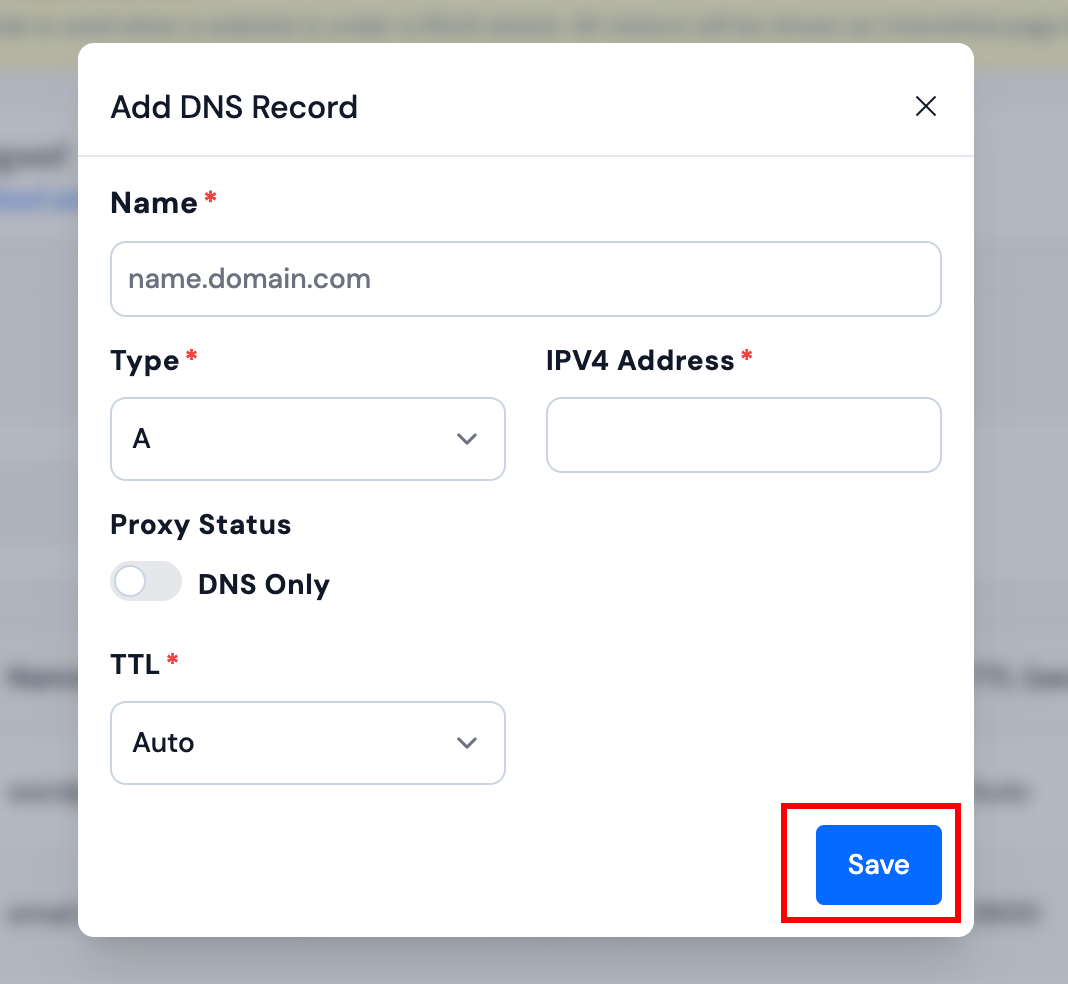
Step 3: Click Save button to add the DNS record.
DNS changes may take a few minutes to propagate. The record will appear in the list once created successfully.
Update DNS Record
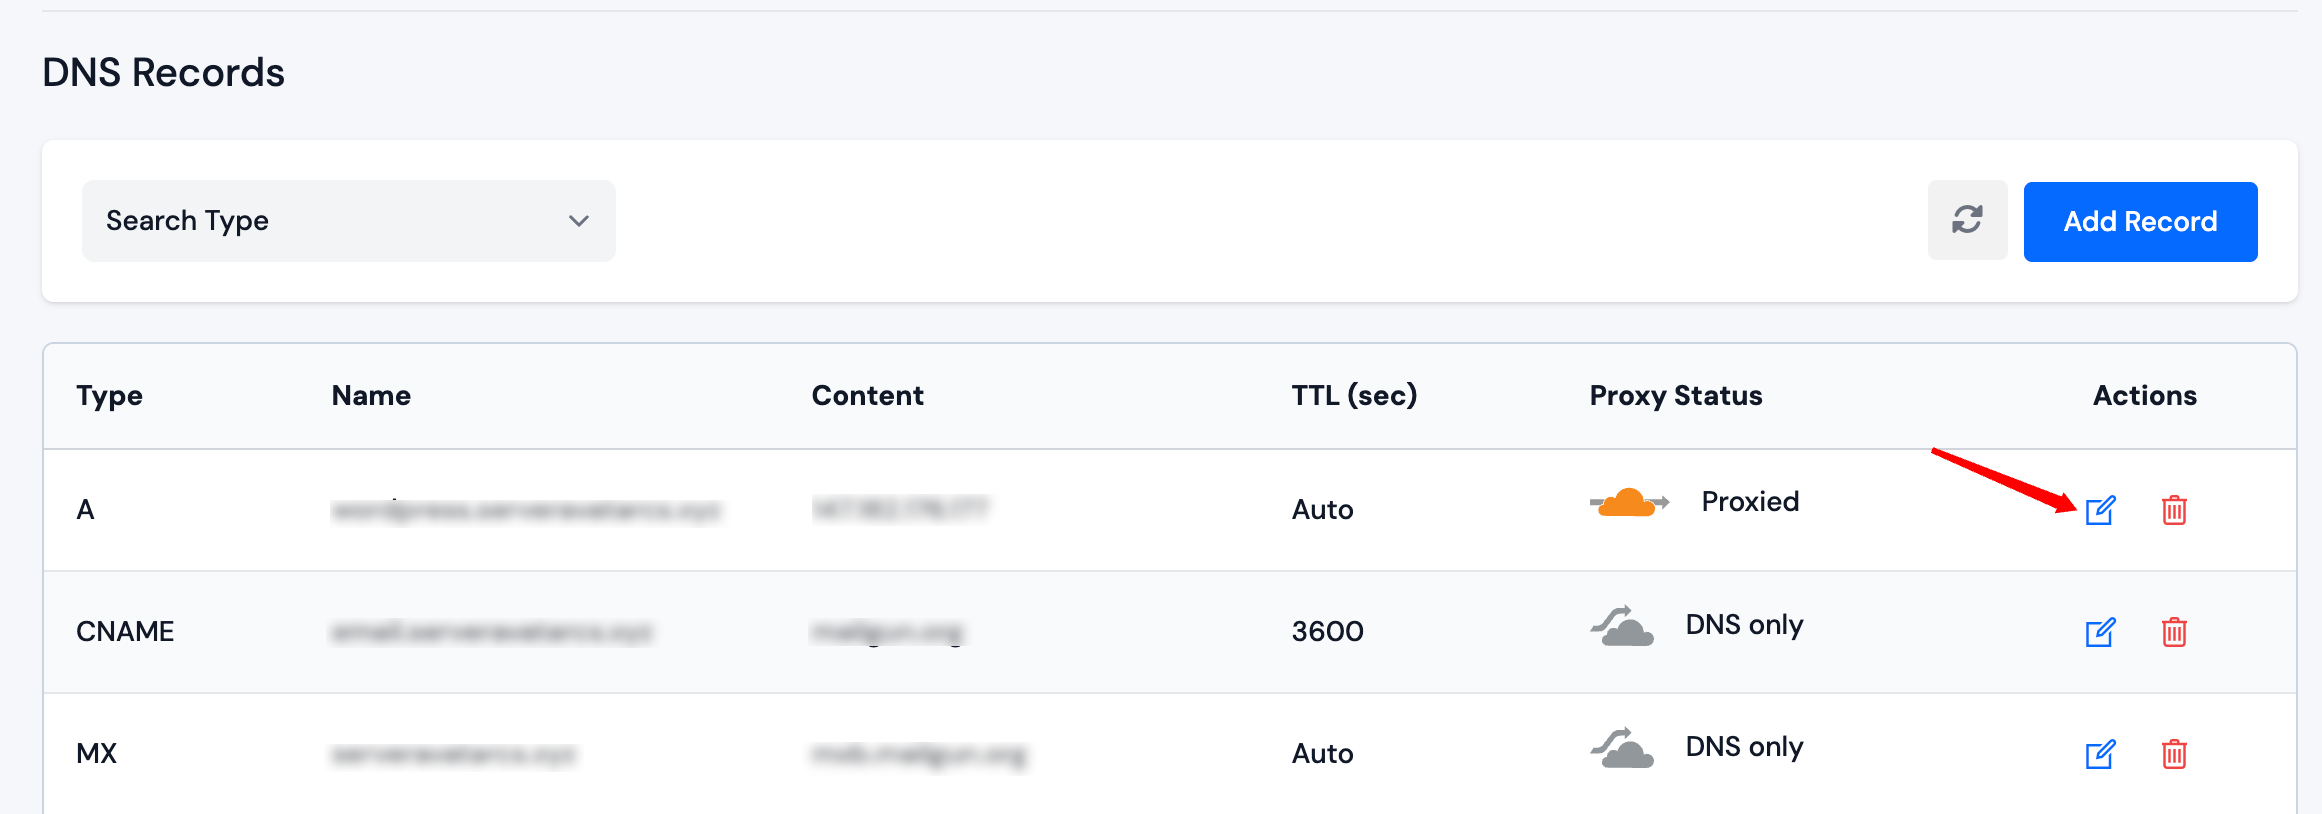
Step 1: Click on the Edit icon next to the DNS record you want to modify.
Step 2: Update the fields as needed in the modal.
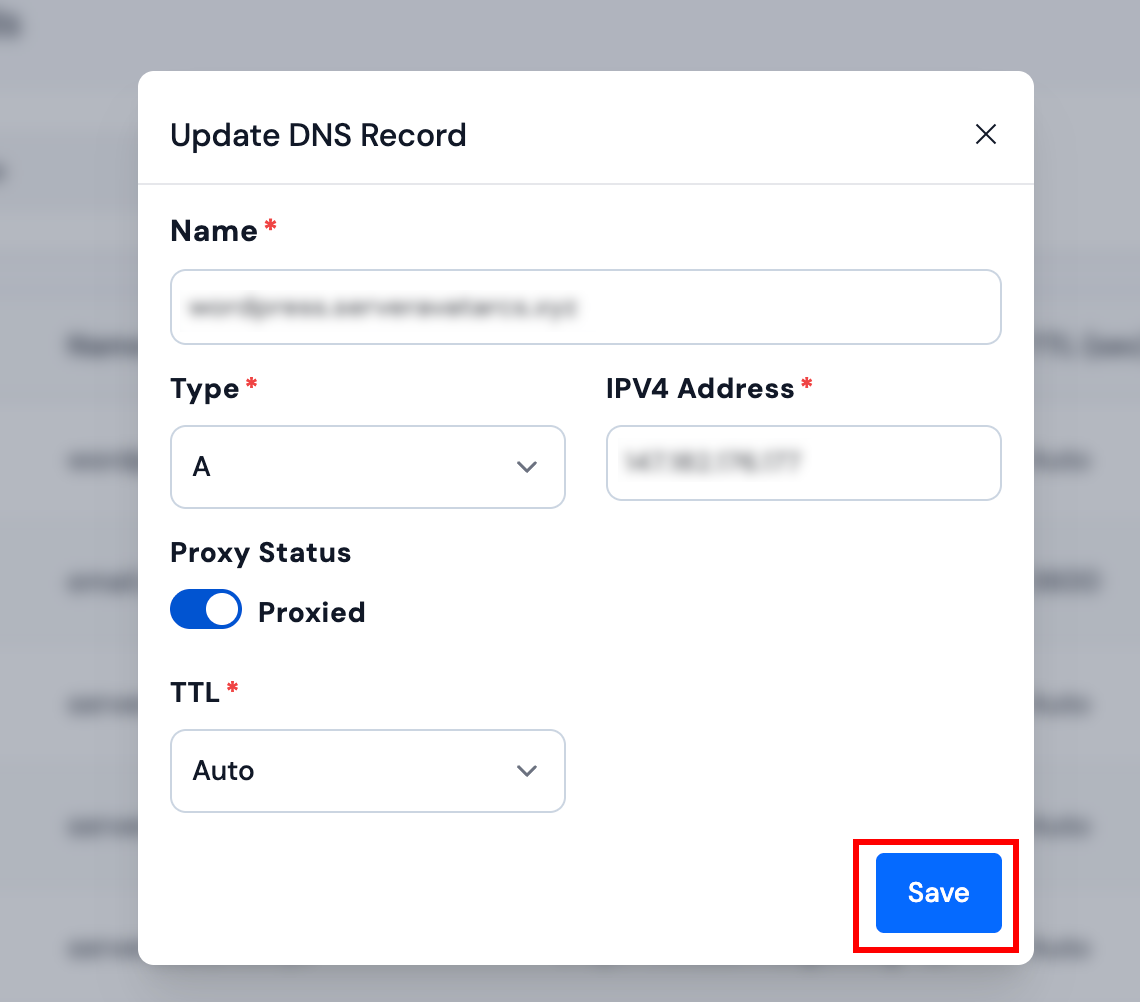
Step 3: Click Save button to apply the changes.
Changing the DNS record type or name may affect your domain's functionality. Ensure you understand the implications before making changes.
Delete DNS Record
Step 1: Click on the Delete icon next to the DNS record you want to remove.
Step 2: Confirm the deletion in the prompt.
Deleting a DNS record cannot be undone. Make sure the record is no longer needed before deleting it.