Custom Installation of SSL Certificate
SSL certificates are now mandatory. This process secures your website, protecting data integrity and enhancing user trust.
Usually, if you are running an Ubuntu server, you will have to deal with a command-line tool called Certbot. With ServerAvatar, you have a simplified “Install” button.
If you have a custom SSL certificate for different requirements, you can use “Custom Installation” to install a certificate you already own. A custom SSL certificate installation is a crucial process for ensuring secure communication between your website and its visitors.
Let’s see steps for installing custom SSL certificates using ServerAvatar.
Step 1: First, log in to the ServerAvatar account.
Step 2: Click on the Server Dashboard button.

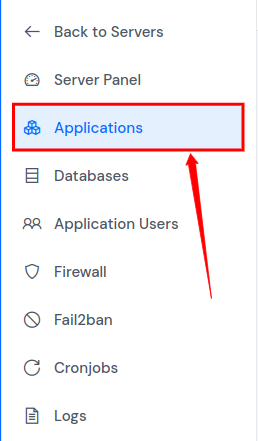
Step 3: Now, you will see the Applications option on the left-hand sidebar of the Server Panel. Click on Applications.
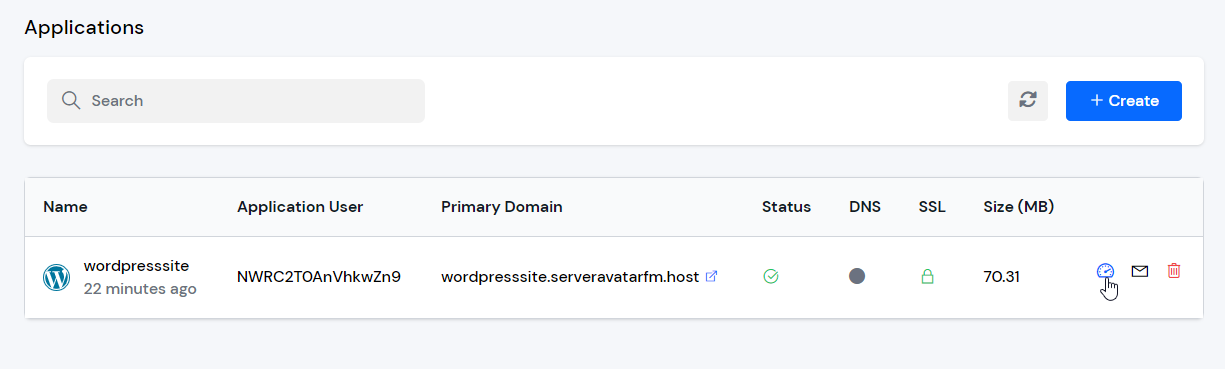
Step 4: Now, you will see the Applications table like the below image.
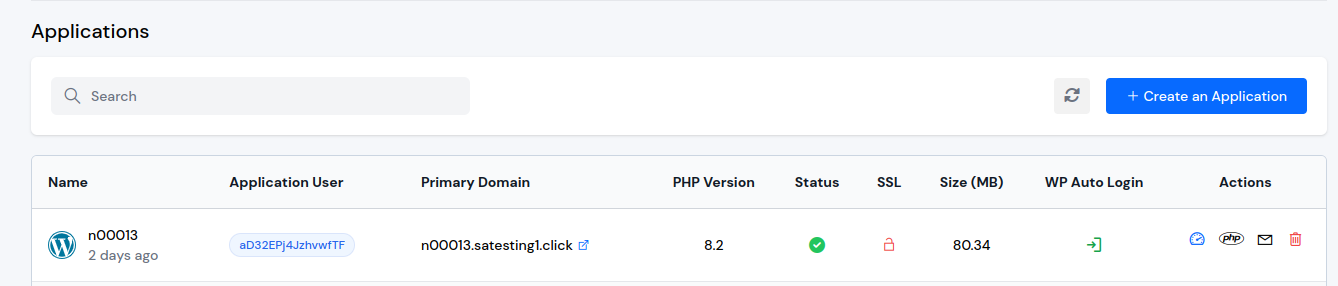
Step 5: Click on Application Name or Dashboard icon to access the application panel.
Step 6: Now, you will see the SSL Certificate option on the left-hand sidebar of the Application Panel. Click on the “SSL Certificate" as shown in the image below and You will see the SSL Certificate page like the image below. You have two options for SSL Installation: Automatic and Custom..
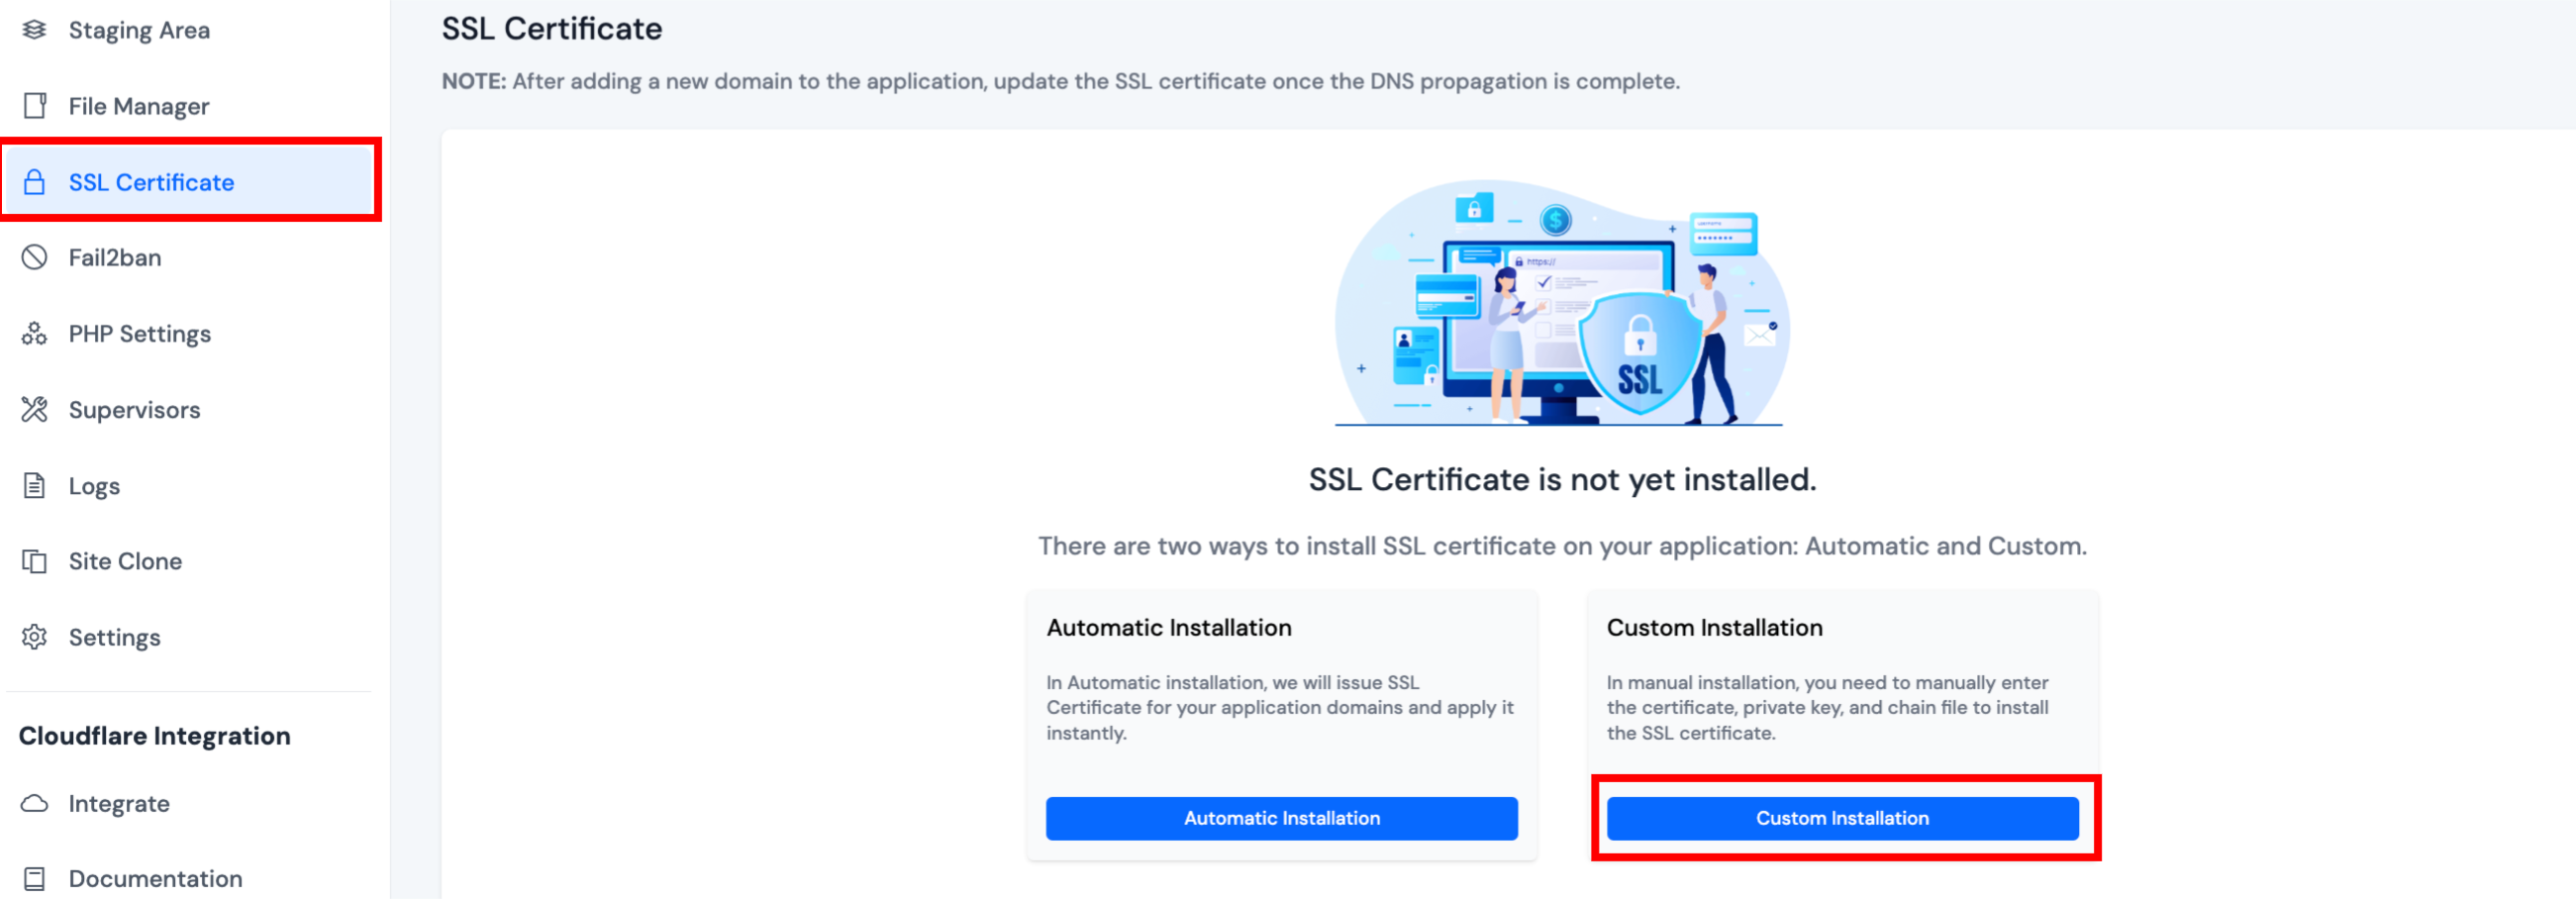
Step 7: To install Custom Certificate, Click on Custom Installation and you will see three text boxes to enter your certificate information.
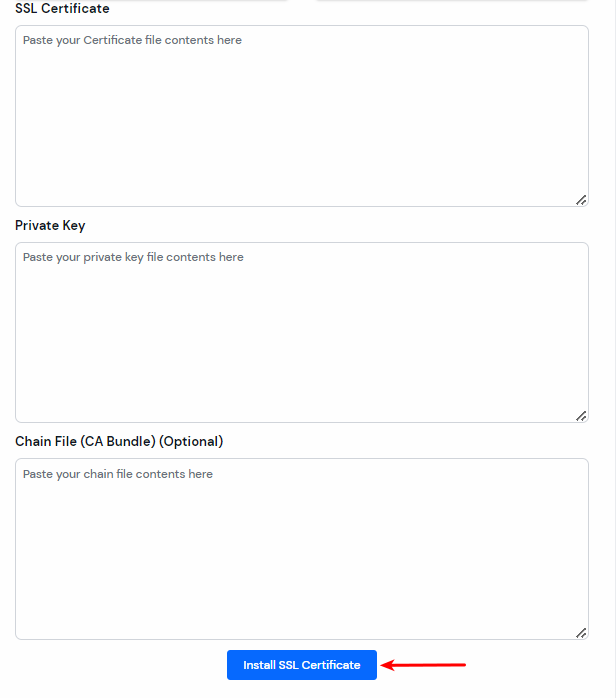
Here is more information about these fields to avoid making mistakes.
- SSL Certificate: SSL certificate is the main certificate file provided by your Certificate authority. Your Certificate authority will provide you with two files, from which one will be an SSL Certificate. If you want to verify your SSL Certificate file, open your certificate file in the text editor and make sure it has
BEGIN CERTIFICATEandEND CERTIFICATEat the beginning and the end of the file. - Private Key: The private key is generated with CSR. If you have generated CSR on your own, you must have a private key because both CSR and private key are generated at the same time on the user side.
- Chain File: Also known as ca-bundle. It's the file to verify your Certificate authority. You will get a CA bundle or Chain certificate from your Certificate authority along with the SSL Certificate.
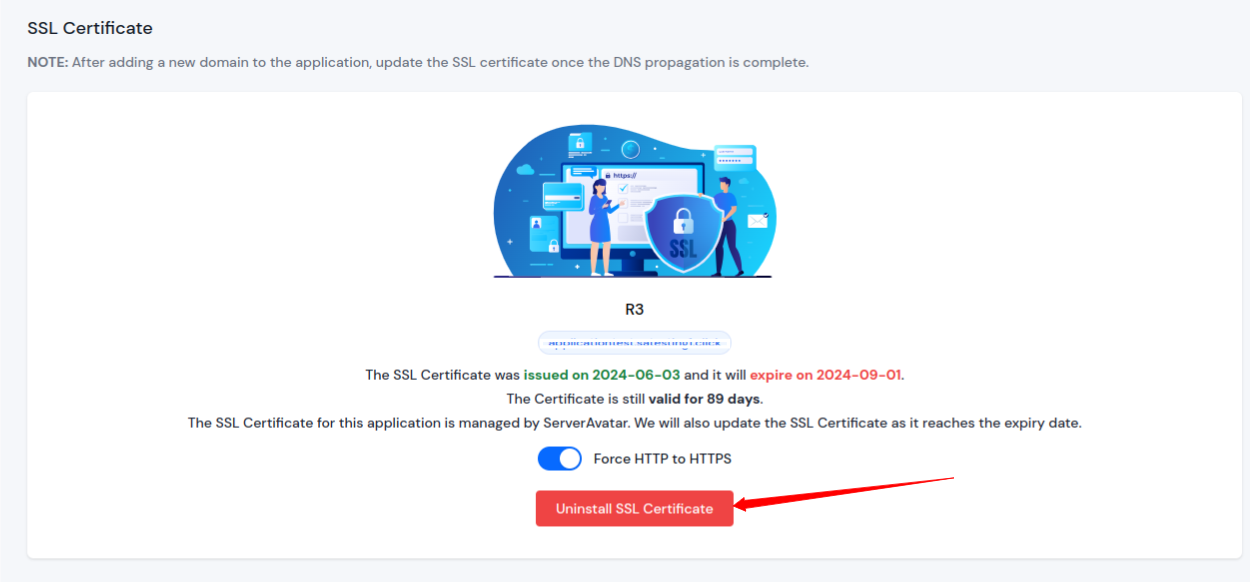
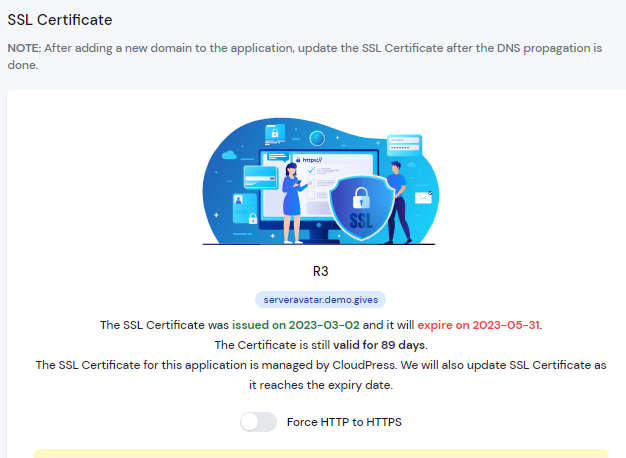
Enter the required information and click on the Install SSL Certificate button to begin the installation. It will take a few seconds to install the SSL certificate on your website. Once it's installed, you will see your certificate information in the SSL Certificate section of your application, as shown in the image below.
-
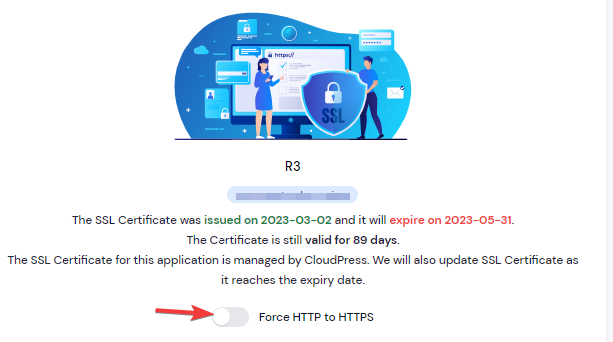
If you would like to force HTTP to HTTPS redirect, select Force HTTP to HTTPS.
-
If you want to uninstall the SSL certificate, click on the “Unistall SSL Certificate” button.