Staging Area
The Staging Area provides a safe environment where you can test updates, new features, or configuration changes without affecting your live production site. When you create a staging area, it clones your existing application, allowing you to experiment freely.
Changes made in the staging area do not impact your live environment. You can modify code, update content, or configure settings in isolation. Once you're satisfied with the changes, you can push them to the production environment with a single click. Similarly, if you need to pull the latest version of your live application into staging for testing, you can sync from production to staging just as easily.
Accessing the Staging Area
Step 1: Log in to your ServerAvatar account.
Step 2: Navigate to your server's Dashboard.

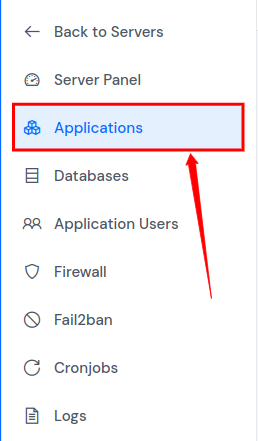
Step 3: In the Server Panel sidebar, click on Applications.
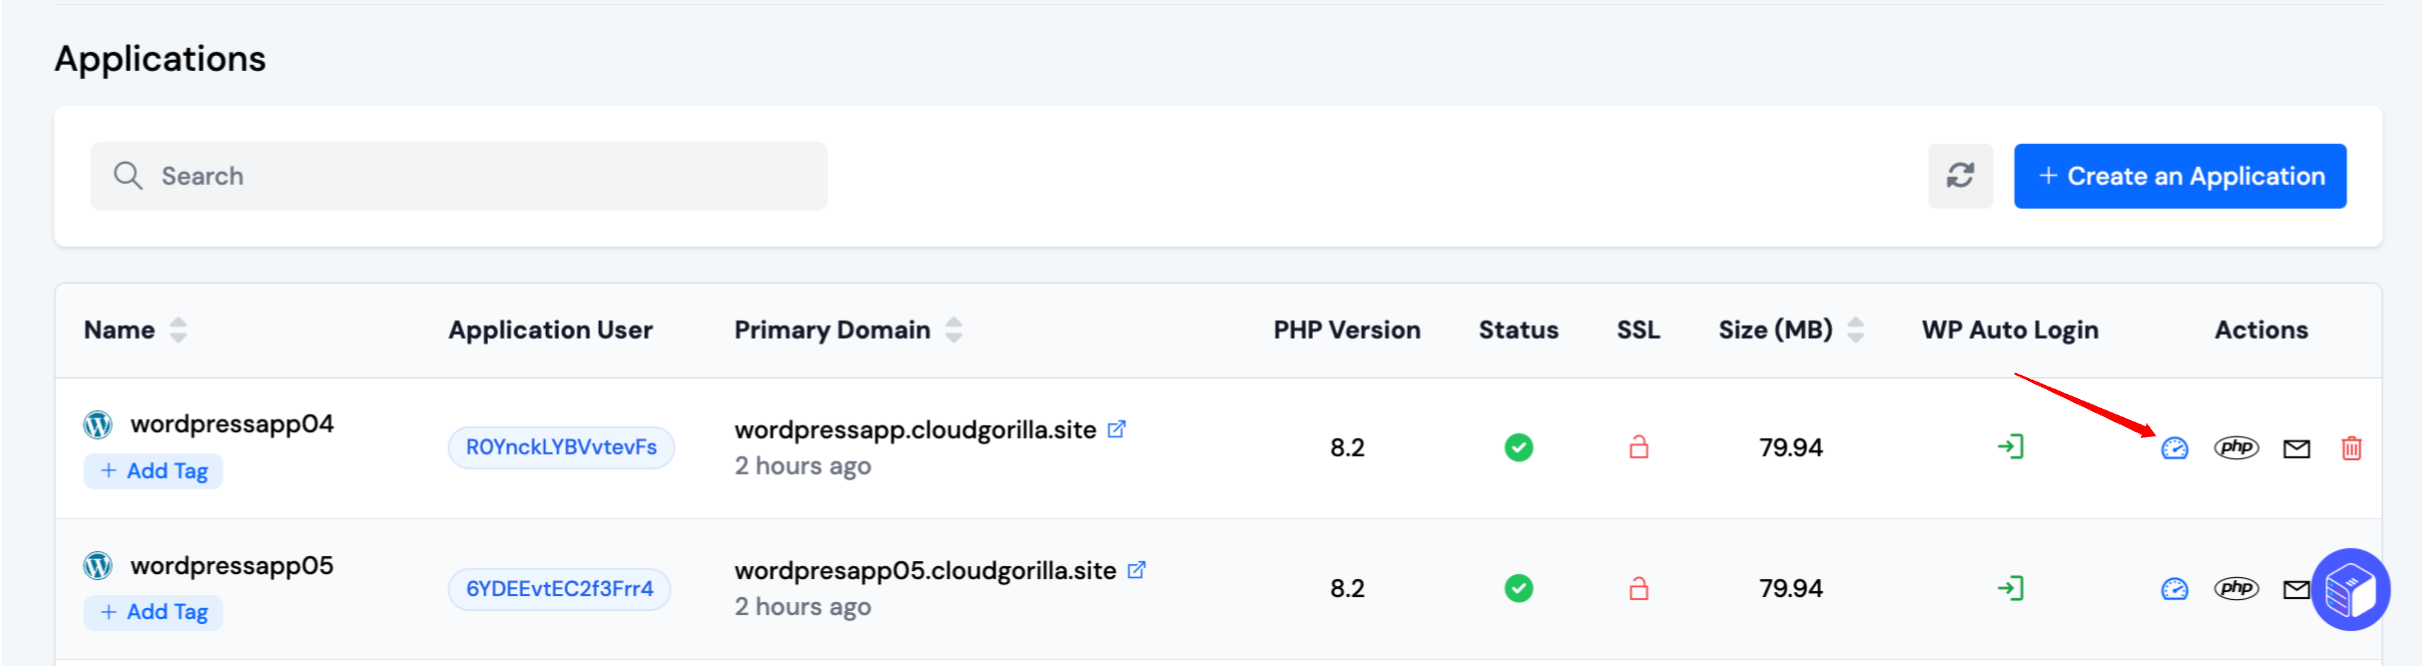
Step 4: Locate the application for which you want to create a staging area. Click on the Application Name or the Dashboard icon to access the application panel.
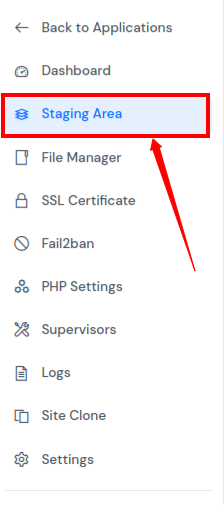
Step 5: From the application sidebar, click on Staging Area.
Creating a Staging Area
Step 6: Fill out the staging area form with the necessary details. Once complete, click the Create Staging Area button.
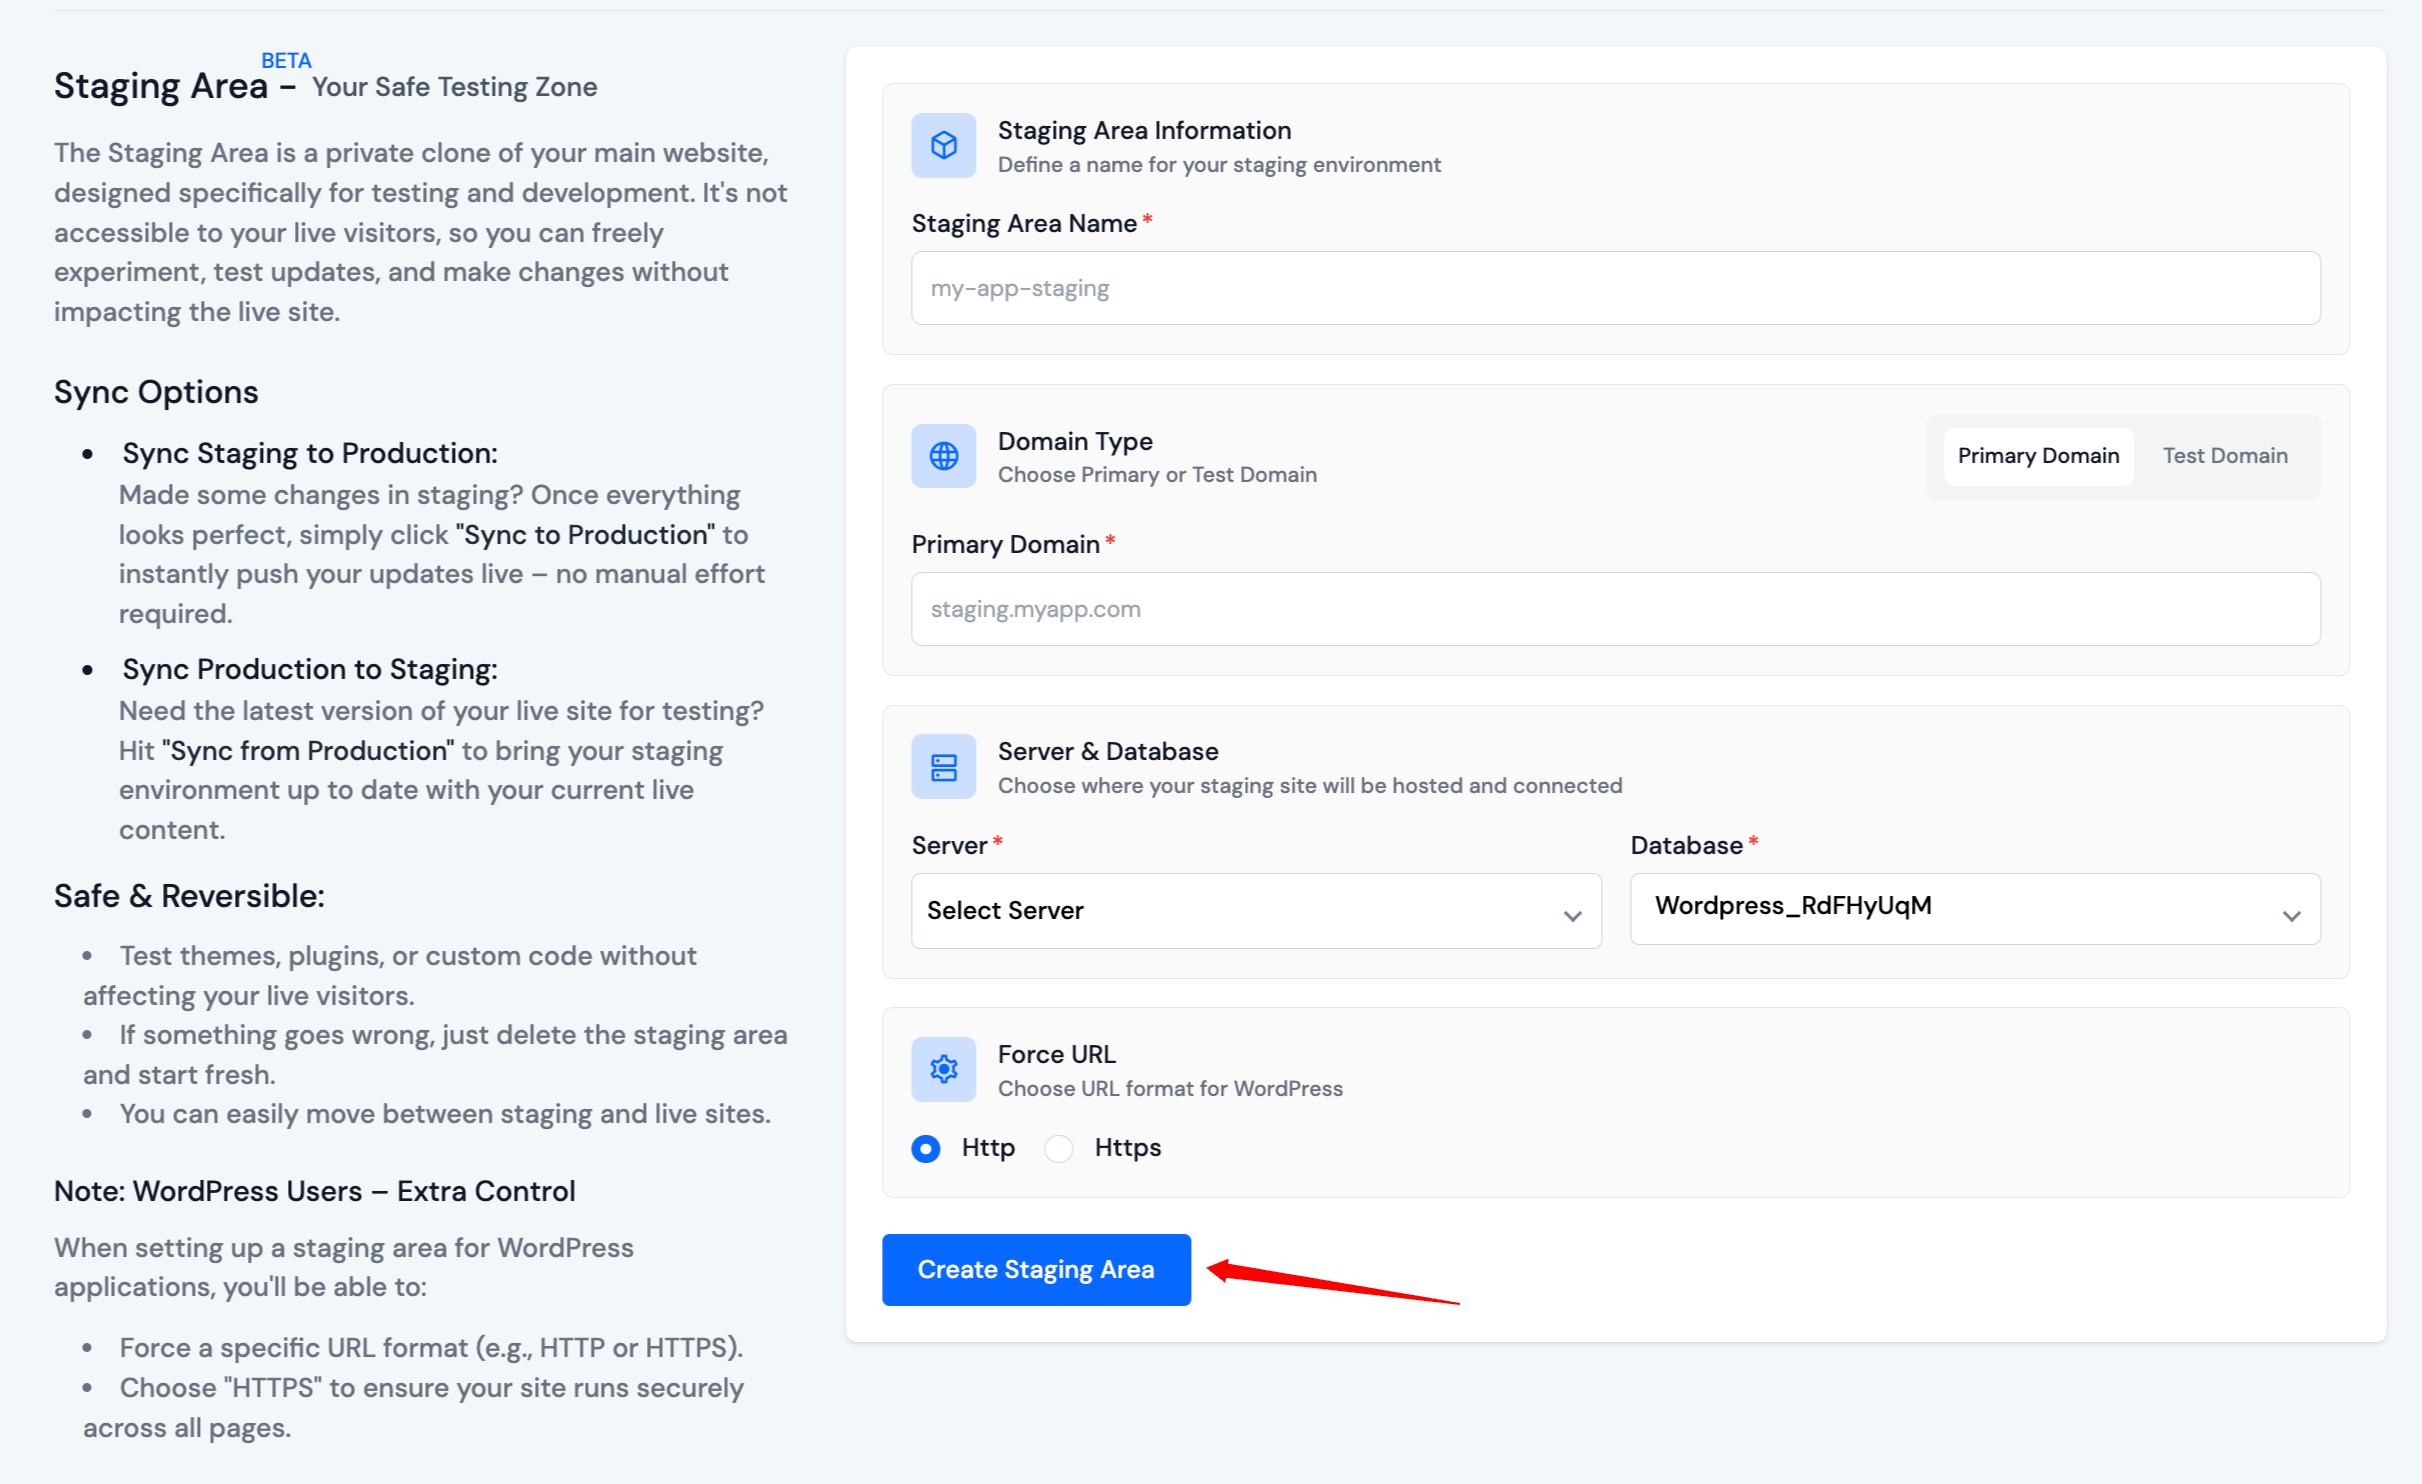
If you're working with a WordPress application, you will be asked to choose between HTTP and HTTPS for internal URL handling.
If you want to enforce HTTPS across all URLs in your WordPress site, select HTTPS. Otherwise, select HTTP.

After submitting the form, the staging area will begin its creation process.

Step 7: Once the staging area has been successfully created, you will see its status and options in the interface.
Syncing Between Environments
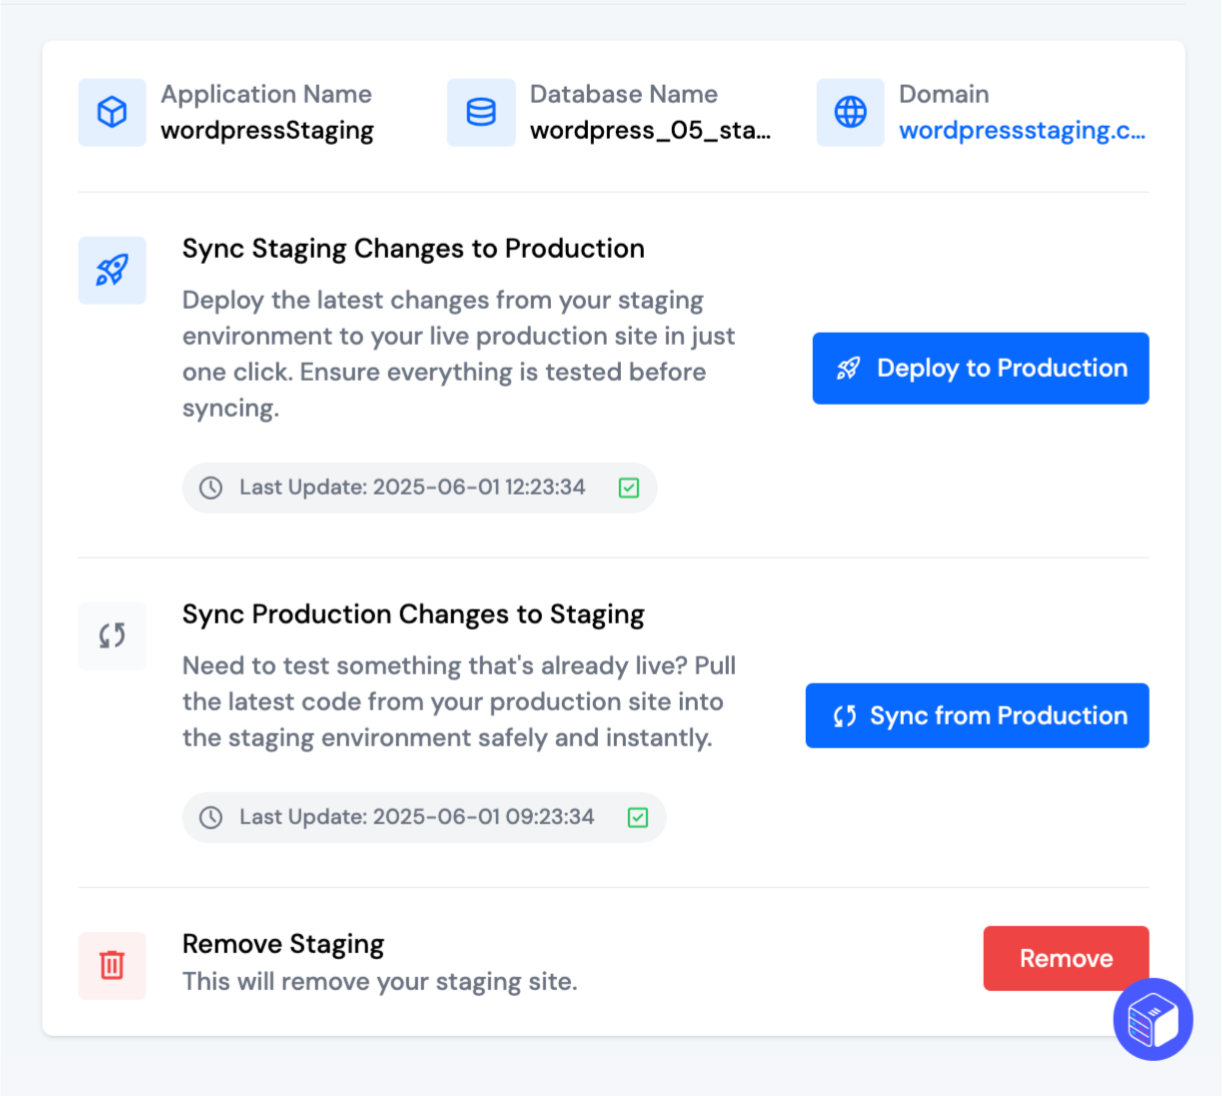
Step 8: Inside the staging area, you will find two sync options depending on your use case:
Sync Staging Changes to Production
Use this option when your changes in staging are tested and ready to go live. This feature deploys the latest staging version to your production site.
Click the Deploy to Production button.
-
A confirmation dialog will appear.
cautionFor WordPress applications, you’ll again be asked to enforce either HTTPS or HTTP for URLs during this process.
-
Confirm the action by clicking Yes, I'm Sure.
Sync Production Changes to Staging
Use this feature when you want to update your staging environment with the current state of your live production site. This is helpful when you need to test updates on real production data or code.
Click the Sync from Production button.
-
A confirmation dialog will appear.
cautionSyncing from production will completely replace your existing staging environment. All changes in the current staging setup will be lost.
-
Confirm the action by clicking Yes, I'm Sure.
Removing the Staging Area
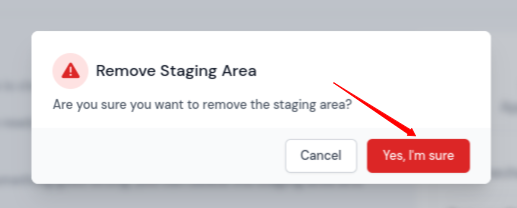
Step 9: If you no longer need the staging environment, you can remove it by clicking the Remove button.
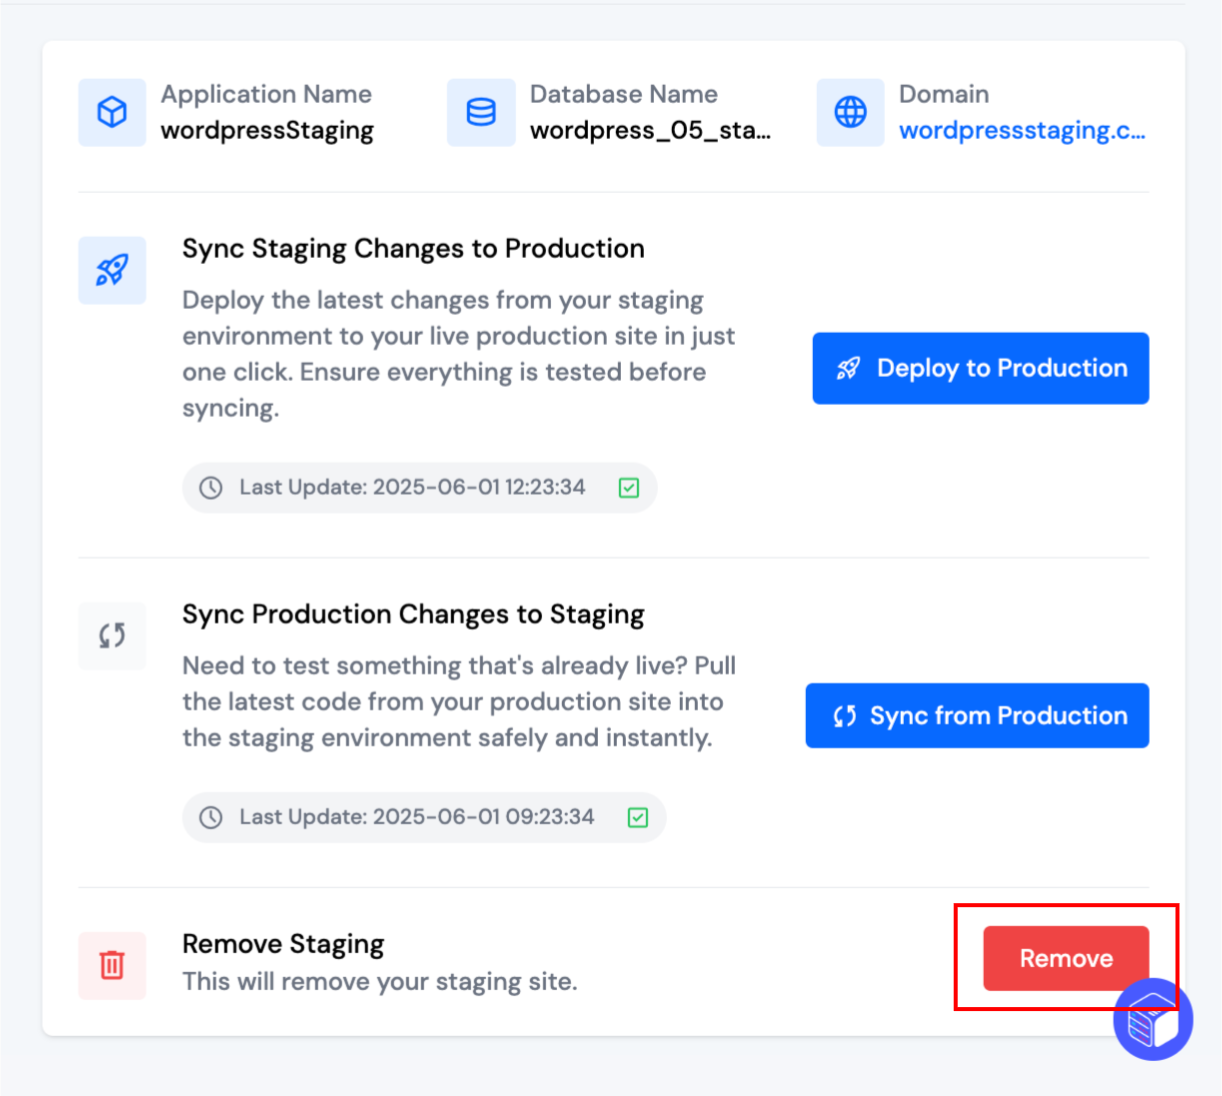
Step 10: A confirmation dialog will appear. Click Yes, I'm Sure to permanently delete the staging area.