Update Temporary Domain
You can update the temporary domain for your application directly from the Application Dashboard. The temporary domain allows you to access your application before pointing your custom domain to it.
Step 1: First, log in to your ServerAvatar account.
Step 2: Click on the Dashboard button next to your server.

Step 3: Click on the Applications option on the left-hand sidebar of the Server Panel.
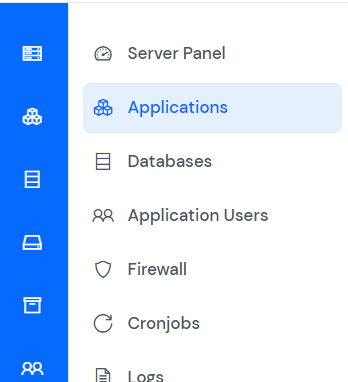
Step 4: Click on the Application Name or Dashboard icon to open the application panel.
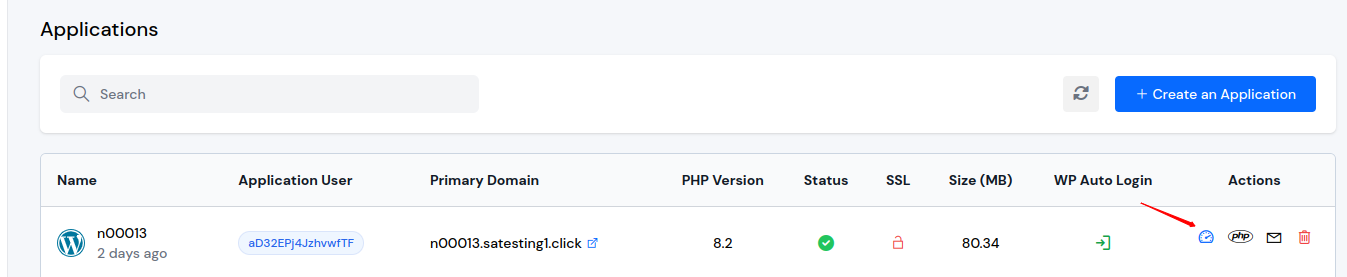
Step 5: In the Application Dashboard, scroll down to find the Application Domains section. You will see a table listing all domains associated with your application.
Step 6: In the Application Domains table, locate the temporary domain you want to update. Click on the edit icon in the Actions column for that domain.
![]()
Step 7: A modal dialog titled "Update Temporary Domain" will open. The modal displays the current temporary domain configuration.

Step 8: In the modal, you will see the Temp Domain field, which consists of two parts:
- Subdomain Input: The left part is a text input field where you can edit the subdomain portion.
- Domain Suffix Dropdown: The right part is a dropdown showing the domain suffix. You can select a different suffix from the dropdown if available.
Step 9: Update the subdomain text or select a different domain suffix as needed.
Step 10: Click the Update button to save your changes.
After updating, the temporary domain will be changed, and you can access your application using the new temporary domain URL.