Working with APIs almost always involves some testing. Before you connect an API to your application, you want to send a request, check the response, and make sure everything works the way the documentation describes.
Most developers use a tool like Postman for this. It works well, but it also means installing software, setting up a workspace, and configuring each request before you can send anything. When you only need to check a single endpoint, that can feel like more effort than the task is worth.
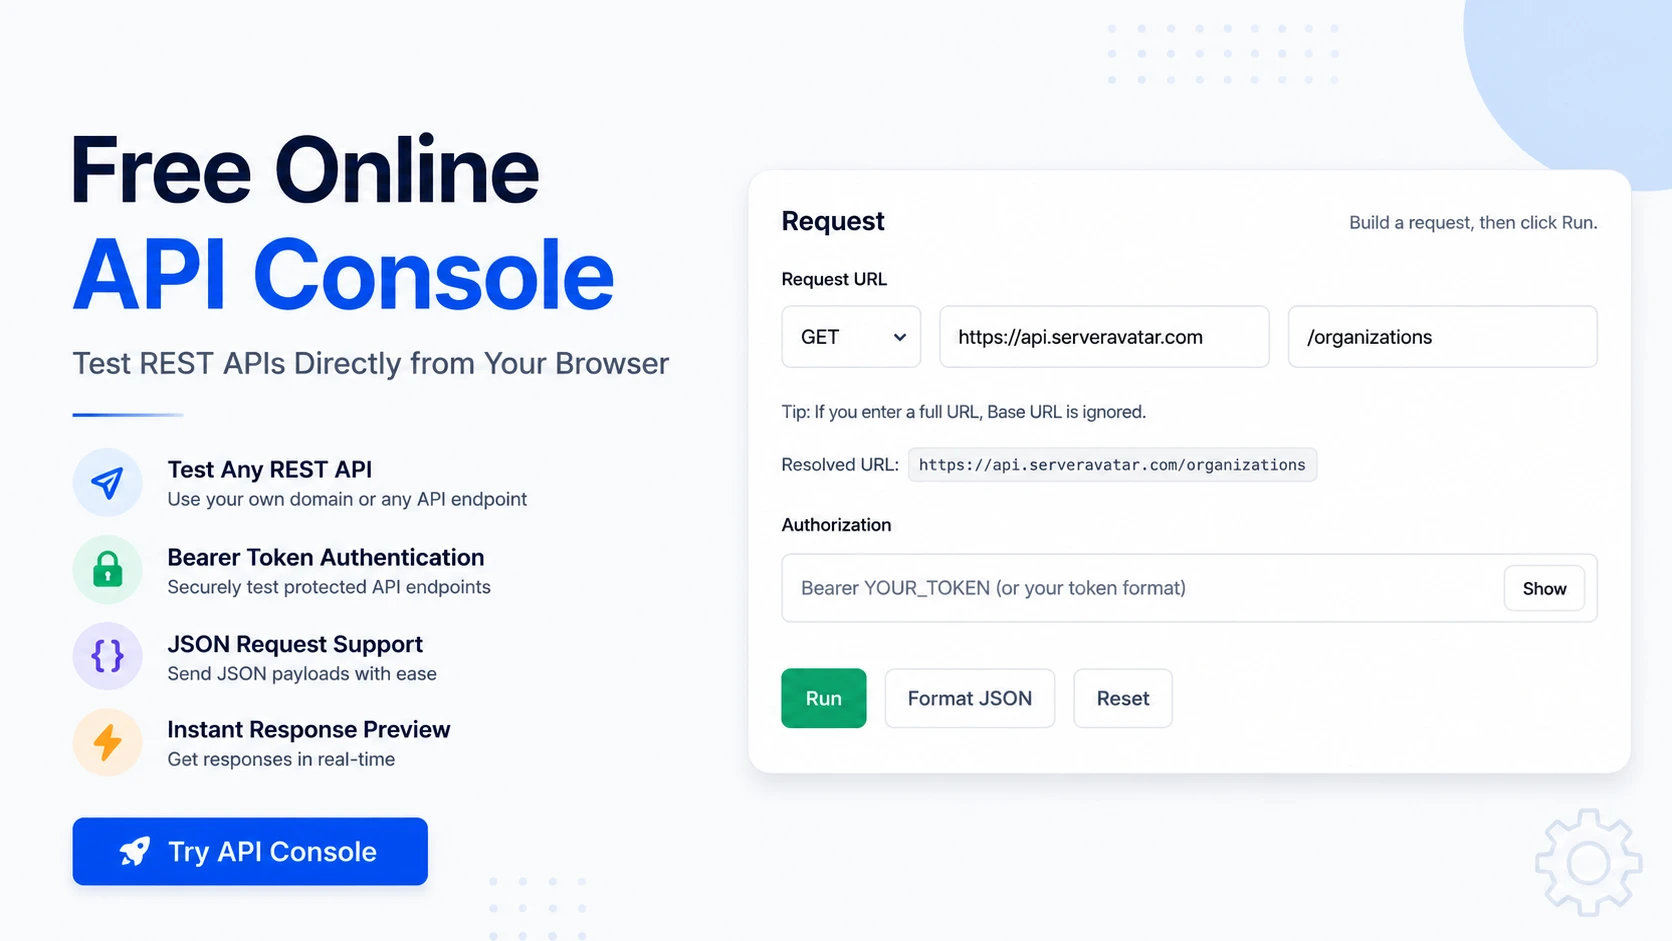
An online API console offers a simpler option. It’s a request builder that runs entirely in your browser. You enter an endpoint, choose an HTTP method, add an authentication token if the API requires one, and click Run. The response, status code, and a copyable cURL command appear instantly, with nothing to install or set up.
ServerAvatar has a free one built right into its docs. You can try it here: ServerAvatar API Console
We don’t store your data. Your API credentials, request payloads, and responses are never saved on our servers. Everything runs live in your browser.
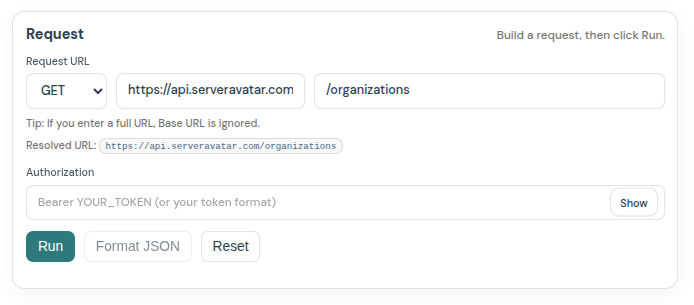
The ServerAvatar API Console runs right in your browser, no setup needed.
Why use it?
- No software to install
- Works straight from your browser
- Send GET, POST, PUT, PATCH, and DELETE requests
- Set a Base URL and add a Bearer token for authentication
- Send JSON request bodies
- See responses and status codes instantly
- Copy a ready-made cURL command for your code
A quick example
Say you want to list the organizations on your ServerAvatar account. Here’s the whole flow:
- Choose the GET method.
- Enter the path
/organizations. - Paste your token in the Authorization field, usually in the form
Bearer YOUR_TOKEN. - Click Run.
That’s it. The response shows up below right away, along with a status code that tells you if it worked. You can then switch to the Curl tab to copy the exact command for your own scripts, or check the Headers tab to see what was sent and received.
Understanding the HTTP methods
Each method does a specific job, and picking the right one matters:
- GET reads data without changing anything (listing your servers, for example)
- POST creates something new
- PUT and PATCH update existing data (PUT replaces, PATCH changes part of it)
- DELETE removes something
If you’re new to APIs, GET is the safest one to experiment with, since it only reads and never changes your data.
Test any REST API
The console isn’t tied to one platform. You can test Laravel APIs, WordPress REST APIs, SaaS APIs, internal company APIs, or any custom REST API.
You enter the endpoint in one of two ways:
- Just the path. Type something short like
/organizations. The console adds it to the Base URL for you, so the request actually goes tohttps://api.serveravatar.com/organizations. This is the quick way to test ServerAvatar’s own API. - A full URL. Paste the whole address, like
https://api.example.com/users. The Base URL is then ignored and the console calls exactly what you pasted. Use this for any other API.
A “path” is just the part after the domain, and it always starts with a slash. The console shows a Resolved URL preview so you can see the full address before you send anything. Once it looks right, click Run.
One honest caveat: if you test an external API and get a CORS error, that API has to allow requests from the docs domain, or you’ll need a proxy. It’s a browser security rule, not a fault in the console.
A note on your token
Your API token is like a password. Anyone who has it can act on your account, so only paste it into consoles you trust, and never share a screenshot that shows it. When you’re done testing, it’s good practice to revoke any token you no longer need.
Why it helps
Testing an API before you write your code lets you confirm the important things first:
- Authentication works
- Endpoints return the data you expect
- Your JSON payload is valid
- Responses contain the right information
Sorting these out early means you’re not hunting for the same problems later, buried deep in your application where they’re harder to find.
Common uses
- Learning APIs without writing any code
- Testing integrations before connecting them to your app
- Debugging auth, payload, or endpoint issues
- Trying documentation examples right in the browser
Conclusion
A free online API console is the fastest way to test REST APIs from your browser. No install, no setup, just send a request and read the response. Whether you’re learning, debugging, or validating an integration, it puts everything you need in one screen.
Try it here: ServerAvatar API Console
FAQs
Do I need to install anything?
No. It runs entirely in your browser, so there’s nothing to download or set up.
Can I test APIs other than ServerAvatar’s?
Yes. Just paste a full URL like https://api.example.com/users instead of a path. Keep in mind that some external APIs block browser requests with a CORS rule, in which case you’ll need a proxy.
Do you store my API token or request data?
No. ServerAvatar does not store your API token, request bodies, or response data. All requests are sent directly from your browser to the target API, nothing is logged or retained on our servers.
Which HTTP methods are supported?
GET, POST, PUT, PATCH, and DELETE, which covers reading, creating, updating, and deleting data.
How do I authenticate my requests?
Add your token in the Authorization field, usually in the form Bearer YOUR_TOKEN. Treat that token like a password and don’t share it.
Can I use the requests in my own code?
Yes. After you run a request, open the Curl tab and copy the ready-made cURL command straight into your scripts.
Run your apps on ServerAvatar
ServerAvatar does more than API testing. It’s a server management platform that makes deploying and running your apps simple, and it’s trusted by over 12,000+ users.
Want to host WordPress, Laravel, PHP, Node.js, or any custom app? It’s all supported. Connect a server from any cloud provider, deploy your app, and ServerAvatar handles the setup, security, and ongoing management.