

Connecting WordPress to another application sound simple until you start comparing WordPress API plugins. One plugin display external data. Another send notifications when something changes. Third controls who can access endpoints.
When comparing WordPress API plugins, I start with one question; where does data need to go? That answer limits options much faster than long feature list.
In this guide, I will list out plugins and walk through with details. Whether you manage one business website or several client sites, goal is to choose tool you can configure, verify, and maintain.
TL;DR
- Choose external API connector when WordPress need to request information from another service
- Consider webhook or automation plugin when event should trigger action
- Use custom endpoint tool when another application needs data that existing endpoints do not provide
- Evaluate authentication and caching separately from connection itself.
What Are WordPress API Plugins?
WordPress API plugins helps website exchange information with other applications or extend how its existing API work.
API establish rules for how software system request data or trigger task in another system. These response are typically delivered in JSON, lightweight, structured text format that application can easily read and parse.
For example, integration could retrieve availability information from supplier or send newly created user’s details to onboarding system.
Does WordPress Already Have REST API?
WordPress comes built with REST API that let developers interact directly with key content type like posts, pages, and user accounts.
You do not need plugin to enable built-in functionality. Additional tools become useful when you need configuration interface, custom endpoints, alternative authentication, or workflow automation.
WordPress also provides Application Passwords for supported external authentication scenarios. These should be used over HTTPS and inherit associated user’s capabilities.
API Requests vs. Webhooks
API request usually begin when one application asks another system for information or action.
Webhook send information when particular event occurs.
Displaying information on demand and notifying another platform after particular event are different things, even though both involve exchanging data.
What To Check Before Choosing WordPress API Plugin
Compatibility with Actual Workflow: Write down source, destination, required field, and trigger. Check whether plugin supports required request method, authentication arrangement, and response format.
Security and Permission Control: Authentication establish identity. Authorization determine what identity can access or change. Plugin accepting API token does not automatically mean permission match your requirements.
Free Features and Ongoing Cost: Look beyond availability of free version. Confirm whether required integration, formatting option, or automation action need paid plan. Also account for external service charge, site allowance, and renewal term.
Maintenance and Troubleshooting: Refer documentation, compatibility information, recent change, and support response.
I would recommend to look for practical way to inspect errors. When integration stop working, useful diagnostic matter more than long list of features.
Best WordPress API Plugins for Seamless Integration
Choosing right API plugin can make WordPress integration much easier. Below is comparison of some popular plugins, highlighting some factors to consider.
| Plugin | Main purpose | Free Version Available | What to check |
| WPGetAPI | Connect WordPress to external REST APIs | Yes | Authentication and formatting requirements |
| JSON Content Importer | Display information from JSON feeds | Yes | Response structure and template complexity |
| WP Webhooks | Send and receive event-driven data | Yes | Required trigger, action, and paid feature |
| Uncanny Automator | Connect workflows across supported integrations | Yes | Exact trigger and action availability |
| Custom API for WP | Create custom REST endpoints | Yes | Permission and exposed database field |
| JWT Authentication for WP REST API | Authenticate REST API requests with tokens | Yes | Authorization header forwarding and user permissions |
| WP API SwaggerUI | Document and test REST API endpoints | Yes | Which API routes and request methods the integration needs |
To assist make proper choice, let’s explore each plugin individually, along with its main features, functionality, and integration capabilities.
1. WPGetAPI: For External REST API Connections
WPGetAPI act as bridge, allowing your WordPress site to seamlessly connect and communicate with third party REST APIs. Its capabilities include multiple endpoints, common HTTP methods, headers, query parameters, and request bodies.
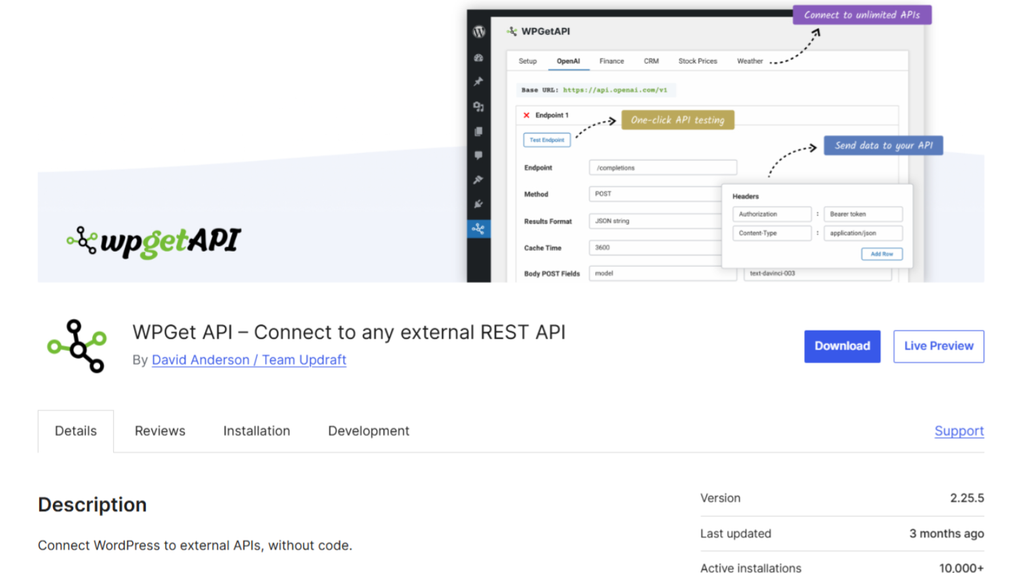
It supports using returned data through shortcode or template tag. Advanced capabilities are available through separate paid products. It has free version, and Pro plan starts at $65 per year for one website.
Key features
- Configure multiple external API and endpoint from WordPress dashboard
- Send GET, POST, PUT, PATCH, and DELETE requests with custom header, query parameter, and request bodies
- Use shortcode or template tag to display returned data
Advantages
- Lets site owner configure common API request without writing custom connector
- Work for both pulling data into WordPress and sending data to another service
Disadvantages
- Turning nested JSON response into polish page layout require extra formatting work
- Feature such as OAuth 2.0 support and importing API data as WordPress post may require paid extension
Where it fits: Retrieving information from external service or sending configured API request.
What to check: Confirm required authentication, dynamic parameters, and presentation features before selecting edition.
My take: It is reasonable option for direct API connections, but receiving valid response and building polished page layout are separate task.
2. JSON Content Importer: For Displaying JSON Feeds
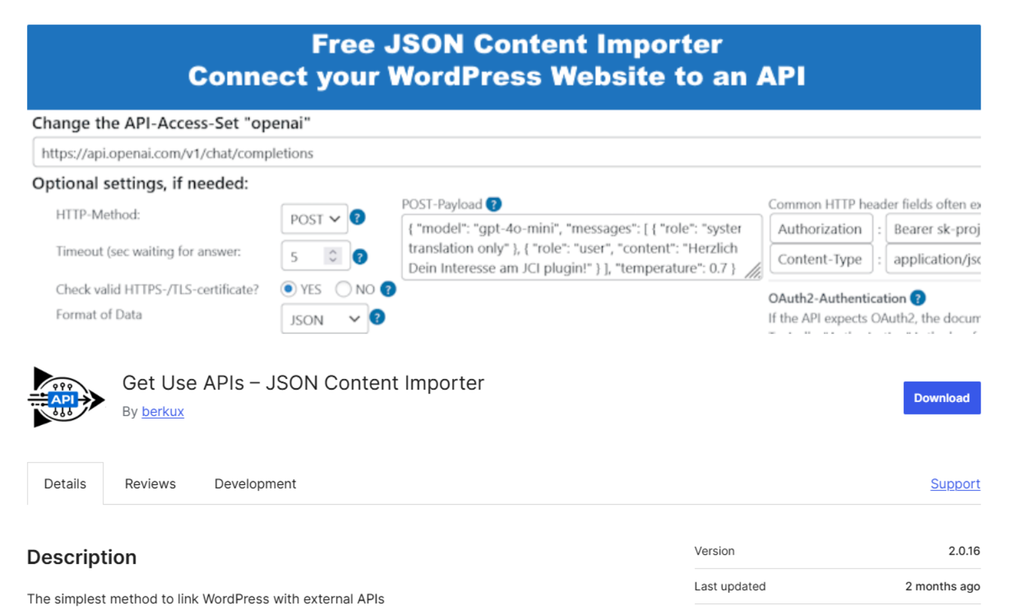
JSON Content Importer focuses on fetching JSON feeds and presenting their contents in WordPress. Free offering is available, with additional capabilities provided through commercial products, and Pro plan starts at $59 per year for one website.
Key features
- Retrieve JSON from external API or feed and display selected field in WordPress
- Use template and shortcode to control how information appear
- Let you target nested part of response and limit number of item shown
Advantages
- Suit directory, event listing, and other page that display structured external data
- Give you control over which field visitor see and how they are arranged
Disadvantages
- Deeply nested response can make template harder to build and maintain
- If the provider rename or move field, you may need to update template
Where it fits: Public directories, external listing, opening hour, or other information supplied as JSON.
What to check: Inspect response structure. Simple list is easier to present than deeply nested data containing optional field.
My take: I would consider it when displaying external information is the main requirement.
3. WP Webhooks: For Event-Driven Data Exchange
WP Webhooks supports, triggering that sends information and action that receives it. It’s Pro Flows feature connects triggers and actions into sequence.
It has free version, and paid Starter plan cost $149 per year for one website.
Key features
- Send data to external service when supported WordPress event occur
- Receive webhook request that can trigger supported action in WordPress
- Connect trigger and action into sequence through Pro Flows feature
Advantages
- Let another system respond to change as they happen, reducing need for repeated API check
- Support workflow in both direction, such as sending registration to CRM or receiving update from another application
Disadvantages
- Multi-step Flow and some integration require paid edition
- You need to test both system. WordPress can send webhook successfully while receiving service fail to process it
Where it fits: Sending information after WordPress event or receiving instruction from another platform. For example, registration event could send approved user information to onboarding system.
What to check: Verify specific trigger, receiving action, authentication option, and plan requirement.
My take: I would give attention to delivery verification and duplicate handling.
4. Uncanny Automator: For Connecting Workflow Steps
Uncanny Automator use formulas built around trigger and action to connect supported WordPress functionality and external application.
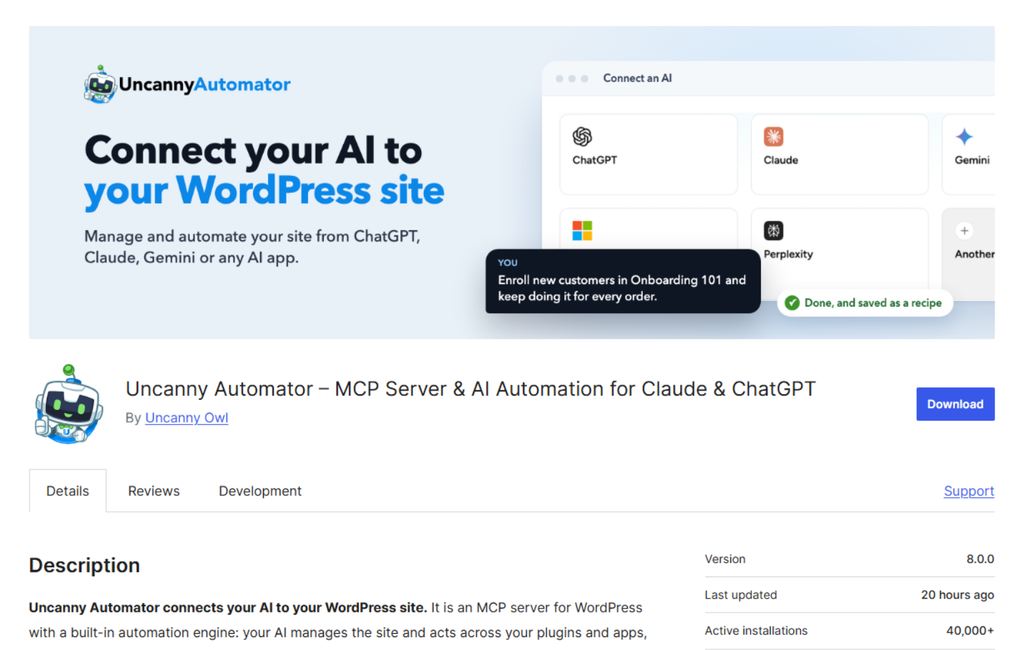
It offer free Lite version, and paid basic plan cost $20 per month or $199 per year for one website.
Key features
- Build automation recipe through visual interface
- Combine trigger and action across supported WordPress plugins and external apps
- Logs recipe run so you can review how workflow executed
Advantages
- Help team automate routine task without building separate integration for each step
- Make workflows easier to hand over because another team member can inspect recipe and its run history
Disadvantages
- Supported app may offer only some of trigger or action your workflow need
- Incoming webhook, advanced workflow logic, and certain action require Pro. External app action also have limit in free edition
Where it fits: Workflows involving several supported action, rather than retrieving API response.
What to check: Confirm exact trigger and action combination. Support for platform does not mean every possible operation is available. Account requirement, usage allowance, and paid feature also available.
My take: I would start with one trigger and one action.
5. Custom API for WP: Build Custom Endpoints
Custom API for WP plugin provide an easy to use setup for building custom REST endpoints, giving you direct access to your WordPress database data.
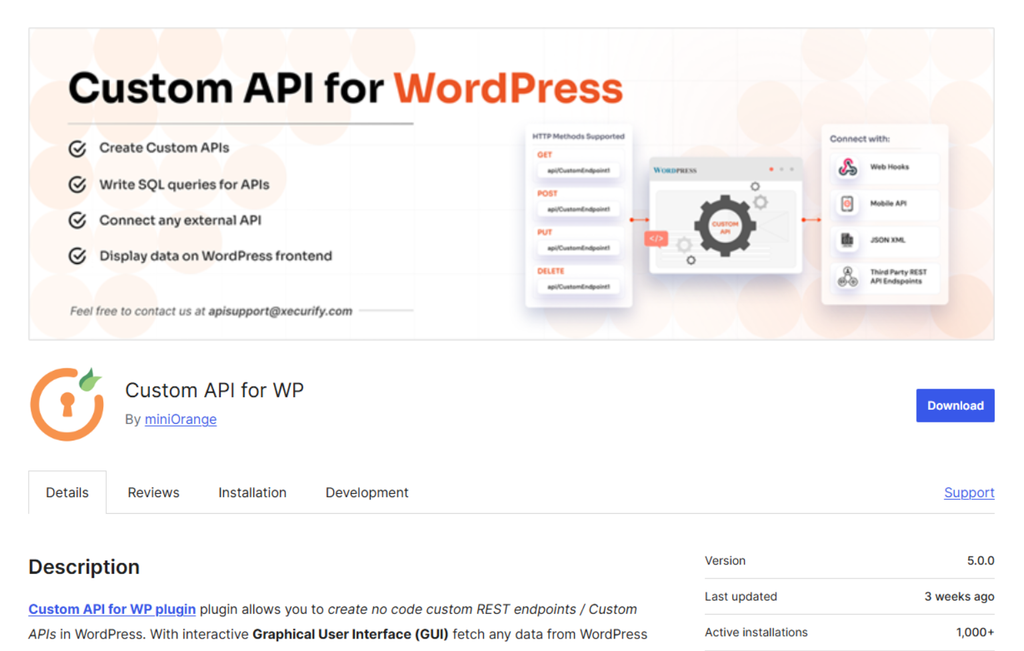
It has free version, and vendor list it’s paid Basic API Creation plan at $199 without specifying billing interval.
Key features
- Create custom REST endpoint through WordPress admin interface
- Support read endpoints that retrieve data from WordPress database table
- Offer option for write operation, response formatting, and role-based access, depending on edition
Advantages
- Give external application a dedicated endpoint when standard WordPress route don’t return the required data
- Let you design response around field receiving application actually use
Disadvantages
- Database-backed endpoint need careful review to avoid exposing private field or granting unnecessary write access
- Advanced response formatting and role-based access control are listed as premium feature
Where it fits: Another application need specific dataset that existing WordPress endpoint do not provide.
What to check: Check every exposed field and access rule. Database records contain information that never appear in public response.
My take: I would define response before building endpoint. Return only necessary field, start with read-only access, and introduce write operation only when required.
6. JWT Authentication for WP REST API: For Token-Based Authentication
JWT Authentication for WP REST API add JSON Web Token authentication to WordPress. Once authenticated, client passes this token in future REST API requests to verify its identity.
It has free version, and Pro edition cost $59.99 per year, with lifetime option at $179.99.
Key features
- Add JSON Web Token authentication to WordPress REST API
- Provide endpoint for issue and validate token
- Uses signing secret configured in wp-config.php and offer developer hook to adjust token behavior
Advantages
- Suit mobile apps and custom frontend that need to authenticate as WordPress user
- Let client send bearer token with subsequent request instead of resending user’s login credentials.
Disadvantages
- Setup requires access to wp-config.php and may involve checking that server forward Authorization header
- Token refresh and revocation are listed as Pro feature
Where it fits: Mobile app or custom frontend that need to make authenticated requests to WordPress.
What to check: Confirm that server forward Authorization header and test whether each user role can access only data it requires.
My take: I would choose when mobile app or custom frontend needs user to sign in with WordPress accounts.
7. WP API SwaggerUI: Documenting and Testing REST API Endpoints
WP API SwaggerUI adds interactive interface for exploring and testing WordPress REST API endpoints in browser. It supports Swagger and OpenAPI output, along with Basic and Bearer authentication option for test requests.
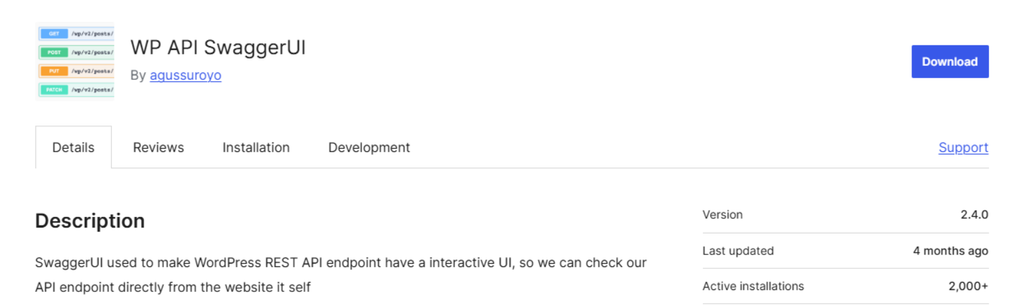
It is available for free on WordPress.org, with no paid edition listed.
Key features
- Add browser interface for exploring and testing WordPress REST API endpoint
- Support Swagger 2.0 and OpenAPI 3.0.3 output
- Let you select API namespace and use Basic or Bearer authentication for test request
Advantages
- Make it easier to check request parameter and response fields before building integration
- Give WordPress and external app developer shared reference during setup and handoff
Disadvantages
- Automated data transfer require separate connector or workflow tool
- Interface can send request that change or delete data, so test those method on staging site
Where it fits: Developer or agency need to verify which field endpoint accept and what it return before connecting another application.
What to check: Start with read-only request in staging. Verify response field and status code before testing request that create or update records.
My take: I would use during staging or developer handoff. Sending one real request through interface let both teams see which parameter endpoint accepts and what the response look like.

How to Set Up WordPress API Integration
Exact control depend on plugin and connected service. However, I would follow same general process to configure and verify integration.
1. Define the Expected Result
Choose one measurable goal. For example, “display latest availability information” or “create record after registration.”
Identify which system initiates exchange, which fields are required, and how often information should change.
2. Review Requirements and Install Suitable Plugin
Read documentation for endpoint URLs, request methods, authentication, and usage limits. Choose plugin that supports those requirement. Install it in staging first, and confirm whether required capabilities are available in your selected edition.
3. Configure Connection
Depending on plugin, setup may involve:
- Base URL and endpoint path
- Credential or access token
- Request headers, parameters, and body fields
- Webhook destination
- Trigger, action, and field mapping
- Access permission
I would use dedicated credential with only permission workflow need
4. Test Small Example
Use plugin’s testing function where available, or trigger one controlled event Inspect returned status and response. Check destination directly.
Did information arrive? Were field mapped correctly? Did intended action finish?
5. Check Failures and Repeated Requests
Test invalid credential, missing field, and unavailable destination. For integration that create or update record, verify what happen when same request arrives twice. If information appear on page, review it as logged-out visitor and check empty-data state.
6. Launch and Monitor
Move verified configuration to production, apply production credentials, test again. I recommend monitor error, request volume, and complete outcome after launch. Recheck workflow when plugin or connected service change.
Common WordPress API Integration Problem
| Problem | Possible cause | First check |
| 401 response | Missing or invalid credential | Authentication header and token validity |
| 403 response | Permission failure or security restriction | Account capability and security log |
| 404 response | Incorrect route or address | Base URL and endpoint path |
| 429 response | Request limit reached | Request frequency and retry instruction |
| Timeout or server error | Network, hosting, or upstream failure | Log and service health |
| Missing information | Incorrect mapping or response structure | Raw payload and field path |
| Outdated information | Cached response | Expiry and invalidation |
How to Keep Integration Secure and Reliable
Protect Credentials and Permissions: Use HTTPS, keep secret server-side, and grant only required access. Remove tokens and personal information from logs before sharing them. Revoke credential when integration is retired.
Control Requests and Retries: Cache suitable public information and request only record you need. Use limited retries with increasing delay for retryable failure. Follow provider’s rate-limit instruction and respect Retry-After when supplied. For write operation, confirm that retrying cannot create unwanted duplicate.
Test Updates and Monitor Outcomes: Back up application before significant changes and verify update in staging. I recommend monitor business outcome alongside technical errors: was record created, was update applied, and displayed information?
ServerAvatar provides server and application management capabilities, with monitoring features available through its offerings. These can support hosting-side investigation alongside plugin’s own diagnostic.
Key Takeaways
- Choose plugin around required data flow and outcome
- Check existing WordPress capabilities before adding another tool
- Verify exact features included in selected edition
- Test permissions, failures, duplicates, and data freshness
- Monitor completed actions alongside request status codes
Conclusion
Best WordPress API plugin depends on what integration needs to accomplish. Compare tools by their role, check permissions, feature availability, and maintenance requirements before committing. Start with one workflow, test it in staging, and verify result in both systems. If you also need simpler way to manage hosting environment behind your WordPress application, explore ServerAvatar alongside your integration tools.
FAQs
Does WordPress Need Plugin to Use Its REST API?
No, WordPress include REST API. Plugins add functionality such as external connections, custom endpoints, authentication options, and caching.
Which WordPress API Plugin Should I Choose?
Choose according to workflow. External data connections, event-driven automation, custom endpoints, access control, and caching require different capabilities.
What Is the Difference Between API Connector and Webhook Tool?
API connector commonly initiates requests. A webhook tool send or receive information when event occurs.
How Can I Secure WordPress API Integration?
Use HTTPS, dedicated credentials, restricted permissions, validated data, and appropriate authentication. Test unauthorized access as well as successful requests.
Can API Plugin Slow Down WordPress?
Frequent requests or slow external response can affect performance. Suitable caching, controlled request volume, and sensible timeout handling can reduce impact.
About the author
Meghna Meghwani is a technical writer focused on Linux, Ubuntu, VPS hosting, server management, WordPress, PHP, Node.js, cloud hosting, and DevOps. She creates beginner-friendly tutorials, practical hosting guides, troubleshooting articles, and server security content designed to help developers and businesses manage applications and servers more efficiently.