Vultr is a fast and reliable cloud hosting provider used by more than 70,000 agencies and small businesses all over the globe. It provides a high-performance SSD cloud server using the latest generation Intel CPUs on a scalable and easy-to-use control panel. And that’s what makes it popular among the other cloud service providers.
Using Vultr, it is easy to deploy a server with whatever configuration you need. But you know that deploying a server isn’t just enough. You also need to manage it accordingly.
Learning to manage servers on your own takes so much effort and time. And that’s why ServerAvatar came into the market.
ServerAvatar provides a feature-rich control panel that helps you manage multiple servers and applications on a single dashboard.
Let’s look at how to create a server using Vultr and manage it with ServerAvatar.
Create a Vultr Server
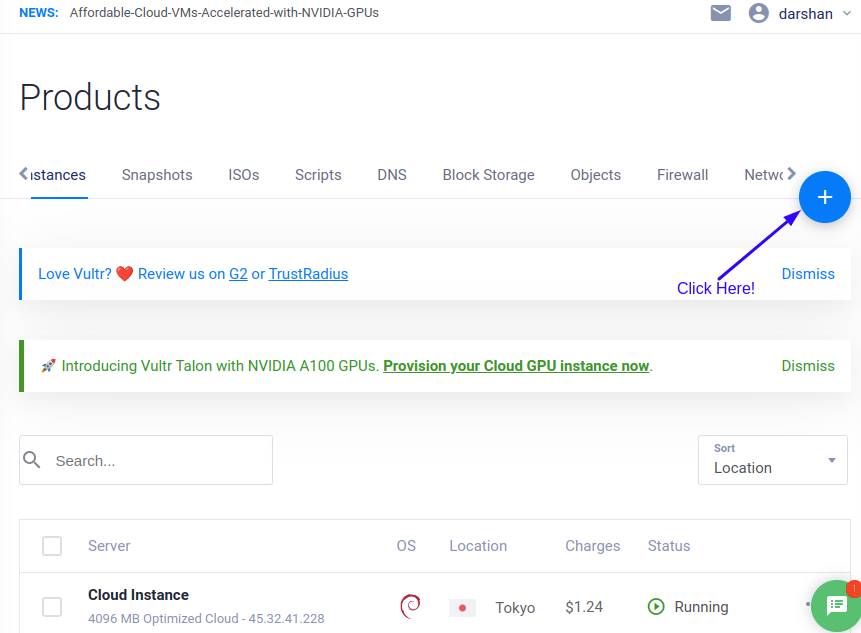
Vultr provides $150 free credit for new users, so if you’re new to it, grab it using sign up. Once you are logged in to Vultr, click on the plus button given on the screen.
Now it’s time to configure a server by filling in the required information, such as:
Server Selection
Choose the Server as per your requirement. ServerAvatar supports VPS/VM/Cloud Instance/Dedicated or Private server.
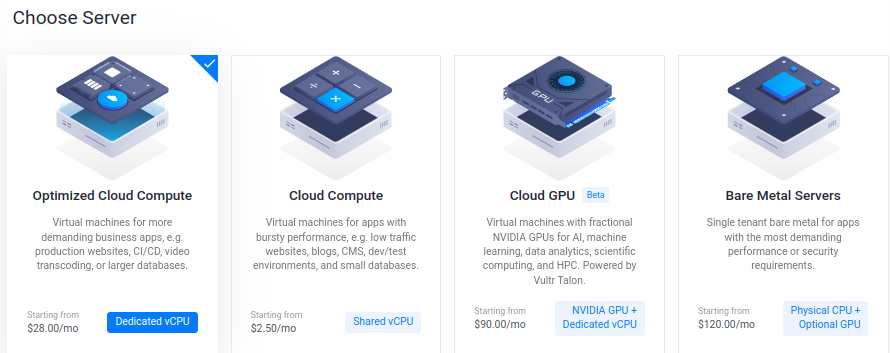
You can here select from four different configuration servers, which are:
- Optimized Cloud Compute – Virtual machine for more demanding business apps.
- Cloud Compute – Virtual machine for apps with Bursty performance.
- Cloud GPU – Virtual machine with fractional NVIDIA GPUs for AI, machine learning, and more.
- Bare Metal Servers – Single-tenant bare metal for apps with the security requirement or best performance.
Server Type
types of server includes General Purpose, CPU Optimized, Memory Optimized, and Storage Optimized.

All virtual machines(VM) have different CPU, RAM, and SSD specifications. Select General Purpose if you are a new user.
Server Location
Choose a Server Location that is close to you or your users.

There are more than 20 server locations available to choose from.
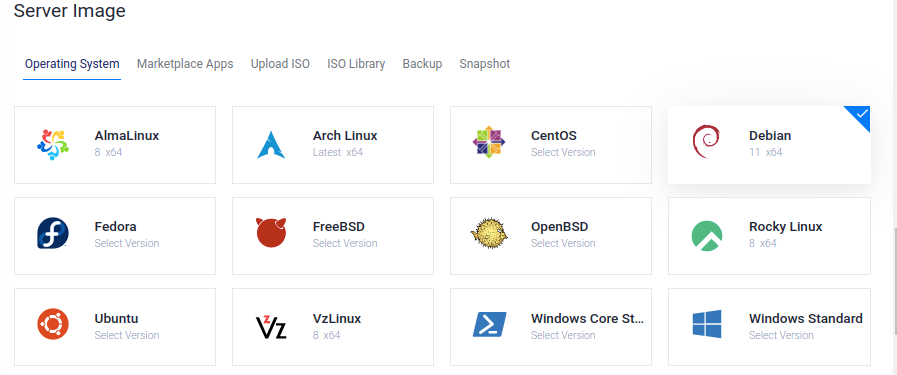
Operating System
In the image section, select the operating system for your server. ServerAvatar runs on 64-bit Ubuntu 18.04, 20.04, or 22.04.
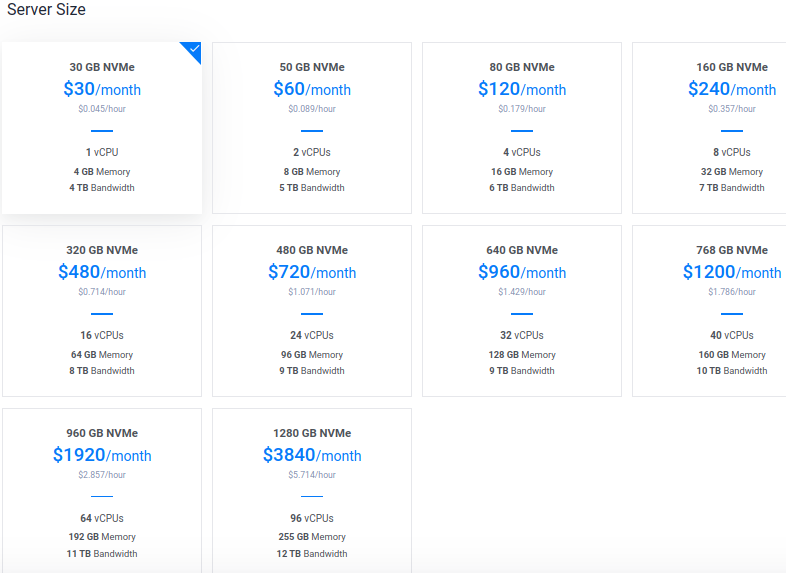
Server Size
Select a server size as per your requirement.
Auto Beckup
Vultr offers automatic backups for your server, so you can easily spin up a new instance from a saved image if any unwanted thing happens.

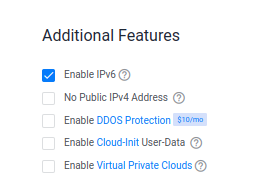
Additional Features
Features include enabling IPv6, DDOS protection, Cloud-Init, and Virtual Private Clouds.
SSH Keys
Add SSH key in order to secure client-server connection.
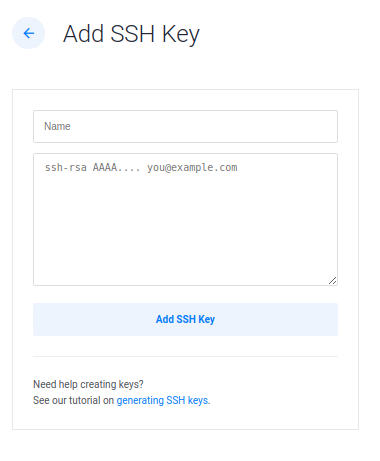
If you don’t have an SSH key, here is the tutorial on generating SSH keys.
Server Hostname & Label
Finally, give your server a hostname and a label.

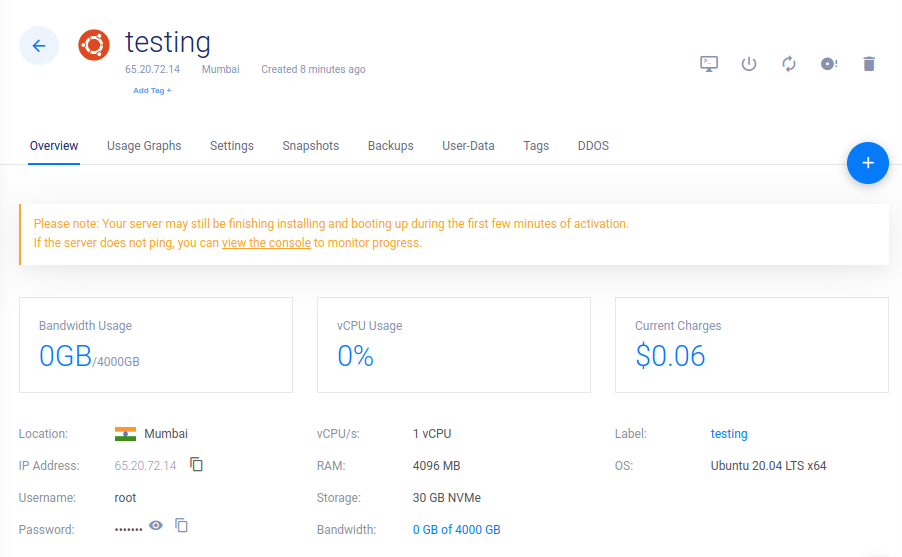
After filling in details, click on the Deploy Now button, and that’s it. Your server is now ready to rock.
You can see all the information related to the server in its particular section like the following image.
Connect a Vultr Server with ServerAvatar
If you are new to ServerAvatar, you can log in by registering here.
Once you are on the server panel, you can begin to connect a server by clicking on the Connect A Server button. The server connection process is the same for all the servers you are willing to connect with ServerAvatar.
So if you want to connect a server with an IP address and root password, follow this link.
And, if you want to connect a server with an IP address only, follow this link.