AWS Lightsail is among the best and most affordable VPS (also called an instance) providers. You can quickly build applications and websites with low-cost and pre-configured cloud resources. It helps developers, students, and small businesses to get started easily on their own configuration.
With AWS Lightsail, you can easily extend your server capacity and configuration with just a few clicks. But, creating and deploying instances is not enough. You need to manage your VPS to run your business without any worries.
And that’s why ServerAvatar is the best solution for you to choose. With ServerAvatar, you can easily manage multiple VPS/VM/Cloud Instance/Dedicated or Bare metal servers. Along with that, you can also manage multiple web applications within the server.
This tutorial will look at how to create and connect your AWS Lightsail VPS with ServerAvatar. And for that, you need to first log in/Signup to your AWS account as a root user and access the page to create an instance from here.
Create an Amazon Lightsail Instance
On the home screen, click on the Create Instance button and start to configure your virtual private server.

Instance Location
Instance locations are the physical location of your server. It is recommended that the location should be close to your users to avoid latency.
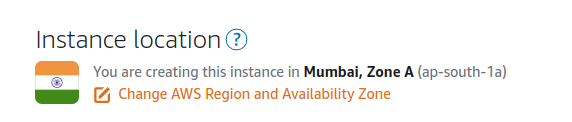
You can change the location by clicking on the link shown in the above image.
Pick your Instance Image
The instance image is the OS you installed on the server. Choose a Linux/Unix system from the given two popular operating systems like in the image below.
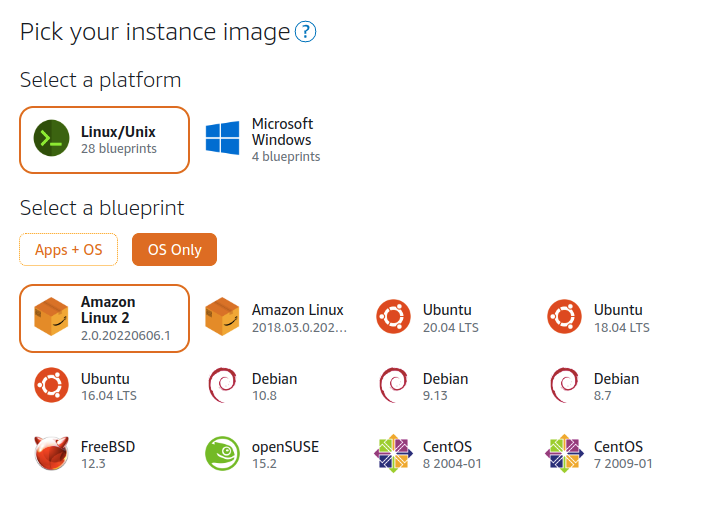
You can install Ubuntu 18.04LTS or 20.04LTS OS to host your applications on your instance.
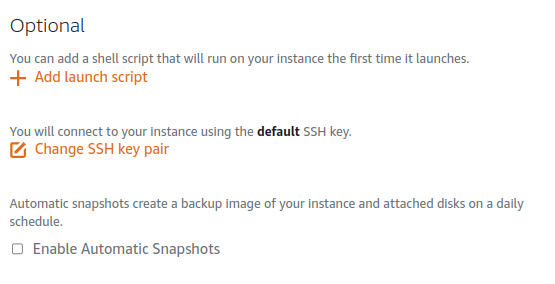
Add Launch Script and SSH Key pair (optional)
You can leave this field as it is to avoid a conflict of an instance during the setup time.
Choose your Instance Plan
You can choose an instance plan based on your workload. You can also filter the plan using memory, processing, and storage.
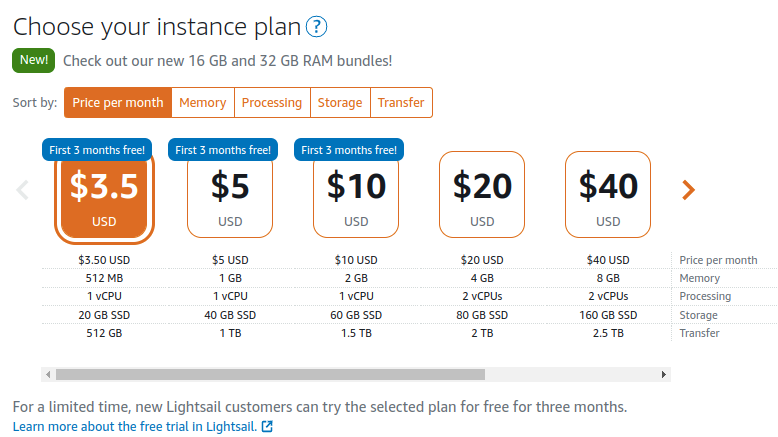
If you are new to AWS Lightsail, you can start with any of the free plans for three months.
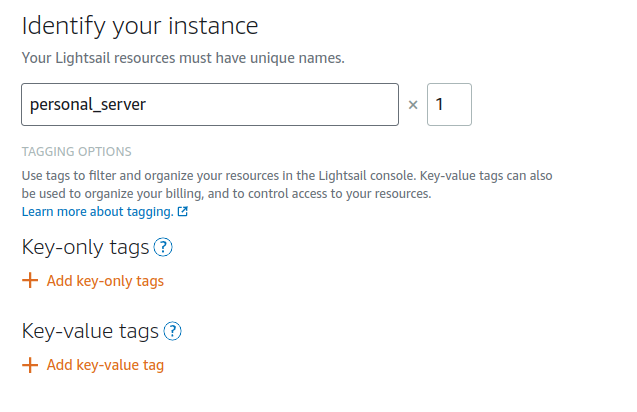
Identify your instance using Key or Value tags
You can use appropriate tags to filter and organize your instance or billing in the Lightsail console.
Once you fill up all the details, click the Create Instance button, and Lightsail will configure your instance within a minute.
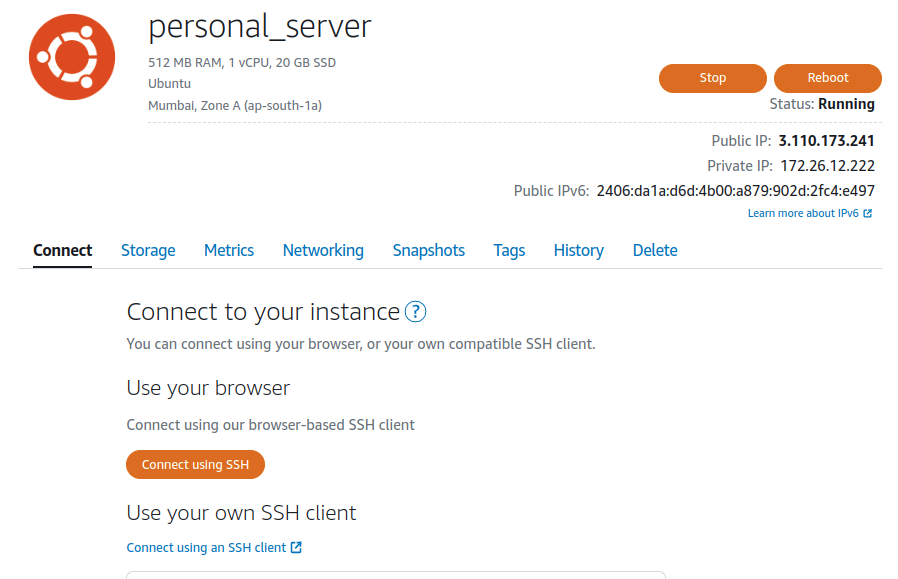
Check your Instance configuration details
Once your server status is Running, you can check all the instance configuration information, including IP Address, by clicking on the Instance card.
Connect your instance with ServerAvatar
Login to ServerAvatar; if you are a new user, you can create your account by registering here.
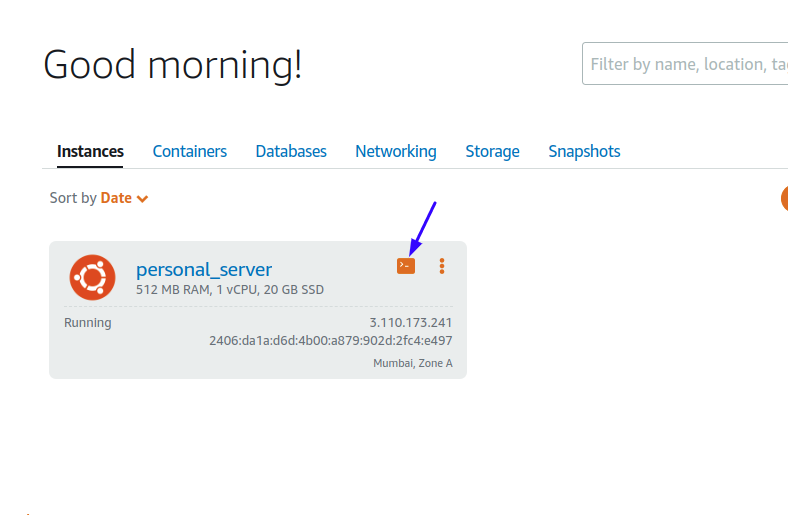
Now follow the link to connect an instance with just an IP address(Private IP). you can run the installation commands by accessing your instance terminal by clicking on the icon shown below. Or you can access the terminal using CTRL+SHIFT+T.
Once you run the commands, sit back and relax, ServerAvatar will do the rest of the process. It may take up to 5-10 minutes to connect the instance with ServerAvatar.