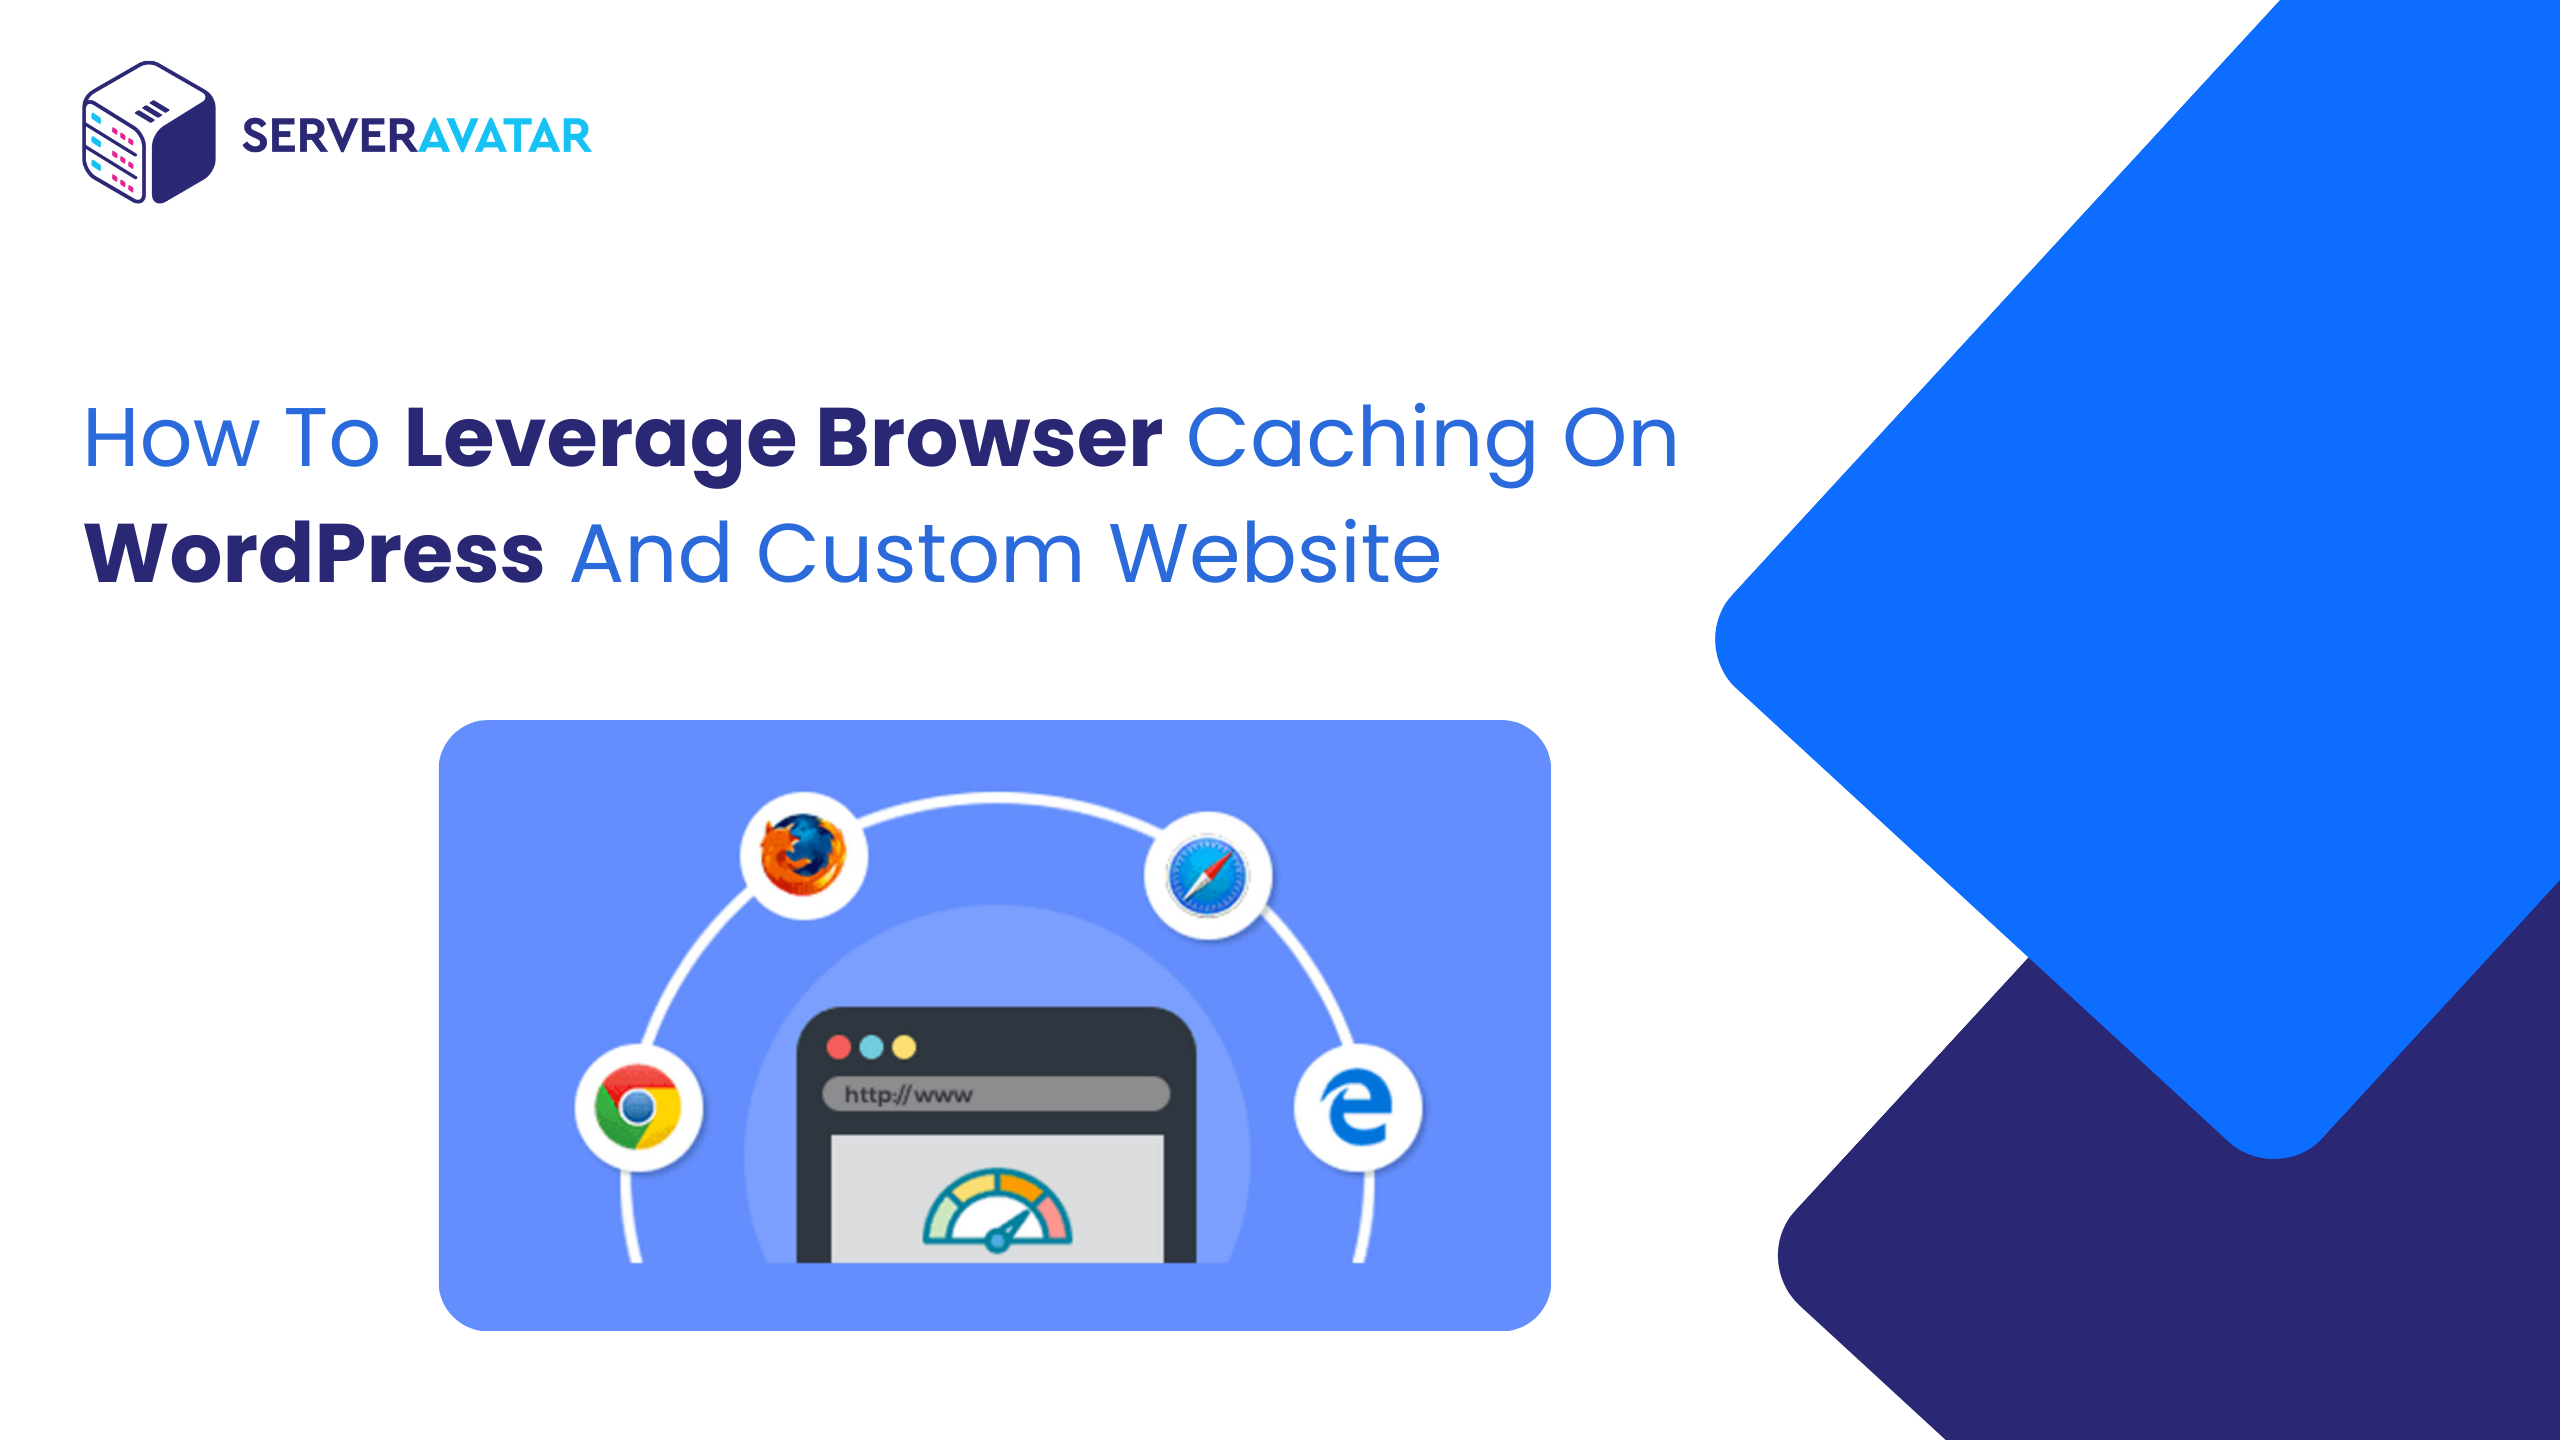
It is crucial to optimize your website for performance when it comes to user experience.
There are many ways to optimize your website for performance. In this article, We will talk about browser caching which works on the client side, and it will also improve the load time of your website when a user does not get bounced off your site.
First of all, let us understand what cache is and what is the use of the cache. For example purposes, we might also go through other types of caches to get a bright idea about cache and caching. For now, Let’s get started with the fact that any kind of cache will improve the speed of your website.
In this article, we will cover the following topics, and we will try to get as much knowledge as possible about browser cache.
- What is Browser caching and why is it so Important?
- Leverage browser caching in WordPress using a plugin.
- Leverage browser caching using a Config file (For ServerAvatar users).
- Leverage browser caching using the .htaccess file.
- How to know if Browser cache is working?
So, as you know, this article is going to cover everything about Browser caching. After this article, you will be able to leverage browser caching on any website regardless of the framework.
The tutorials we are going to follow can be used to leverage browser caching on Custom websites and WordPress websites too! Let’s get a clear idea about Browser caching before we dive into the configuration part.
What is browser caching and why is it important?
To understand what a browser cache is, we first have to understand what a cache is. Cache in the internet world stands for a ready-made code that can be served to a user without further processing.
It is a code that is not going to change shortly and can be served to our visitors as it is. For instance, Let’s assume that you have a WordPress website that uses 10 Javascript files and 12 CSS files to support a beautiful design and attractive features.
We know that Javascript and CSS files are rarely updated. Same goes for Images, Videos, and other media files. Every time a visitor visits your website, A browser our visitor is using will request those 22 files from our server so that it can show your site as it is to the user. And It is important because your website won’t look right without all the CSS and JS.
It is not a problem if you are getting 100 pageviews a day because your server will get only 100*22=2,200 requests a day to handle. But if you are getting 10,000 pageviews a day, you have to make sure your server can handle 220,000 requests a day which is hard and expensive considering you can leverage browser caching and avoid tens of thousands of requests.
Leveraging browser cache will allow web browsers to cache static files that do not change frequently. For example, 22 of our CSS and JS files that we rarely update will be stored in the browser cache and will be used directly from the browser cache if a visitor visits another page on our website or hits the refresh button.
This is how browser caching works. It will merely store static files in user’s browser for a limited duration and will use it directly from the browser cache if the user keeps visiting our website frequently.
Leveraging browser cache will also improve the performance of the website for regular visitors because the browsers of the daily visitors will serve static files directly from the cache.
So, this is why Browser caching is essential. Let’s leverage browser cache on our site and boost the performance.
Leverage browser caching in WordPress using a plugin
WordPress is one of the most used content management systems by bloggers. It is simple, flexible and highly customizable. WordPress powers 30% of the websites on the internet.
WordPress has a vast repository of plugins in which you can find any plugin you want. You can also find plugins to Leverage browser cache. In this article, I will show you how you can leverage browser caching in WordPress using WP fastest cache.
To install plugins in WordPress, Click on the Plugins and then click on the Add New in the left sidebar of admin panel just like the following image.

In the search box, Enter WP Fastest Cache and install a plugin that looks like the following image.

Install and active that plugin. After activating the plugin, you will find WP fastest cache option in the left sidebar of admin panel. Just click on the WP Fastest cache option from the sidebar and you will see a settings page just like the following image.

Now, If you just want to enable Browser cache, Check the checkbox corresponding to Browser caching option and click on Submit button given after options.
Once you click on Submit button, the plugin will automatically update .htaccess file to allow browsers to store cache. So, this is how you can Leverage browser caching in WordPress using a plugin.
Leverage Browser caching using a Config file (For ServerAvatar users)
With the recent update, we are also allowing users to add custom config files on for their websites. This way, users can update configurations quickly without affecting the ServerAvatar integration.
I have divided this process into the steps so that it can be understood easily. Here we go:
Step1: Create a conf file
The first step is to create a configuration file that we will upload to the server. Open Notepad or any other text editor and paste the following code into the file.
<IfModule mod_expires.c>
ExpiresActive On
ExpiresByType image/jpg "access plus 1 year"
ExpiresByType image/jpeg "access plus 1 year"
ExpiresByType image/gif "access plus 1 year"
ExpiresByType image/png "access plus 1 year"
ExpiresByType application/x-shockwave-flash "access plus 1 month"
ExpiresByType image/x-icon "access plus 1 year"
ExpiresByType application/pdf "access plus 1 month"
ExpiresByType text/css "access plus 1 month"
ExpiresByType text/x-javascript "access plus 1 month"
ExpiresDefault "access plus 1 day"
</IfModule>
Now, Save the file with .conf extension. You can use any name you want because the name of the file does not matter a lot. You can use something like leverageBrowserCache.conf or leverage_browser_cache.conf.
Step2: Upload it to the server using FTP Client
Now, You can get SFTP information of your application on the application dashboard. It will look like the following image.

Copy-paste SFTP credentials from your application dashboard to SFTP client. In this case, I am using Filezilla. Once you connect with the Server, just upload the file at the following path.
APPLICATION_NAME/conf/apache
Once you have finished upload a file, You are good to go! Your site will now allow a browser to cache static files and serve it directly from the browser. This is how you can leverage browser cache using Config file.
You can upload as many files as possible in this directory. There is no limit on that!
Leverage browser caching using the .htaccess file
It is the easiest and one of the most searched methods to leverage browser cache. In this method, you just have to create/update .htaccess file in the public_html directory of your server.
So, if you are following this method, Just create a .htaccess file if it does not exist or update .htaccess file with the following code.
<IfModule mod_expires.c>
ExpiresActive On
ExpiresByType image/jpg "access plus 1 year"
ExpiresByType image/jpeg "access plus 1 year"
ExpiresByType image/gif "access plus 1 year"
ExpiresByType image/png "access plus 1 year"
ExpiresByType application/x-shockwave-flash "access plus 1 month"
ExpiresByType image/x-icon "access plus 1 year"
ExpiresByType application/pdf "access plus 1 month"
ExpiresByType text/css "access plus 1 month"
ExpiresByType text/x-javascript "access plus 1 month"
ExpiresDefault "access plus 1 day"
</IfModule>
If you are updating .htaccess file, add this code at the end of the file. Once done, just save the file and you are good to go! This is how you can leverage Browser caching using a .htaccess file.
How to know if Browser cache is Working?
It is very easy. Just click here and enter the URL of your website. You will see a page with one URL box and one drop down to select a location to test your website from just like this image.

After using any of the above-given methods, you must see A or B in grade for Leverage browser caching section. In the website we just tested, None of the above-given methods is used and that’s why it is showing F grade.
Conclusion: It is very important to Leverage browser caching because it will help you save resources on your server as well as you can decrease bandwidth usage by using browser cache. For WordPress website, we recommend you to use a plugin or the second method which is for ServerAvatar users because editing .htaccess file might create some unwanted issues that you don’t want to face.
Let us know if you have questions regarding this article in the comment section. We will respond as soon as possible. Happy blogging!