If you manage more than one WordPress site, you already know the drill. Every time you spin up a new project, you’re installing the same plugins, tweaking the same settings, choosing the same permalink structure, and removing the same sample pages. It’s not hard, but it is tiresome. And the more sites you run, the more time it eats up. That’s exactly the problem WordPress Blueprints in ServerAvatar solves.
In this guide, I’m going to walk you through exactly how WordPress Blueprints work, how to create one from scratch, and how to use it the moment you’re ready to deploy a new WordPress site. Whether you’re running one blog or managing a dozen client installations, this feature is worth setting up properly.
What Are WordPress Blueprints in ServerAvatar?
A WordPress Blueprint is a reusable configuration template that lets you pre-define everything, the themes you want installed, the plugins you rely on, your preferred site preferences, etc. Once you create a Blueprint, you can directly apply it to any new WordPress application you deploy through ServerAvatar. Just one click, and your new site lands exactly the way you configured it.
Think of a WordPress Blueprint as a checklist that ServerAvatar reads when you’re creating a new WordPress site. Instead of manually configuring each option after WordPress is installed, you define your ideal setup once from the Blueprint. Every time you spin up a new WordPress application, you simply select your Blueprint from a dropdown, and ServerAvatar handles the rest.
Why You Should Use WordPress Blueprints
Let me be direct, if you’re only running one WordPress site and you don’t plan to add more, Blueprints might feel like overkill. But the moment you’re managing two or more sites, the value becomes obvious fast.
- Consistency Across Every Deployment
- Serious Time Savings
- Perfect for Client Projects
- Easy to Standardize Your Workflow
How to Create a WordPress Blueprint in ServerAvatar
Here’s the step-by-step process for creating your first Blueprint.
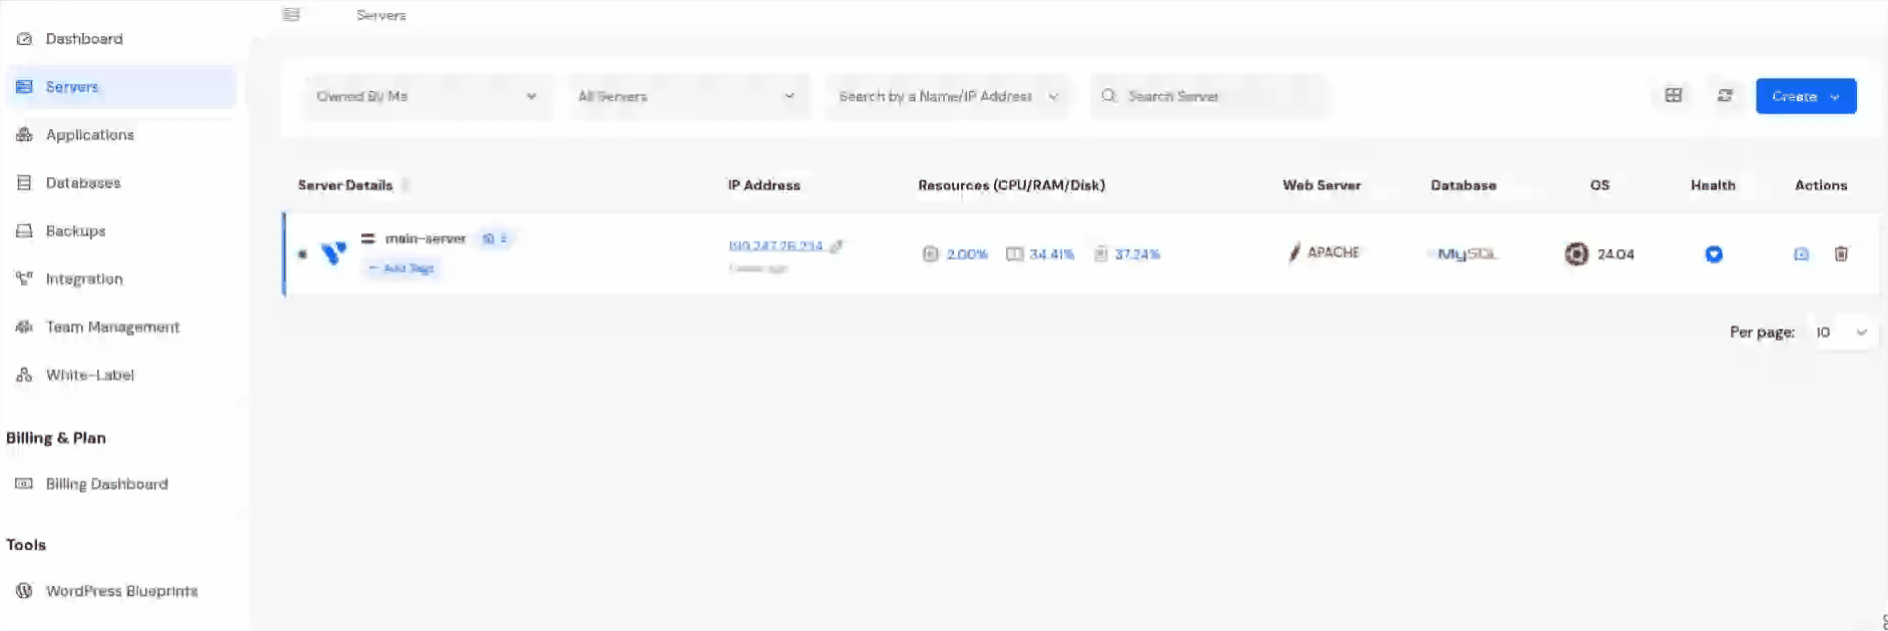
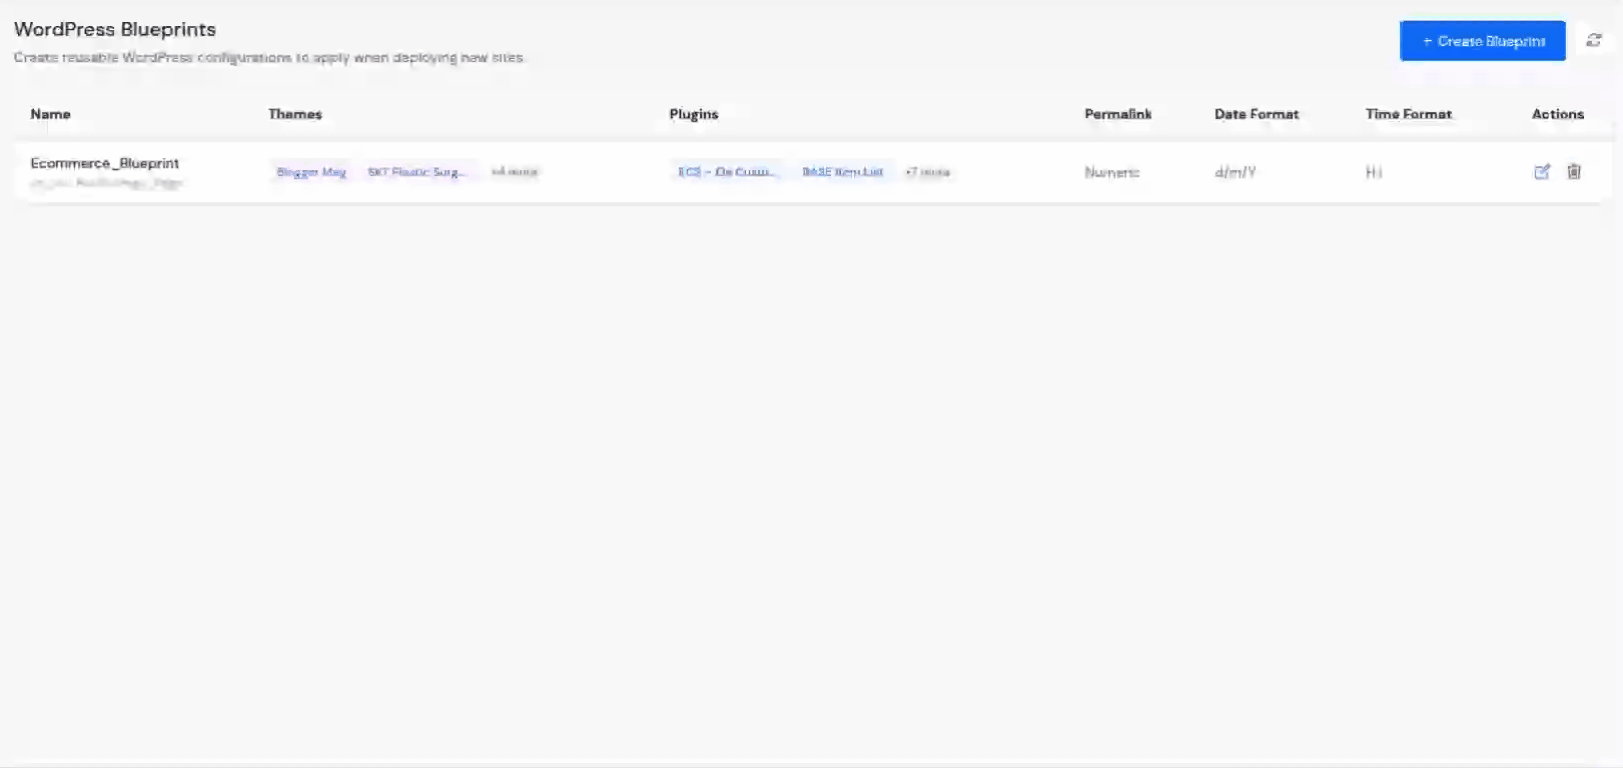
- Log in to your ServerAvatar account, and click on the “WordPress Blueprints” section from the left sidebar.
- Click on the “Create Blueprint” button in the top right corner.
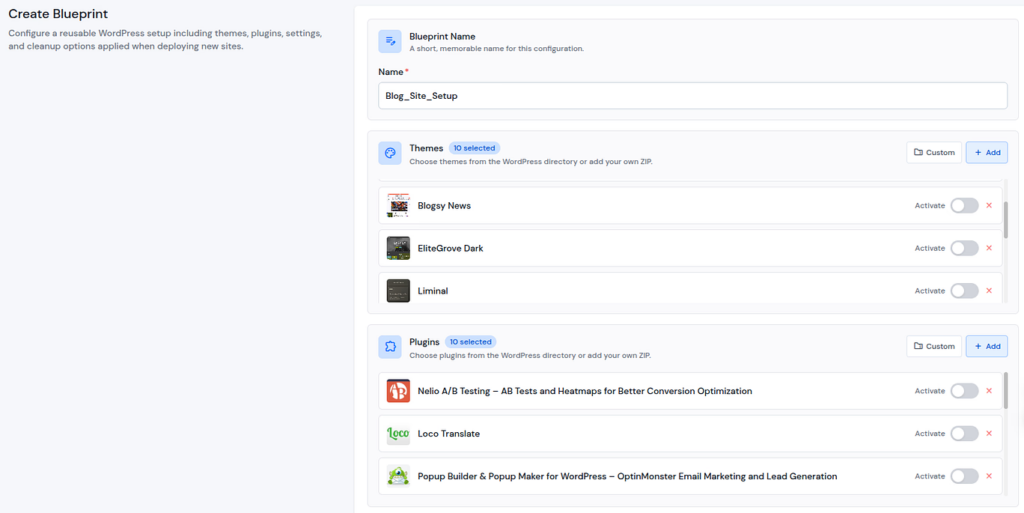
- Let’s now create a Blueprint. Here’s what you can configure inside a Blueprint:
- Blueprint Name: Enter a name for your blueprint so you can identify it later (e.g., “Client Blog Starter,” “E-commerce Setup”)
- Themes: Click on the “Add” button next to Themes and choose which themes get installed automatically when the WordPress application is deployed.
- Plugins: Select the plugins you want pre-installed and active by clicking on the “Add” button next to Plugins.
- Custom Themes/Plugins: Add any custom theme or plugin via a direct download URL if it’s not in the standard repository, and enable the toggle button to activate it after deploying the site.
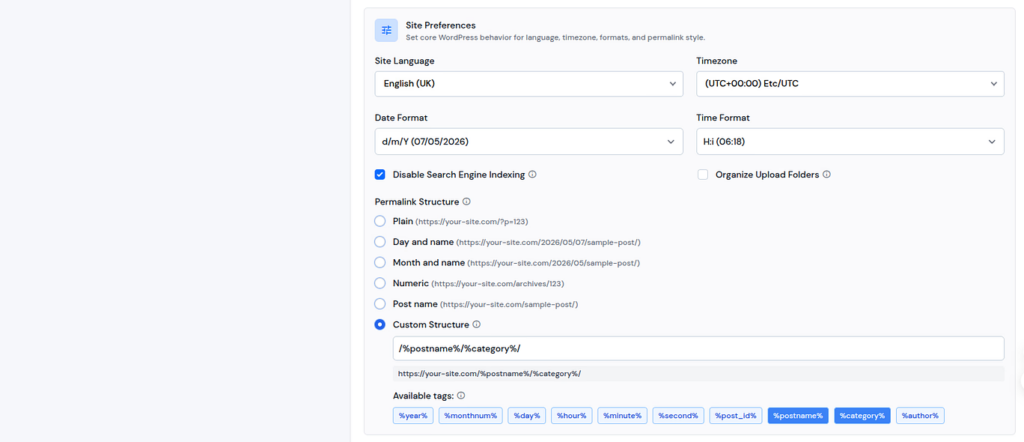
- Site Preferences: Here, you define your standard WordPress behavior:
- Site Language: Set your default dashboard language
- Timezone: Choose the timezone your site operates in (important for scheduled posts and cron events)
- Date Format and Time Format: Pick how dates and times display on your site
- Disable Search Engine Indexing: Enable this if you want new sites to stay hidden from search engines until they’re ready
- Organize Upload Folders: WordPress will automatically organize media uploads by year and month
- Permalink Structure: Choose your default URL format. “Post name” (/sample-post/) is the most readable and SEO-friendly option. You can also set a Custom Structure using tags like %year%, %postname%, %category%, and more
- Cleanup: Decide which default WordPress content gets removed on setup
- Remove “Hello World” Post
- Remove Sample Page
- Delete All Existing Themes: Select only if you’re installing a specific theme via the Blueprint
- Delete All Existing Plugins: Select only if you’re installing a specific plugin via the Blueprint
- Delete Unneeded Core Files: Removes unnecessary WordPress template files you won’t use
- Debug Settings: Here, you can set your default debug behavior:
- Debug Mode: Enables WordPress core debugging
- Debug Log: Writes errors to a server-side log file (safer for production)
- Display Errors: Shows errors directly on the page (keep OFF for live sites, useful for development)

Once created, your Blueprint is listed in the “WordPress Blueprints” section of your ServerAvatar account.
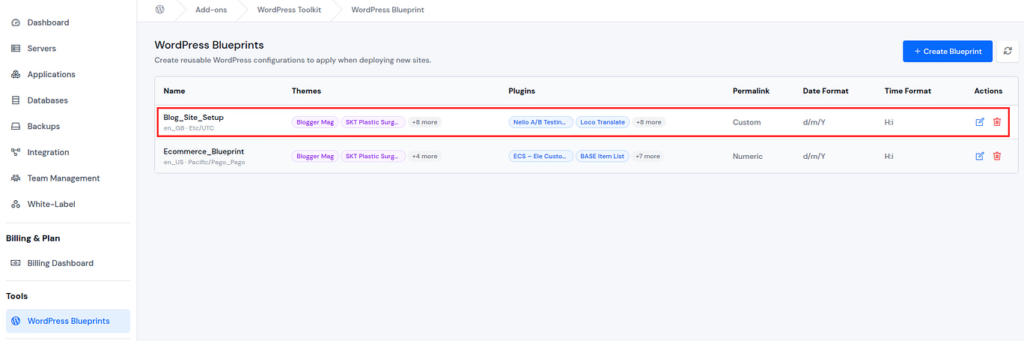
You can edit or delete your WordPress Blueprints anytime.
Additionally, when you create a new WordPress application, you will see the dropdown option to select a blueprint for your application, completely optional, but incredibly handy when you do.
How to Use a WordPress Blueprint When Deploying a New Site
This is where the magic happens. Creating the Blueprint is a one-time work. Using it takes seconds.
Step 1: Deploy a New WordPress Application
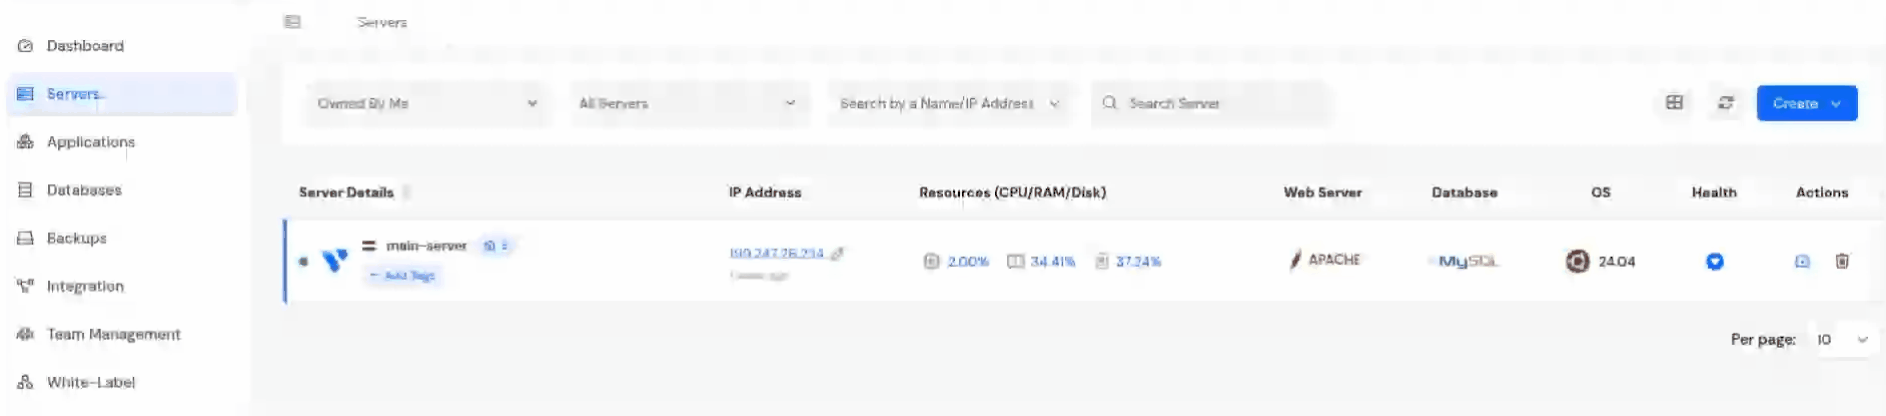
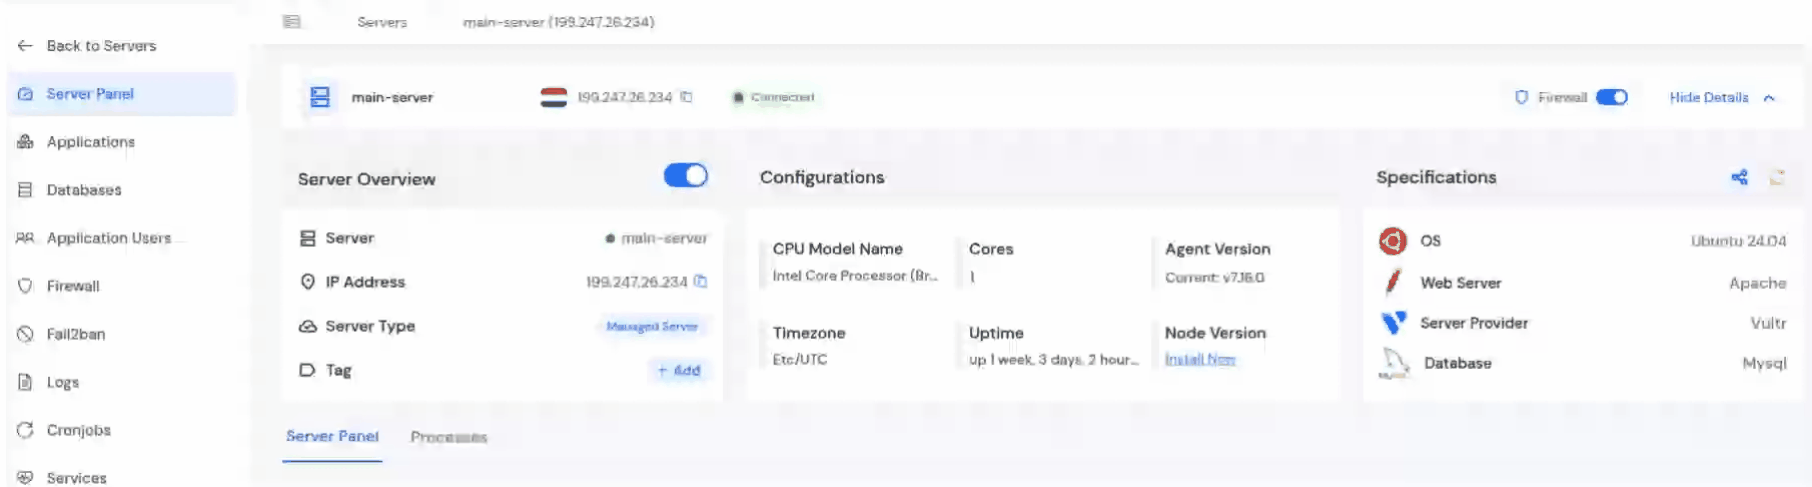
- Log in to your ServerAvatar account and navigate to your server panel by clicking on the server dashboard icon.
- Navigate to the Application section from the left sidebar, and click on the Create an Application button.
- Fill in the basic details;
- Application Name: Enter your application name
- Domain Type: Choose your domain type from Primary or Test. ServerAvatar provides test domains for website testing purposes, and enter your domain name.
- Select the “Secure your application with SSL certificate” checkbox if you want to install an SSL Certificate.
- Select Deployment Method as a “One Click”, and “WordPress” as an application.
- Enter your admin credentials, such as username, email, and password (ServerAvatar even has a Generate button so you don’t have to come up with a secure password yourself)
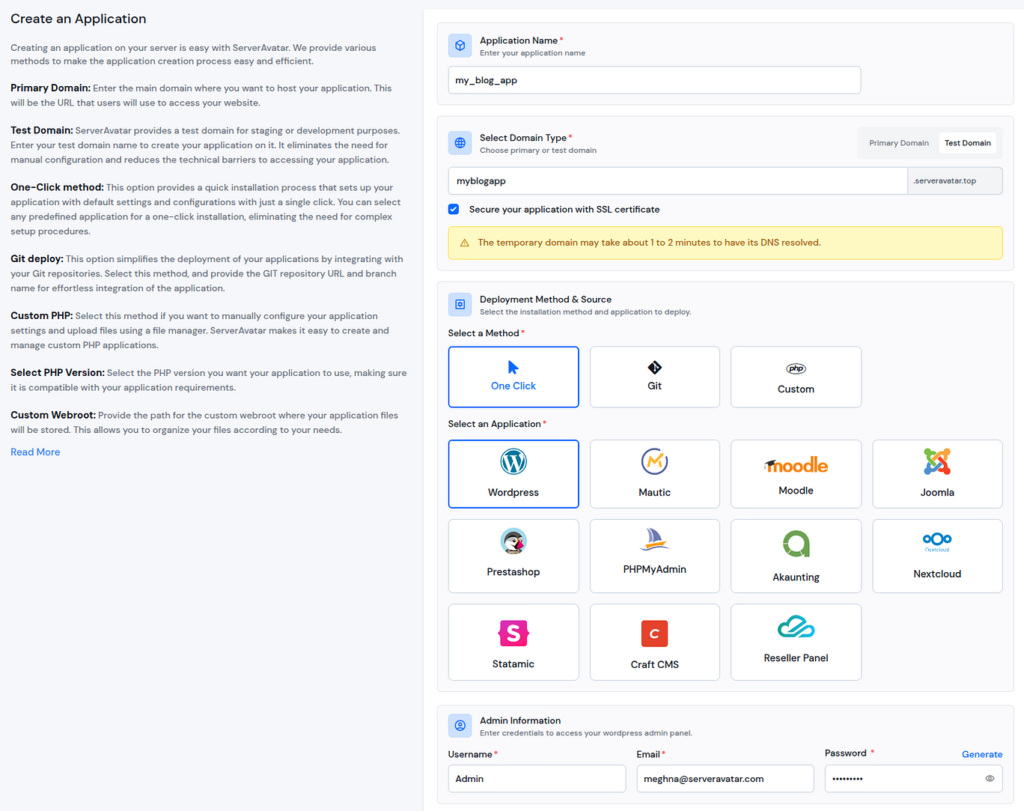
Step 2: Select Your Blueprint
- After the “Admin Information” section, you will find a WordPress Blueprint section with a dropdown.
- WordPress Blueprint is completely optional, but if you have a relevant Blueprint created, this is where you apply it.
- Open the dropdown and select the Blueprint that matches your application’s needs.
- If you don’t see the right Blueprint in the list, you can create a new one by clicking on the “Add Blueprint” button right there next to the WordPress Blueprint section
- You can easily create a new Blueprint on the spot without leaving the application setup page.
Step 3: Deploy
- Complete the rest of the setup, such as selecting the checkbox for Installing Log Monitoring Suite.
- Once all the setup details are filled in, click on the “Create Application” button to deploy the application.

- ServerAvatar will spin up your new WordPress application with every setting from your Blueprint already applied, themes installed, plugins active, permalinks configured, and default content cleaned up.
- The entire setup process may take approximately 2–3 minutes. That’s it!
- You can check all the configurations based on your selected blueprint by navigating to the “WP Toolkit” section from the left sidebar of your application panel.
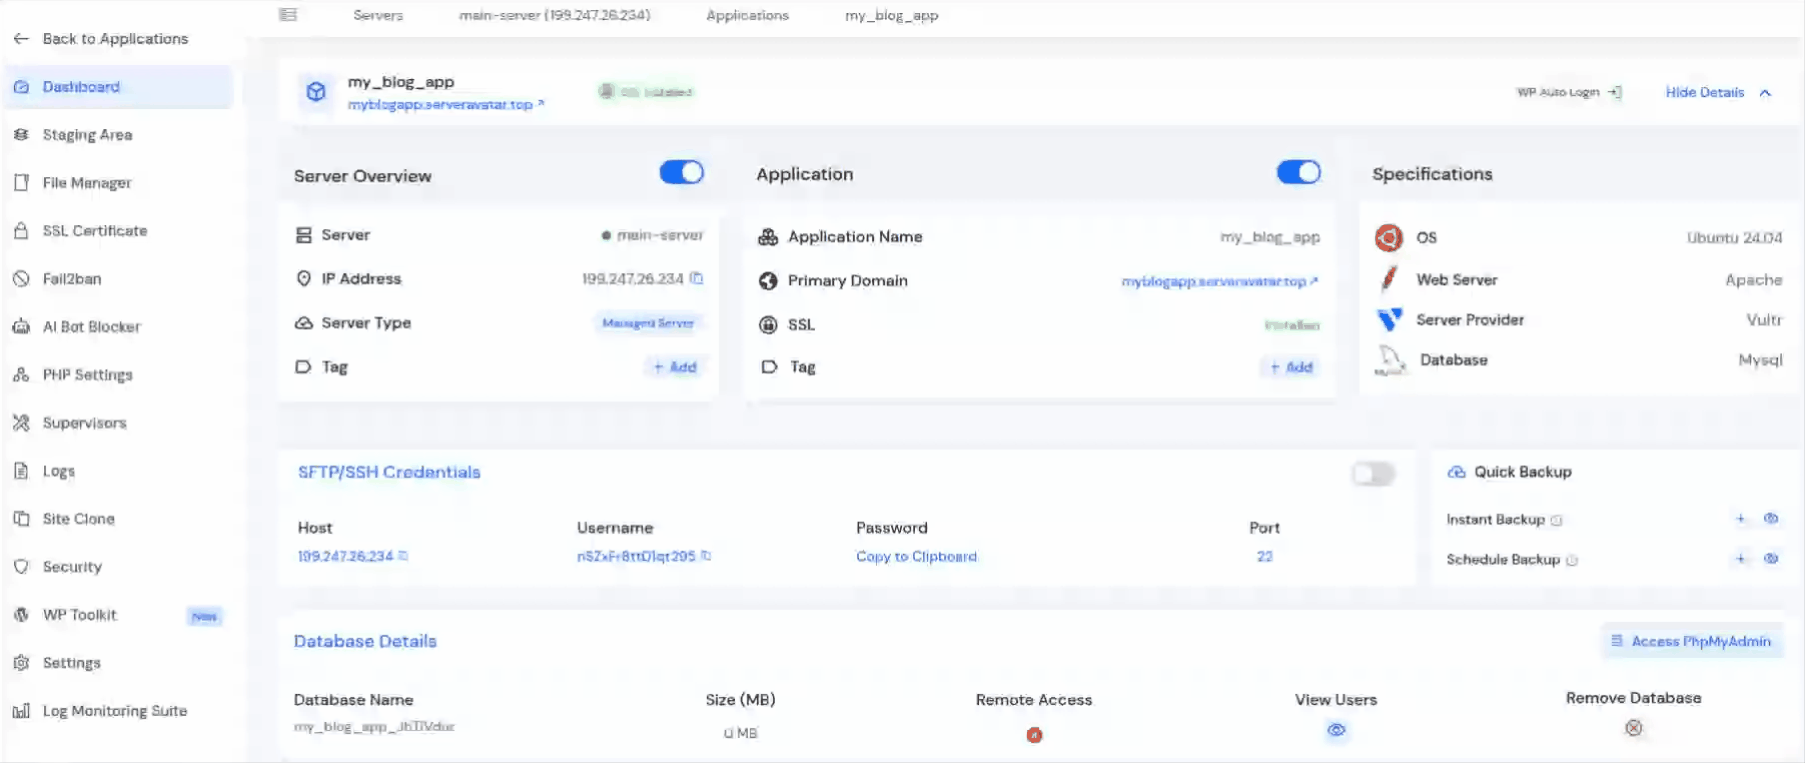
- You can find all the plugins, themes, site Preferences, and further details as per your selected blueprint in the WP Toolkit section, where you can further modify them as needed.
WP Toolkit gives you complete control over your WordPress site management after deployment, including plugin management, theme control, debugging tools, security options, staging, updates, and more.
If you want a detailed walkthrough of all WP Toolkit features and capabilities, check out our complete guide on WP Toolkit in ServerAvatar: https://serveravatar.com/manage-wordpress-toolkit
Tips for Getting the Most Out of WordPress Blueprints
After setting up a few Blueprints for different project types, here’s what I’ve learned:
Build Multiple Blueprints for Different Project Types
Don’t try to stuff everything into one Blueprint. I keep three: one for standard blogs (minimal plugins, clean setup), one for e-commerce sites (Cache plugin, specific e-commerce theme), and one for client staging environments (debug enabled, search indexing off). One size does not fit all here.
Double-Check Your Permalink Structure
This is the setting I see most people overlook. A clean permalink structure like “Post name” (/sample-post/) is readable, user-friendly, and great for SEO. Make sure your Blueprint has this set correctly so you don’t end up with messy URLs on client sites.
Remember to Disable Debug Settings Before Going Live
If you enable Display Errors in your Blueprint, make sure you turn it off in the actual site settings before it goes live. Errors showing directly on the page on a production site is not a good look, and it can expose server information.
Keep Your Blueprints Updated
When you find a better plugin, switch to a faster theme, or change your preferred permalink structure, update the Blueprint. That way, every future deployment gets the improved version automatically.
Custom Plugins and Themes Via URL Are a Time Saver
If you have a premium theme or a plugin you trust that isn’t in the WordPress repository, you can add it via a direct download URL in the Custom Themes/Plugins section. One less step every time you deploy.
Who Should Use WordPress Blueprints?
WordPress Blueprints are useful for anyone who deploys WordPress websites regularly and wants a faster, more consistent setup process.
This feature is especially helpful for:
Agencies Managing Multiple Client Websites
If your agency creates multiple WordPress websites every month, Blueprints help standardize deployments and reduce repetitive setup work across projects.
Freelancers Building WordPress Sites
Freelancers often reuse the same plugins, themes, and site settings for different clients. Blueprints make it possible to deploy those preferred configurations instantly.
Developers Creating Staging Environments
For developers who frequently create testing or staging websites, Blueprints provide a quick way to launch pre-configured environments with debugging and development tools already enabled.
WooCommerce Store Owners
If you regularly launch online stores, you can create a WooCommerce-specific Blueprint with your preferred plugins, payment tools, and performance settings already configured.
Teams That Want Consistent Workflows
Blueprints help teams maintain consistency across WordPress deployments by ensuring every site follows the same setup standards from the beginning.
Even if you’re only managing a few WordPress sites, Blueprints can still save time and help you avoid repetitive manual configuration work.
Conclusion
WordPress Blueprints in ServerAvatar is one of those features that feel simple on the surface but save you an excessive amount of time once they’re part of your workflow. You spend a few minutes setting up a Blueprint once, and every new WordPress site you deploy after that lands exactly the way you want it, no repetitive setup, no forgotten steps, no inconsistencies between projects. The best part? You can create as many Blueprints as you need for different project types.
Whether you’re an agency delivering multiple client sites per month, a freelancer who spins up test environments frequently, or just someone who wants a cleaner starting point for every new WordPress project, Blueprints are worth integrating into your process.
FAQs
Are WordPress Blueprints available on all ServerAvatar plans?
WordPress Blueprints are part of the WordPress Toolkit add-on in ServerAvatar. You will need to activate WordPress Toolkit first from the Add-ons section in the Billing Dashboard to access this feature.
Can I use a Blueprint on an existing WordPress site?
No, Blueprints only work when deploying a new WordPress application. For existing deployed sites, you can use WP Toolkit directly.
Can I edit a Blueprint after creating it?
Yes, go to Tools >> WordPress Blueprints in your ServerAvatar dashboard, find the blueprint in the list, and click the edit icon.
What happens if I delete a Blueprint that’s already been used?
Deleting a Blueprint only removes it from the dashboard and the dropdown selection. Any sites that were deployed using that Blueprint are completely unaffected.
Is the Blueprint selection mandatory when creating a new WordPress site?
No, the Blueprint is completely optional. You can deploy a new WordPress site without selecting any Blueprint.