User Management
User management allows for extensive control over users and their permissions. Administrators can manage users by editing and updating their basic details such as names, email addresses, designation and password. Additionally, they have the ability to modify user permissions. The user management section also provides functionalities to add new users or remove existing ones, ensuring that the user base remains up-to-date and relevant. This centralized approach to user and permission management enhances security and efficiency.
Below are the steps for User Management:
Step 1: First, log in to the InsightHub panel, and go to admin side by clicking on Administrator as shown in the image below.

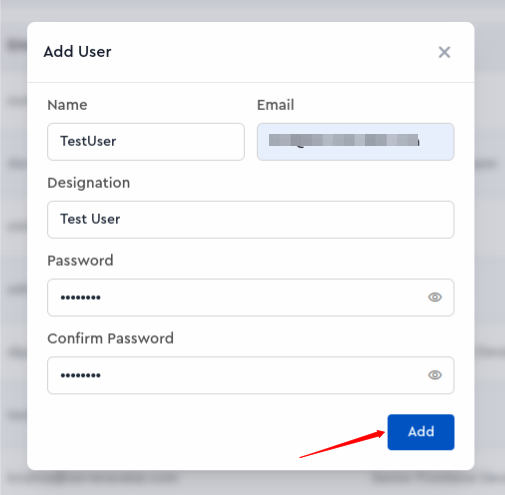
Step 2: Add User:
- To add user, navigate to User and click on Add User option.

- Fillup the user details like Name, emailid, Designation and Password then click on the add button. the user is added.
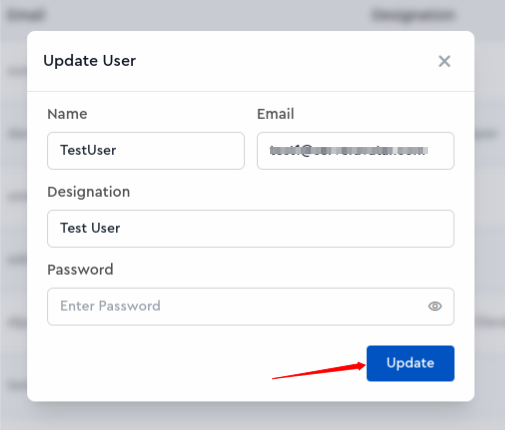
Step 3: Update User:
- To Update user details, click on Update icon next to the user details.

- You will see the form for update the user's details like below, after doing changes click on Update button.
Step 4: View Permission of User:
- To check the permission that assign to user, click on View Permissions icon next to the user details.

- You can edit already assigned permission and remove permission by clicking on the button next to the permission. Also you can attach the permission by clicking on Attach button.
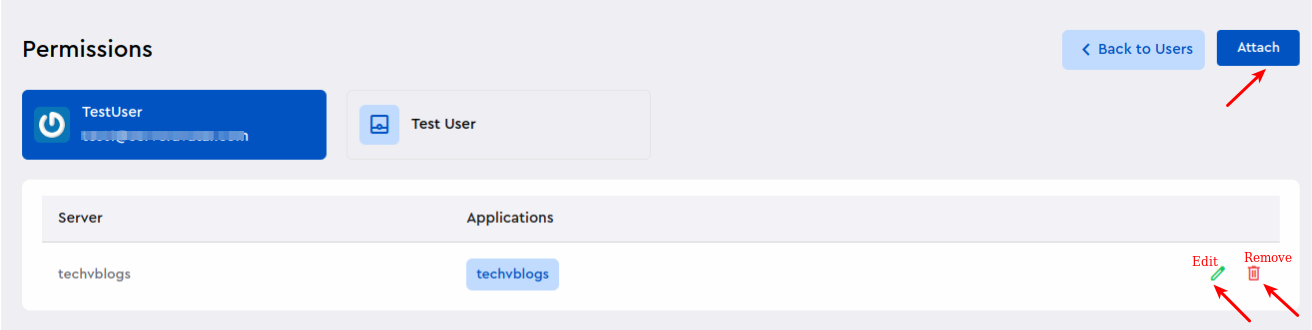
- After clicking on attach button, select the server and application you want to assign permission for.

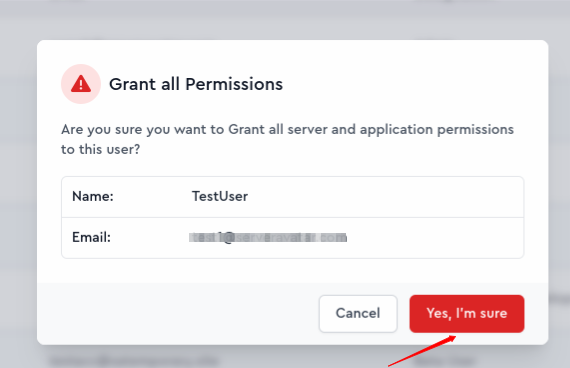
Step 5: Grant All Permission to User:
- By clicking on this option, you can assign the permission of all servers and applications to the user.

- After clicking on this it will ask you for confirmation, click on Yes, I'm Sure button to grant all permissions to user.
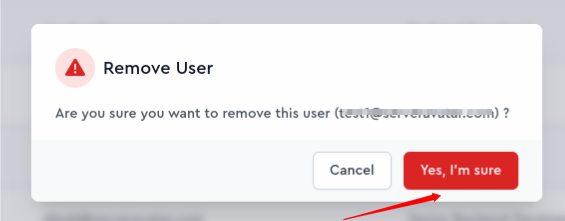
Step 6: Remove User:
- To remove user, click on Remove icon next to the user details as shown in the below image.

- click on Yes, I'm Sure button to remove the user.