
Git Bash is an essential tool for developers working on Windows who want to combine the power of Git with a Unix-style command-line interface. Whether you’re managing source code, pushing changes to GitHub, or automating tasks with shell commands, Git Bash offers a robust solution for Windows users.
What is Git Bash?
Git Bash is a command-line interface (CLI) that combines Git version control with a Unix-style interface on Windows. It is bundled with Git for Windows, which includes Git version control and important shell utilities like ssh, scp, ls, and cat—common tools in Linux and macOS environments. In simple terms, Git Bash enables Windows users to interact with Git in a more Linux-like way.
Use Case Scenarios
Git Bash is ideal for:
- Developers working with GitHub or other Git-compatible repositories.
- Managing version-controlled projects locally.
- Running shell scripts on Windows.
- Performing secure file transfers via SSH.
- Automating tasks in continuous integration/continuous deployment (CI/CD) pipelines.
Prerequisites
Before starting, ensure you have the following:
- A Windows PC (Windows 7 or later).
- An internet connection.
- Administrative privileges to install software.
- A GitHub account (or another Git-compatible service like GitLab or Bitbucket).
How to Install Git Bash on Windows
Git Bash comes bundled with Git for Windows, making it easy to get started with Git commands in a terminal environment on Windows.
Step-by-Step Installation Guide
Follow these simple steps to install Git Bash on your system.
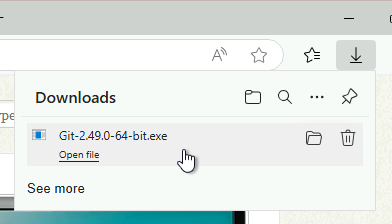
1. Download Git for Windows
Visit https://git-scm.com and click the Download button. The site will detect your Windows version and begin the correct download automatically.
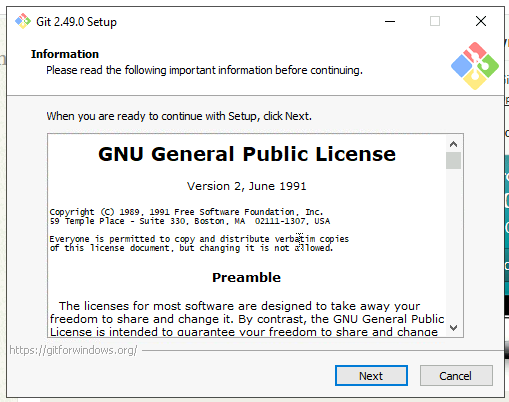
2. Launch the Installer
Once the download finishes, open the .exe file (usually in your Downloads folder). Double-click it to start the Git Setup Wizard.
3. Welcome Screen
Click Next on the welcome screen to proceed.
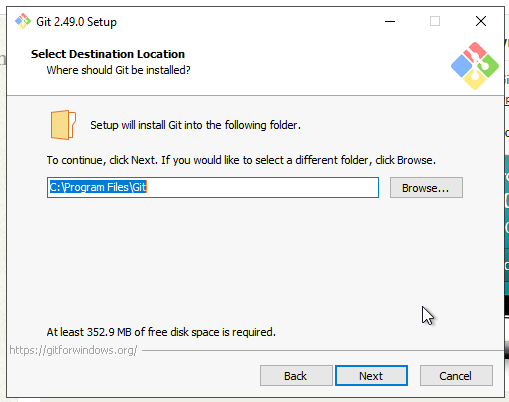
4. Choose Installation Location
Select where Git should be installed. The default location is fine for most users. Click Next to continue.
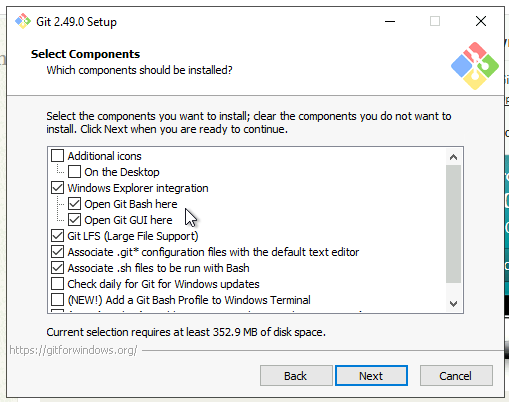
5. Select Components
Keep the default selections unless you have specific needs.
Make sure these are checked:
- Git Bash Here
- Git GUI Here
Click Next.
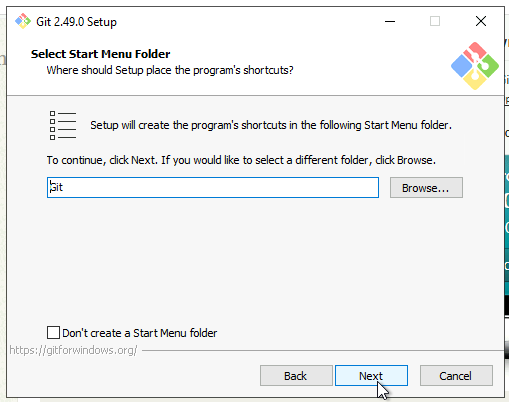
6. Start Menu Folder
Choose where Git shortcuts should appear in the Start Menu.
- Keep the default name (Git) or choose a custom one.
- To skip this entirely, check Don’t create a Start Menu folder.
Click Next.
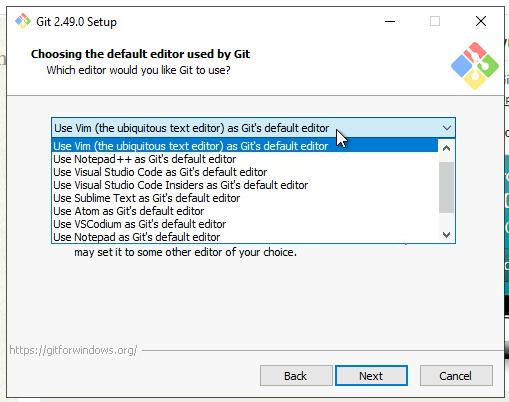
7. Choose Default Editor
Pick a text editor Git will use (like VS Code, Notepad++, or Vim). Click Next.
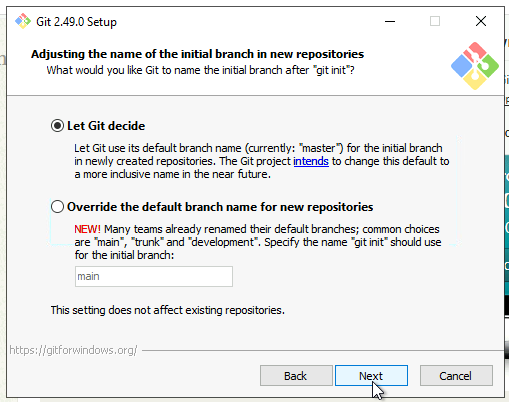
8. Set the Initial Branch Name
Decide the default branch name for new repositories.
- Let Git decide (default: master)
- Or set your own, like main or development
Click Next.
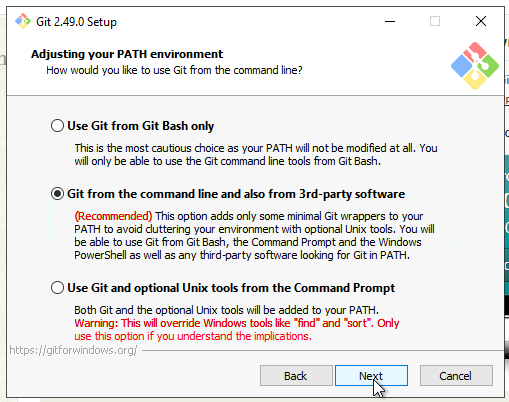
9. Adjust Environment PATH
Choose how Git will be available in the command line:
- Git from the command line and also from 3rd-party software (Recommended)
Click Next.
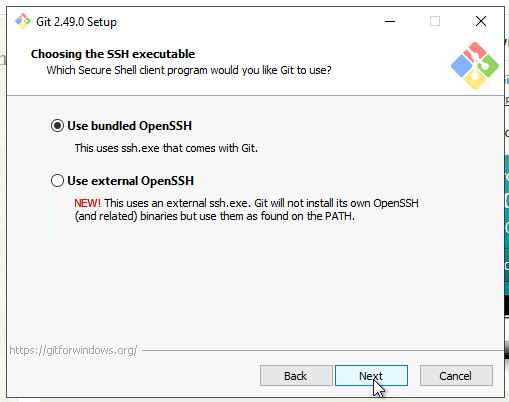
10. Configure SSH
Select Use bundled OpenSSH (default option). Click Next.
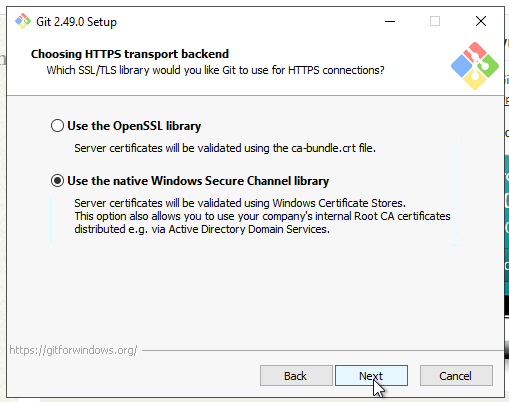
11. Choose HTTPS Backend
Select how Git handles HTTPS connections:
- Use the native Windows Secure Channel library (Recommended for better system integration)
- Or choose OpenSSL
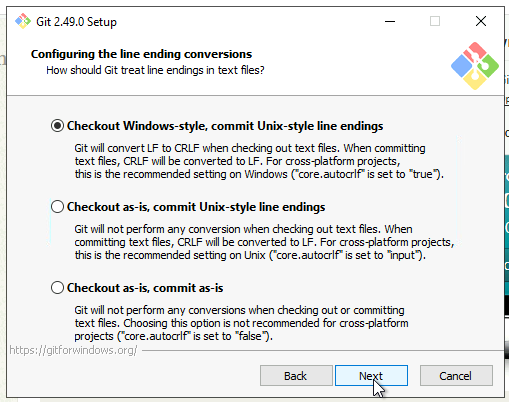
12. Configure Line Endings
Choose:
- Checkout Windows-style, commit Unix-style line endings
Click Next.
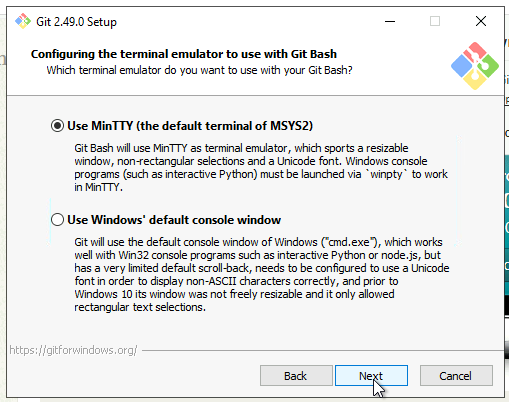
13. Terminal Emulator
Pick:
- Use MinTTY (default terminal of MSYS2) for a better experience
Click Next.
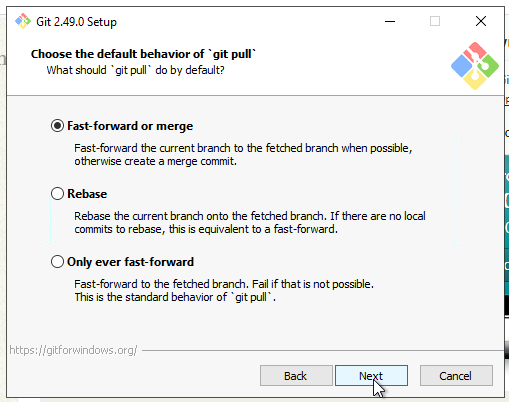
14. Configure git pull Behavior
Decide how git pull should work:
- Default (fast-forward or merge) is suitable for most users
- Or choose Rebase or Only ever fast-forward
Click Next.
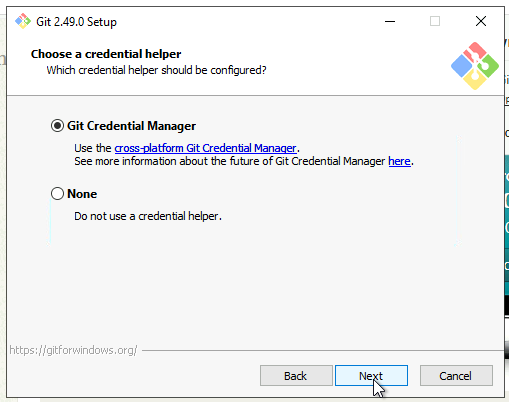
15. Credential Helper
Choose how Git stores your credentials:
- Git Credential Manager (Recommended for easy and secure authentication)
- Or select None if you prefer manual entry
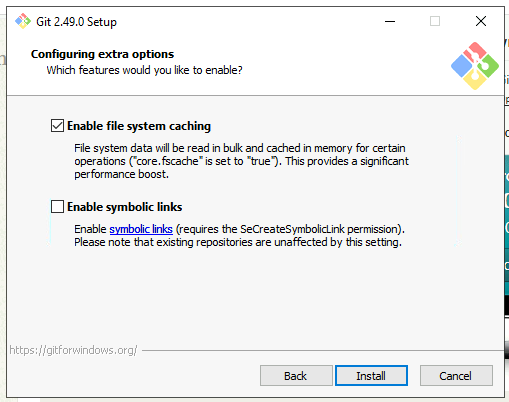
16. Additional Options
You can enable:
- File system caching
- Symbolic links (if needed)
Click Next.
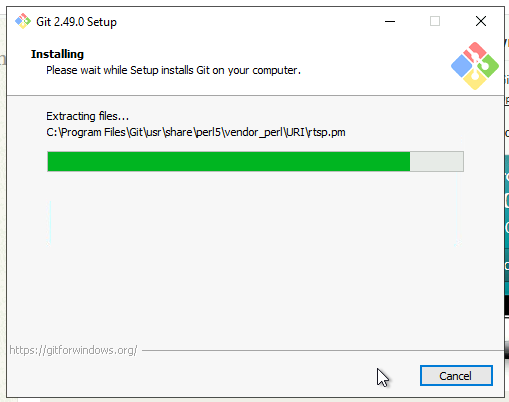
17. Install Git
Click Install to begin. The installation will take a few moments.
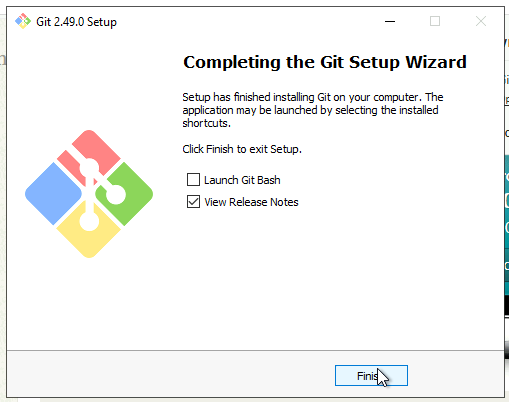
18. Complete Setup
Once done, you’ll see the completion screen.
- You can launch Git Bash immediately
- Or close the wizard by clicking Finish

Git Bash Common Commands
Below is a categorized list of essential Git Bash commands, including Git commands and common Unix shell commands.
Basic Navigation
pwd # Print working directory
ls # List files and folders
ls -la # List files with detailed info
cd <folder-name> # Change directory
cd .. # Go up one level
clear # Clear terminal screenGit Initialization and Setup
git config --global user.name "Your Name"
git config --global user.email "your.email@example.com"
git config --list # View Git configuration
git init # Initialize new Git repositoryFile Tracking and Commits
git status # Check repository status
git add <filename> # Stage a specific file
git add . # Stage all changes
git commit -m "message" # Commit staged changes
git log # View commit historyBranch Management
git branch # List branches
git branch <branch-name> # Create a new branch
git checkout <branch-name> # Switch to a branch
git merge <branch-name> # Merge another branchRemote Repository Handling
git remote add origin <url> # Link to a remote Git repository
git remote -v # Show remote URLs
git push -u origin main # Push local main branch
git pull origin main # Pull latest changes
git clone <url> # Clone a repositoryUndo Changes
git checkout -- <file> # Discard changes to a file
git reset HEAD <file> # Unstage a file
git revert <commit-id> # Revert a commit
git reset --hard # Reset all changes (use with caution)How to Use Git Bash
Now that Git Bash is installed and you’ve learned the basic commands, here’s how to use it in a real project.
1. Configure Git
Before making commits, set your name and email, which will appear in every commit:
git config --global user.name "John Doe"
git config --global user.email "john@example.com"Check your configuration:
git config --list2. Initialize a Local Git Repository
Navigate to your project directory in Git Bash:
cd path/to/your/project
git initThis creates a .git/ folder in your project directory, beginning the process of version control.
3. Stage and Commit Changes
After editing files or adding new ones, you can stage them:
git add . <em># Stage all changes</em>
git status <em># View staged vs. unstaged changes</em>
git commit -m "Initial commit"Use git log to view your commit history.
4. Create and Switch Branches
Branching lets you work on different features without affecting the main code:
git branch feature-x <em># Create a branch</em>
git checkout feature-x <em># Switch to the branch</em>
git merge feature-x <em># Merge into the current branch</em>Or, create and switch to a branch in one step:
git checkout -b feature-x5. Connect to a Remote Repository (GitHub)
Create a repository on GitHub (without initializing it with a README), then link your local repository:
git remote add origin https://github.com/username/repository-name.git
git branch -M main
git push -u origin main6. Clone a GitHub Repository
To clone an existing repository:
git clone https://github.com/username/repository-name.gitThis command downloads all files and commit history.
7. Pull Changes
To get the latest version of a project:
git pull origin mainThis fetches new commits and merges them into your local branch.
8. Push Changes
Once you’ve made commits, push them to the remote repository:
git push origin mainFor the first push, use:
git push -u origin mainThe -u flag sets the upstream, so future pushes can be done using just git push.
9. Ignore Files
Create a .gitignore file to prevent tracking specific files
touch .gitignore
echo "node_modules/" >> .gitignoreThen commit as usual.
Advanced Git Bash Usage
View Commit Differences
git diffTo compare staged and unstaged changes:
git diff --cachedStash Changes
Temporarily save your changes without committing:
git stashReapply stashed changes later
git stash popTagging Versions
git tag v1.0
git push origin v1.0Benefits of Using Git Bash
- Brings Unix-like command-line capabilities to Windows.
- Full Git command support.
- Integrates with GitHub, Bitbucket, and other services.
- Lightweight and efficient for version control.
- Supports scripting, automation, and SSH integrations.
If you’re looking to take your Git workflow to the next level, especially for deploying web applications, ServerAvatar makes the process seamless. With built-in support for Git Deployment, you can connect your GitHub, GitLab, or BitBucket repository and automate deployments with just a few clicks.
No need for manual file uploads or terminal commands, your updates go live effortlessly. Plus, with our latest feature, Live Git Webhook Broadcast, you can monitor your deployments in real-time. Watch every push as it happens with instant, play-by-play updates directly from your ServerAvatar dashboard. It’s never been easier, or more exciting, to manage your deployments.
Conclusion
You should now be familiar with:
- Installing Git Bash on Windows.
- Navigating directories and running Git commands.
- Creating repositories, committing changes, and linking to GitHub.
- Using Git Bash for real-world development tasks.
Git Bash bridges the gap between Windows and Linux-style development, enabling Windows users to enjoy the power of Git and Bash together.
Stop Wasting Time on Servers. Start Building Instead.
You didn’t start your project to babysit servers. Let ServerAvatar handle deployment, monitoring, and backups — so you can focus on growth.
Deploy WordPress, Laravel, N8N, and more in minutes. No DevOps required. No command line. No stress.
Trusted by 10,000+ developers and growing.