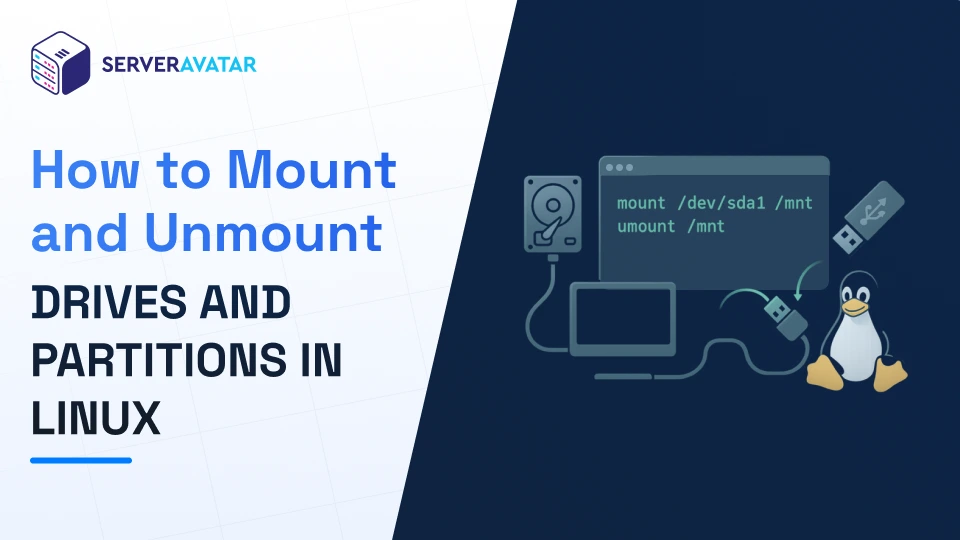
How to Mount and Unmount Drives and Partitions in Linux
Author: Meghna Meghwani
Published: 12 November 2025
Last Updated: 12 November 2025
Table Of Contents
If you’re wondering how to mount and unmount drives, you’re not alone. Have you ever plugged in a USB drive, but it didn’t show up the way it does on Windows or macOS? That’s because Linux treats storage differently. In Windows, drives appear automatically as C:, D:, E:, etc., but in Linux, you need to mount the drive to access it and unmount it before removal.
Think of it like parking a vehicle in a designated spot. You can’t just leave it in the middle of the road, it needs a proper parking space (mount point)!
In this guide, we’ll break down everything you need to know about mounting and unmounting drives in Linux in a simple, conversational way, even if you’re new to Linux. Whether you’re trying to mount a USB drive, external HDD, or Windows partition, this guide covers everything about the Linux mount and unmount process. You’ll learn how to access your USB, HDD, SSD, or external drive, and safely remove it without losing data for Ubuntu/Debian systems.
What Does “Mounting” Mean in Linux?
Mounting in Linux means attaching a storage device to your system’s directory tree, allowing users to access its files. When you “mount” a device, you tell the system:
In simple terms: Mounting tells Linux where to place your drive so you can use it.
And when you’re done, you must unmount it to disconnect safely.
Simple Analogy:
Think of mounting like plugging a TV into a power socket.
A TV without a socket won’t turn on.
Similarly, a drive without mounting won’t be accessible.
Unmounting is like safely unplugging the TV, you avoid sparks (data loss).
How Linux Organizes Storage
Linux doesn’t assign drive letters like C: or D:. Instead, everything is part of a single directory structure, starting from the ‘root /‘.
Here’s a simple visual to understand how drives connect to Linux:
                    Linux Directory Tree
                              |
                              /
                     ┌───────────────┐
                     |               |
                   /home/         (Mount Points)
                                      |
                         ┌────────────┴────────────┐
                         |                         |
                      /media/                   /mnt/
                         |
              (Auto Mount Points for Drives)
                         |
                 ┌──────────────┴──────────────┐
                 |                              |
             USB Drive                      External HDD
          (/media/usb)                    (/media/hdd1)
What Is a Mount Point?
A mount point is simply a folder where the drive’s contents are shown once mounted. Example: ‘/mnt/mydrive‘ or ‘/media/usb‘
Types of Drives You Can Mount
Linux allows the mounting of multiple types of storage devices:
Internal Storage
SSDs / NVMe drives: High-speed storage for system and application files.
SATA Hard Drives: Larger capacity, slower performance, great for backups.
Linux and Windows dual-boot partitions: Mount Windows partitions to access files from Linux.
External Storage
USB Pen Drives: Small, portable flash drives that can be easily connected via USB to transfer or access files.
External HDD/SSD: Larger portable storage devices offering high capacity (HDD) or fast performance (SSD) for backups and file transfers.
SD Cards: Memory cards commonly used in cameras, phones, and other devices, which can be mounted to access their data.
Portable storage devices: General category including any external storage device (like USB drives, external SSDs/HDDs, or memory cards) that can be connected and mounted.
Network & Virtual Storage
NFS (Network File System): Allows Linux systems to mount directories from other Linux/Unix servers over a network for shared access.
CIFS/SMB (Shared Windows files): Enables mounting Windows-shared folders or network drives on a Linux system.
ISO Image files: Mountable disk image files (like CD/DVD images) to access their contents without burning them to physical media.
Before unplugging a USB or external drive, always unmount it; otherwise, data may get corrupted.
Unmount Command Use the command below to unmount your drive:
sudoumount /mnt/mydrive
or
sudoumount /dev/sdb1
If You See “Device is Busy” Error
This means some files or processes are still using the drive.
Check which processes are using it:
sudolsof /mnt/mydrive
Then close the listed programs and try again.
Force Unmount (only if required):
sudoumount -f /mnt/mydrive
Common Mount & Unmount Errors (and Fixes)
Error
Meaning
How to Fix
mount: wrong fs type
Incorrect filesystem type
Verify the filesystem with ‘sudo blkid‘ and use the correct type in the mount command.
device is busy
Drive is still in use
Close applications using the drive or check with 'lsof‘ and unmount active processes.
permission denied
Insufficient privileges
Prepend ‘sudo‘ to the mount command.
unknown filesystem
Linux does not support this filesystem
Install the required filesystem package (e.g., 'ntfs-3g‘ for NTFS).
Best Practices & Safety Tips
Always unmount before unplugging
Use clear mount point names, e.g., /mnt/photos
Don’t mount with write permissions if drive is sensitive
Avoid editing /etc/fstab unless confident
Prefer UUID over device name to avoid wrong mounts
Mount sensitive drives as read-only if needed:
sudomount -oro /dev/sdb1 /mnt/secure
Conclusion
Mounting and unmounting drives in Linux may feel unfamiliar at first, especially if you’re coming from Windows or macOS where drives show up automatically. But once you understand how Linux handles storage, the process becomes simple and logical. You now know what mounting means, how Linux organizes storage, how to identify your drives, and the correct way to mount and unmount them without risking data loss.
With a little practice, you’ll find it easy to access USBs, external drives, internal partitions, or even network storage on your Ubuntu/Debian system. Just keep one habit in mind, always unmount the drive before disconnecting it. As soon as this becomes part of your workflow, managing storage on Linux will feel natural and effortless.
Now you know how to handle Linux drive mounting like a pro, whether it’s a USB, SSD, or NTFS partition, without risking data loss!
FAQs
1. What happens if I remove a drive without unmounting it?
You risk corrupting data or losing unsaved changes. Always unmount first.
2. How do I check if a drive is already mounted?
Run: ‘df -h‘ It will list all mounted devices.
3. Can I mount a drive with read-only access?
Yes. Example: ‘sudo mount -o ro /dev/sdb1 /mnt/mydrive‘
4. Where should I mount drives, /mnt or /media?
‘/media‘ is better for external devices
‘/mnt‘ is usually for temporary or system mounts
5. Do I need to unmount drives that auto-mounted on my Linux desktop?
Yes. Even if they auto-appear in GUI, unmount them properly before unplugging.
Stop Wasting Time on Servers. Start Building Instead.
You didn’t start your project to babysit servers.
Let ServerAvatar handle deployment, monitoring, and backups — so you can focus on growth.
Deploy WordPress, Laravel, N8N, and more in minutes.
No DevOps required. No command line. No stress.