If you’re planning to set up a Hetzner server to host websites, you’re on the right track. Hetzner is known for its high-performance servers at affordable prices, making it a popular choice among developers, businesses, and hosting enthusiasts. But setting up a server from scratch can feel overwhelming, especially if you’re not familiar with the process.
In this comprehensive guide, we’ll walk you through two effective methods to set up a Hetzner server for hosting your websites:
- Using ServerAvatar – A beginner-friendly and automated way.
- Manual Setup – For advanced users who prefer full control.
By the end of this guide, you’ll have your Hetzner server running with your websites hosted, secured, and optimized for performance.
Why Choose Hetzner for Hosting Your Websites?
Before we dive into setup, let’s briefly understand why Hetzner is an ideal hosting provider:
- Affordable pricing with powerful resources
- Global data centers (Germany and Finland)
- Reliable performance and uptime
- Quick provisioning with a wide range of operating systems
- Support for both VPS (Cloud) and Dedicated servers
Whether you’re building a simple WordPress site or deploying full-stack web applications, Hetzner has the infrastructure to back your needs.
If you’re looking for a simple, time-saving solution to host and manage a server without needing a separate Hetzner Cloud provider account, ServerAvatar makes it easy. This modern cloud hosting and server management platform allows you to create and manage Hetzner servers directly from the ServerAvatar dashboard, no command-line knowledge required.
In addition to Hetzner, you can also deploy servers on top cloud providers like DigitalOcean, Vultr, (Linode – coming soon), all without needing a separate cloud provider account.
Just follow the simple steps below to create a Hetzner server directly through ServerAvatar.
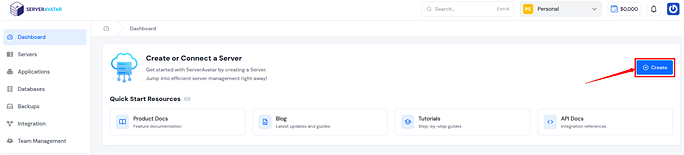
- Click on the “Create” button.
- Log in to your ServerAvatar account.
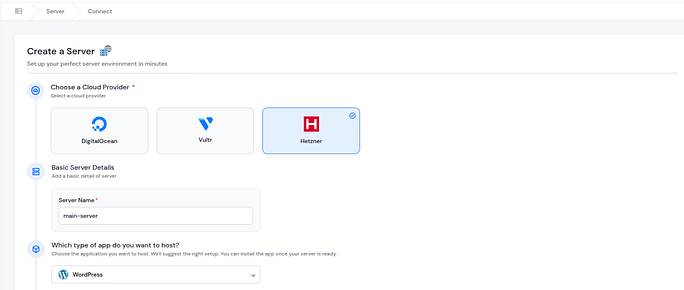
- Select Hetzner as the Cloud Provider from the given options.
- Enter your preferred Server Name.
- Select the type of application you want to host, and ServerAvatar will automatically recommend the ideal configuration for your setup.
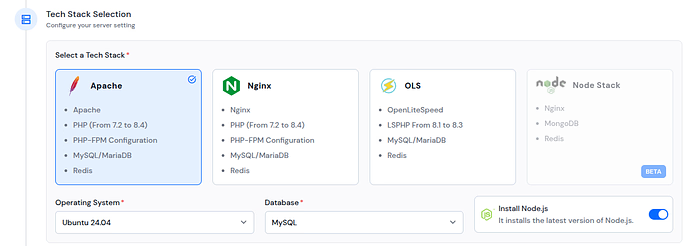
- Select your preferred Tech Stack, Operating System, and Database from the available options.
- Apache: Apache is a reliable and widely used web server known for its stability and flexibility. It’s great for running PHP-based applications like WordPress, Laravel, or custom PHP sites.
- Nginx: Nginx is a high-performance web server that excels at handling heavy traffic and static content. It’s lightweight, fast, and often used as a reverse proxy for better scalability.
- OpenLiteSpeed (OLS): OpenLiteSpeed is the open-source version of LiteSpeed, designed for speed and efficiency. It offers built-in caching and is highly optimized for PHP applications, making websites load much faster.
- Node Stack: The Node Stack is ideal for running JavaScript-based applications like Node.js, Express, or Next.js. It’s perfect for developers building modern, real-time, or API-driven web apps.
- Enable the toggle button, if you want to install the latest version of Node.js on your server.
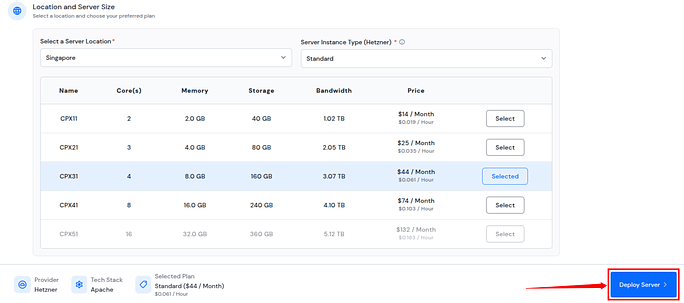
- Choose the server location where you’d like to host your server and select your desired instance type.
- Select your server as per your required specifications, such as CPU cores, memory, storage, and bandwidth.
- Click the “Deploy Server” button, and the installation process will get started.
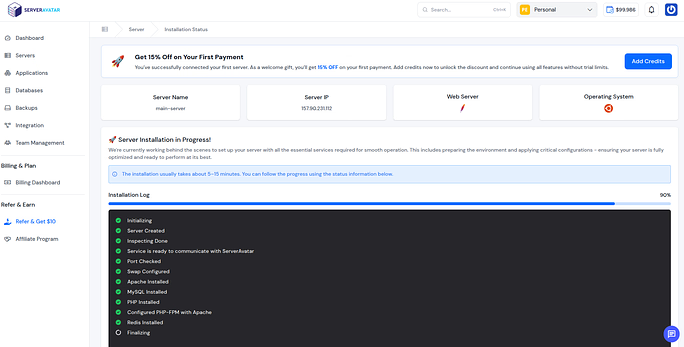
- The Server Installation process includes:
- Inspecting Server
- Setting Up Services
- Installing selected web server (Apache, Nginx, or OpenLiteSpeed)
- Install PHP and all supported versions
- Install and configure PHP-FPM
- Install and configure MySQL
- Install and configure Redis
- Create a SWAP memory file
- Create basic virtual host files
- Install Git and Composer
- Finalize the setup and perform testing
- It will take about 5-15 minutes to completely deploy and set up the server.
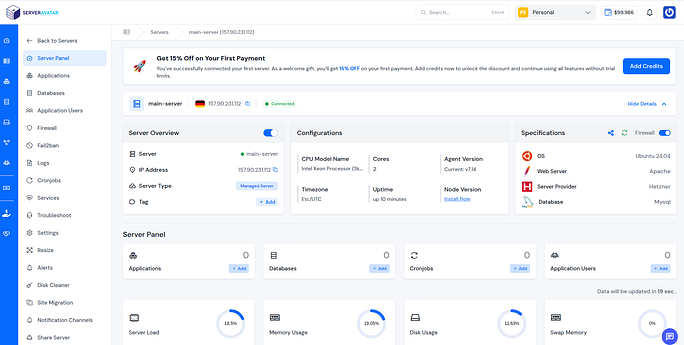
Let’s now create a WordPress application using one-click app installer to check out the further process to deploy an application.
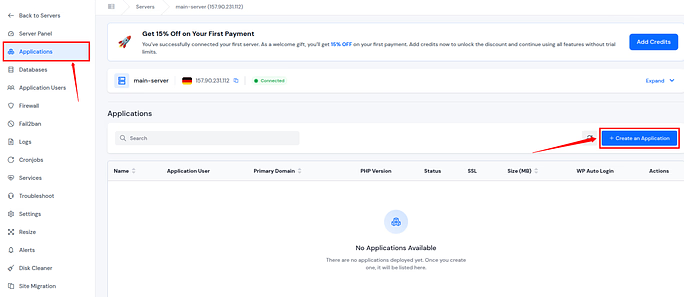
- Once you’re inside your Server panel, click on “Applications” tab from the left side bar. Then click on “Create an Application” button.
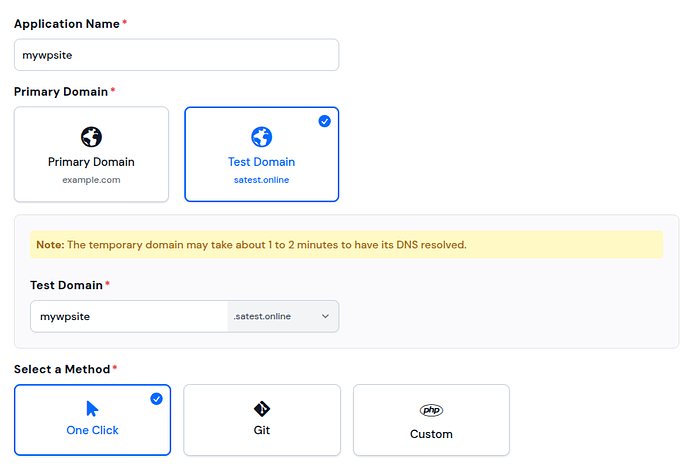
Fill out the form for creating the application:
- Enter your application name
- Select the domain from primary and test domain (as ServerAvatar providing test domains to create application without your own domain)
- Enter the domain name
- Select the method as “One Click”
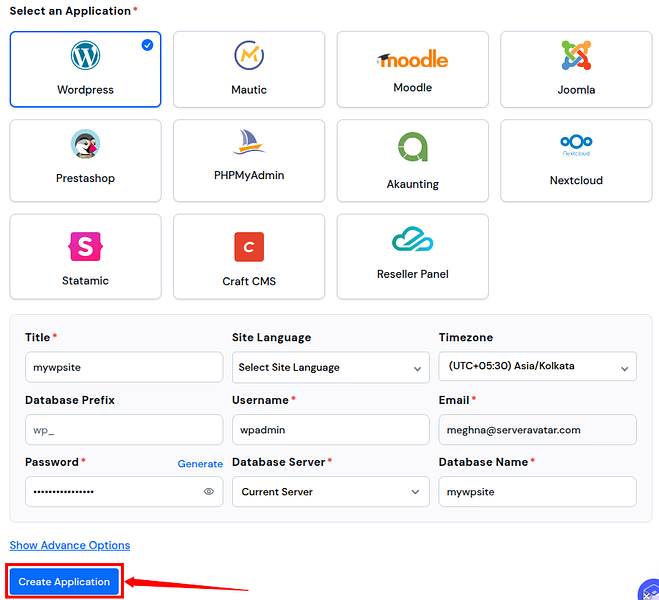
- Select the “WordPress” application from the given options
- Fill out the application related details such as title, username, email, etc. as given
- Click on the “Create Application” button
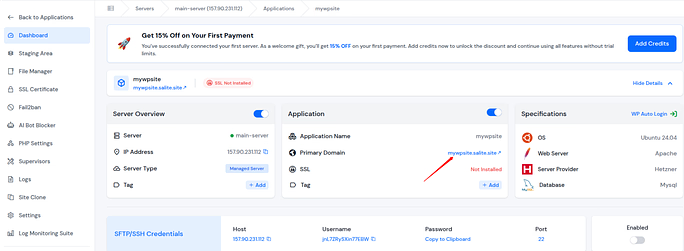
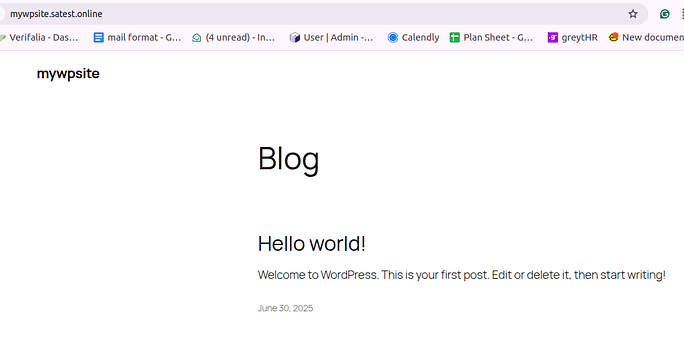
That’s it, your application is created successfully. You can check it by opening the application URL provided to you.
Conclusion
Setting up a Hetzner server to host your websites doesn’t have to be complicated. With ServerAvatar’s managed server feature, you can skip the manual configurations and get your server ready in just a few clicks. From selecting the tech stack to deploying applications like WordPress, the entire process is streamlined and beginner-friendly.
Whether you’re a developer, business owner, or blogger, this approach saves time, improves efficiency, and ensures your server is optimized for performance and security. By combining Hetzner’s powerful infrastructure with ServerAvatar’s automation and ease of use, you get the best of both worlds, reliable hosting at an affordable price.
FAQ:
1. How long does it take to deploy a Hetzner server with ServerAvatar?
With a compatible SSH key already in place, the automated installation generally finishes in 5–15 minutes. The exact time can vary with the server size, selected tech stack, and network speed.
2. What operating systems can I install on a new Hetzner cloud instance?
Hetzner offers popular Linux images such as Ubuntu, Debian, AlmaLinux, Rocky Linux, Fedora, and CentOS Stream. If you need something custom, you can also upload your own ISO.
3. Does ServerAvatar handle backups automatically?
Scheduled off‑site backups are built in. You can choose daily, weekly, or monthly snapshots for both files and databases, stored on S3‑compatible storage or your preferred cloud bucket.
4. How do I scale my server when traffic spikes?
For cloud servers, you can resize the instance in the Hetzner console, then run the “Re‑verify Specs” button inside ServerAvatar to sync the new resources. For dedicated servers, consider load‑balancing or vertical scaling to a more powerful machine.
5. Is there downtime during server provisioning or resizing?
Initial provisioning has no public downtime because nothing is live yet. Cloud resizes usually require a reboot, causing 30–60 seconds of interruption. Plan upgrades during low‑traffic periods when possible.