Custom HTML Pages
In your whitelabel panel, you have the option to customize three HTML pages to align with your branding. These pages include the Web Server Default Page, Custom Application HTML Template, and Application Disable Page Template. Below are the steps to set up each page:
Web Server Default Page
The web server default page is the page that users see when they access the server's IP address.
Add your HTML code to create the default page that users will see initially.
In the editor, paste your HTML code for the web server default page.
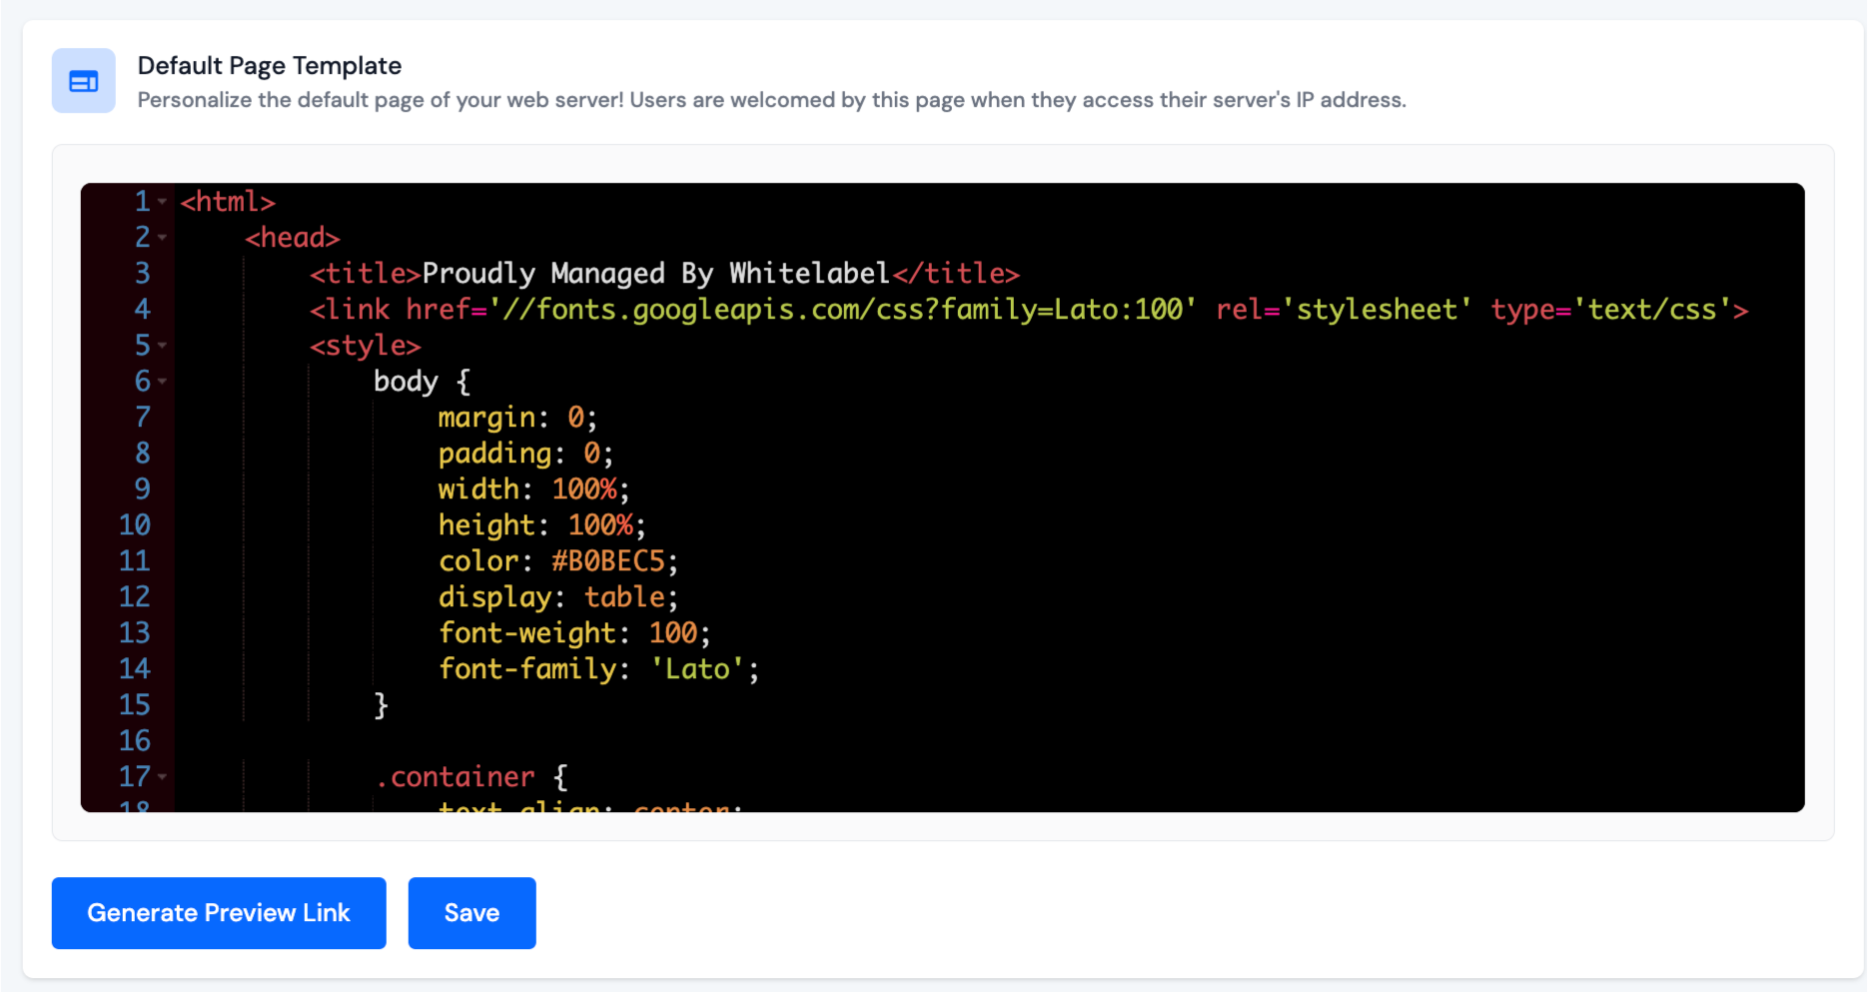
After adding the HTML code, click on the Save button to apply your changes.
Once saved, you can generate a preview link to see how the page looks.
Click on Generate Preview Link to preview your web server's default page.
Custom Application HTML Template
This HTML page serves as the default landing page for applications created within the panel.
Customize this page to reflect the branding and content you want users to see first when they access the application's URL.
This page is only visible to Custom Applications.
In the editor, paste your HTML code for Custom Application HTML Template.
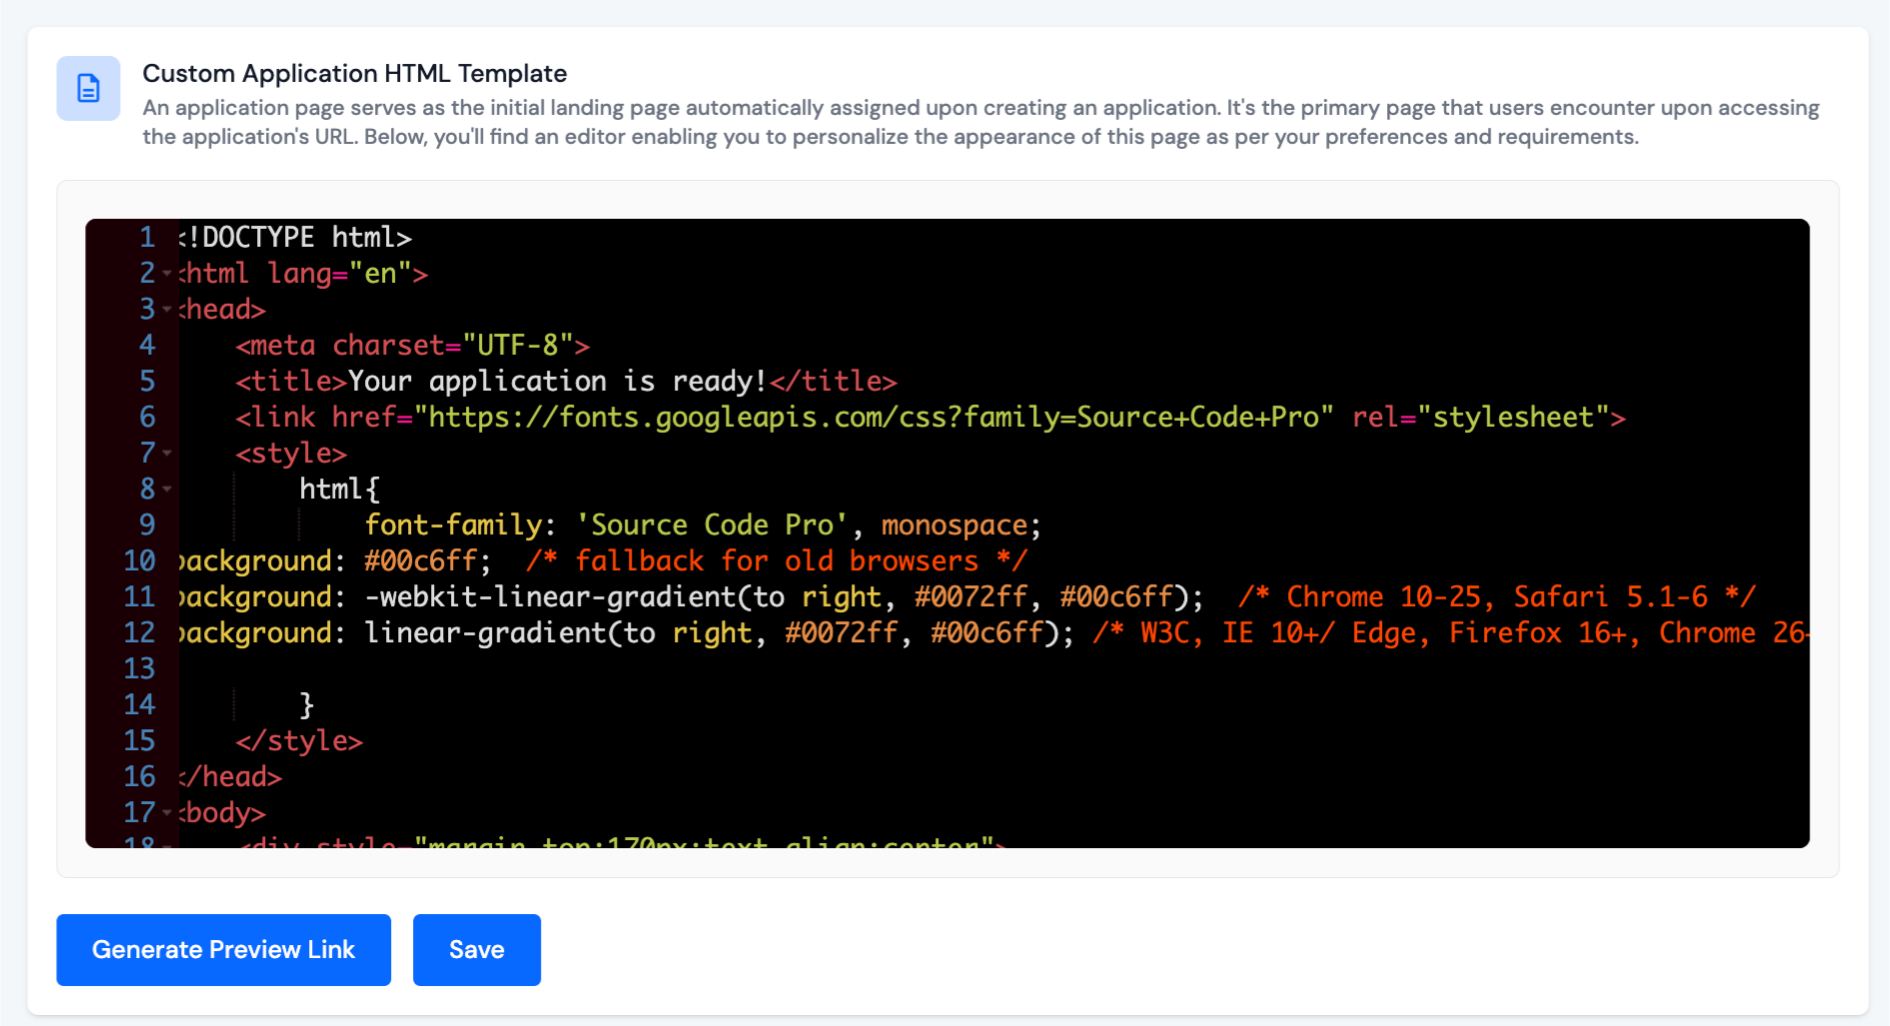
After adding the HTML code, click on the Save button to apply your changes.
Once saved, you can generate a preview link to see how the page looks.
Click on Generate Preview Link to preview your Custom application page.
Application Disable Page Template
When an application is disabled, this page informs users that the application is not currently available.
Design this page to provide a clear message to users about the application's status.
In the editor, paste your HTML code for Application Disable Page Template.
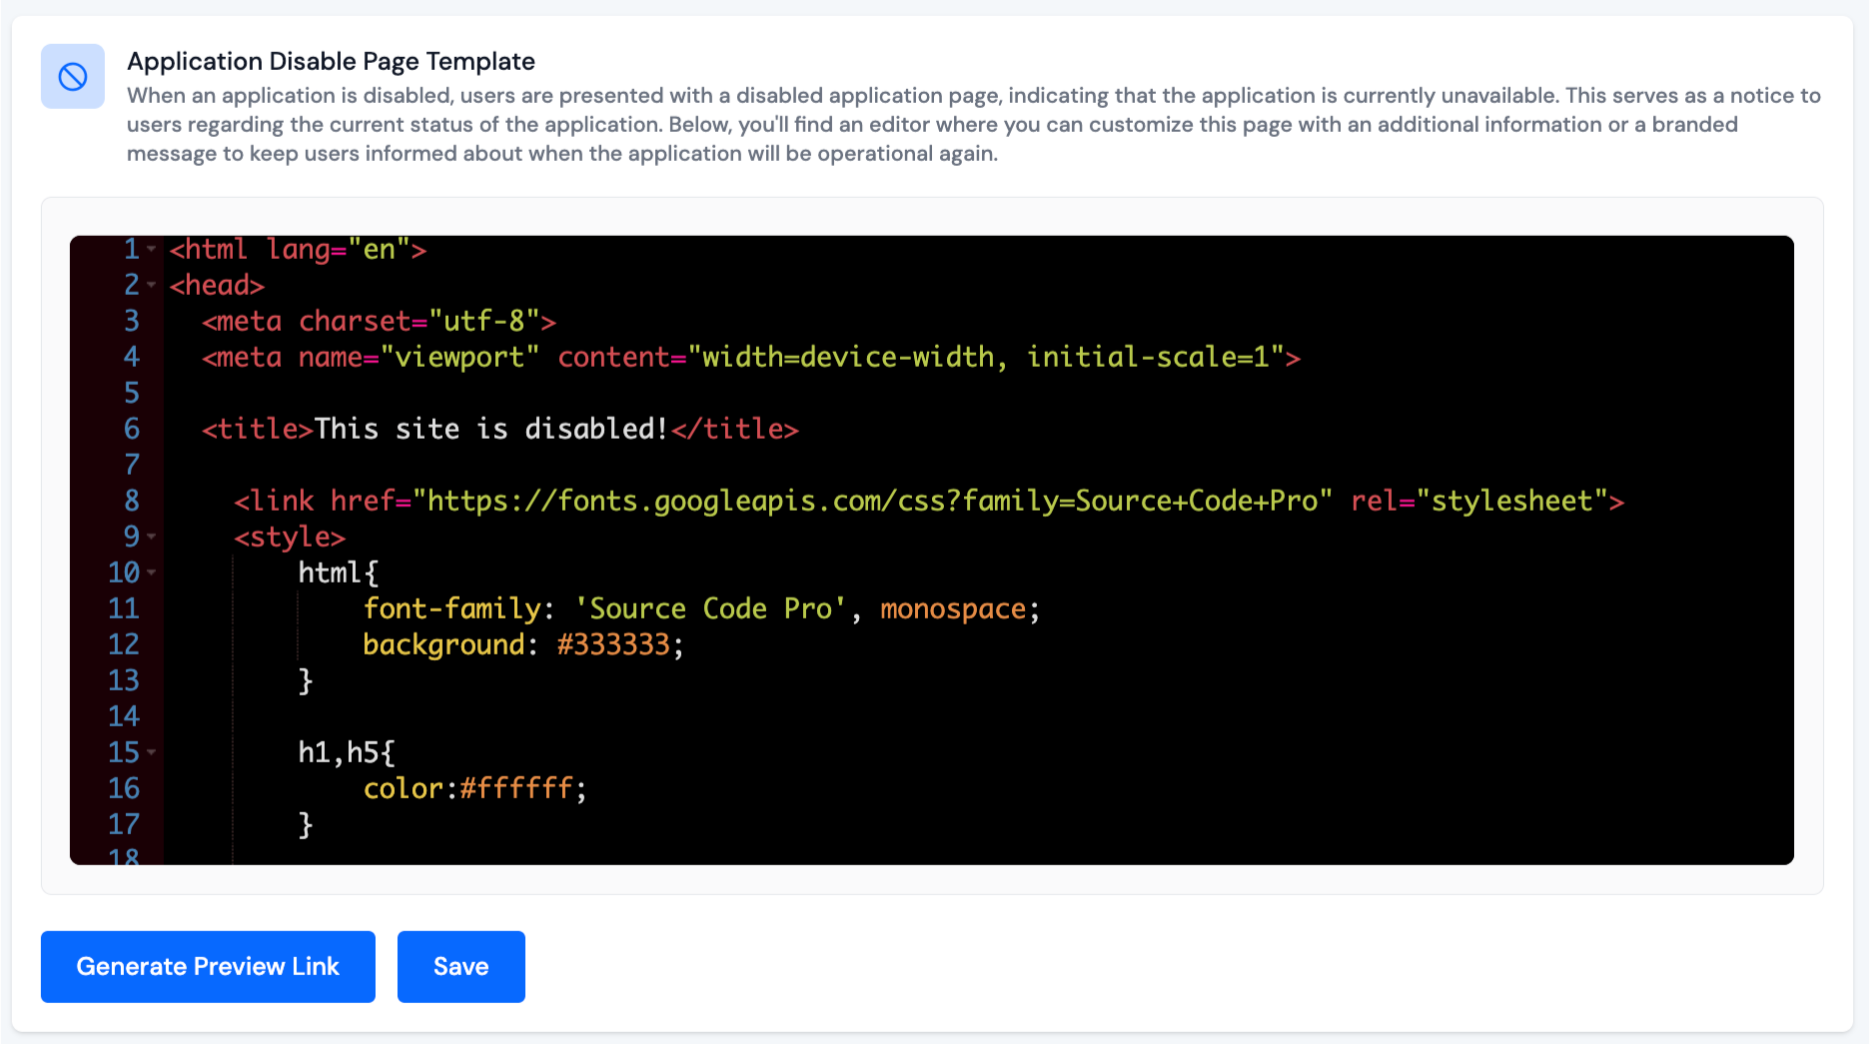
After adding the HTML code, click on the Save button to apply your changes.
Once saved, you can generate a preview link to see how the page looks.
Click on Generate Preview Link to preview your Application disable page.