Tickets
In the Tickets section, you can see all tickets created by users related to their issues, inquiries, or support requests. This section provides a detailed list of support tickets, including the user's concerns or questions. By reviewing these tickets, you can efficiently manage and address user needs, ensuring timely and effective support. The information is presented in a clear format, making it easy to track and respond to each request. Below are the steps for managing tickets:
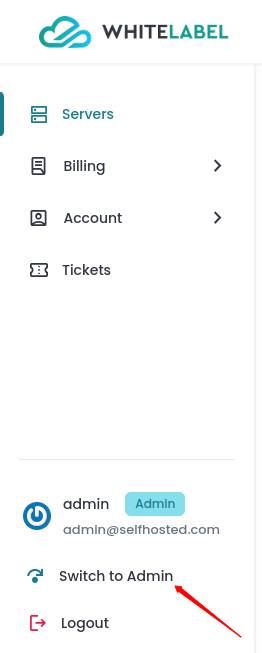
Step 1: First, log in to the Self Hosted panel, and go to the admin side by clicking on Admin as shown in the image below.
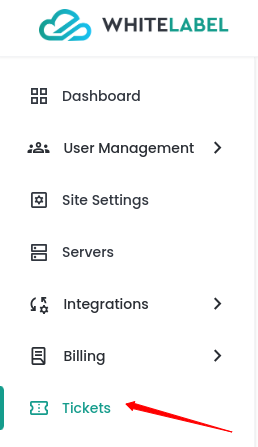
Step 2: Click on the Tickets option from the left side panel.
Open Tickets
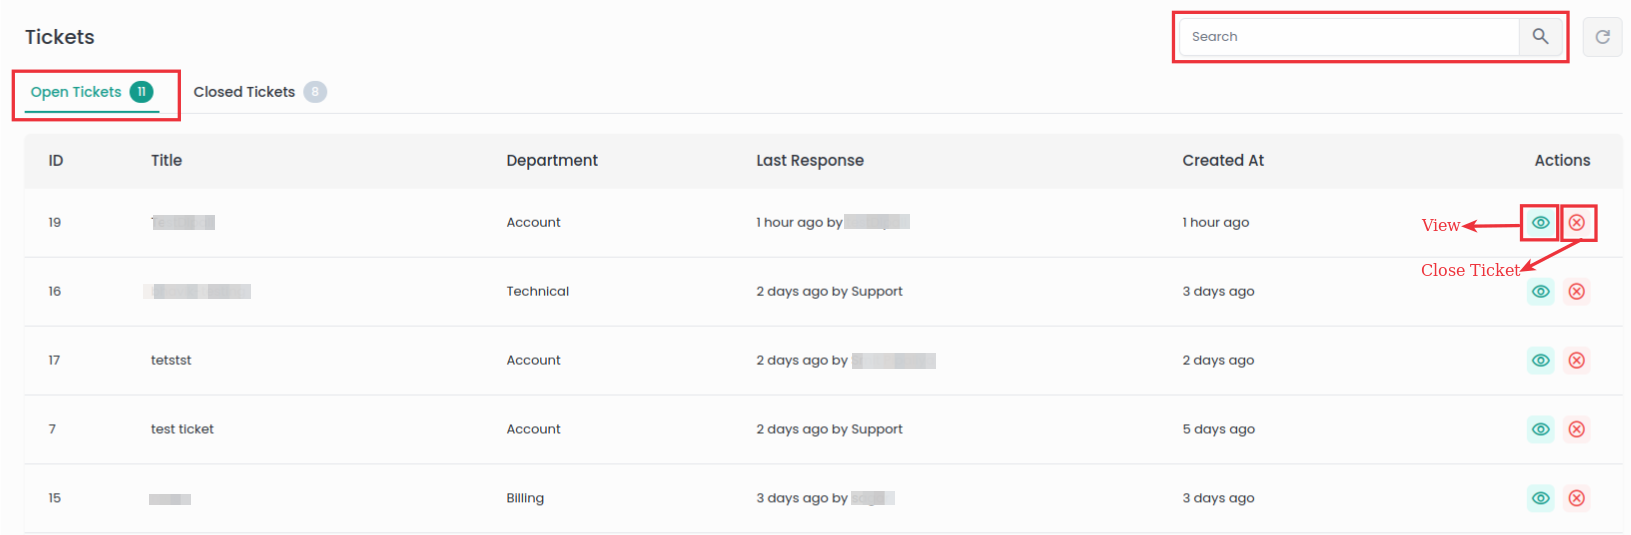
The dashboard displays various details, including the ticket ID, Title, Department for which the ticket is created (e.g., account, technical, billing), the time of last response, the ticket creation timestamp (e.g., 1 hour ago), and the actions which include options to View the ticket or Close the ticket as shown in the image below. Additionally, a search function is available, allowing you to efficiently locate a specific ticket by entering relevant identifiers.
View Ticket
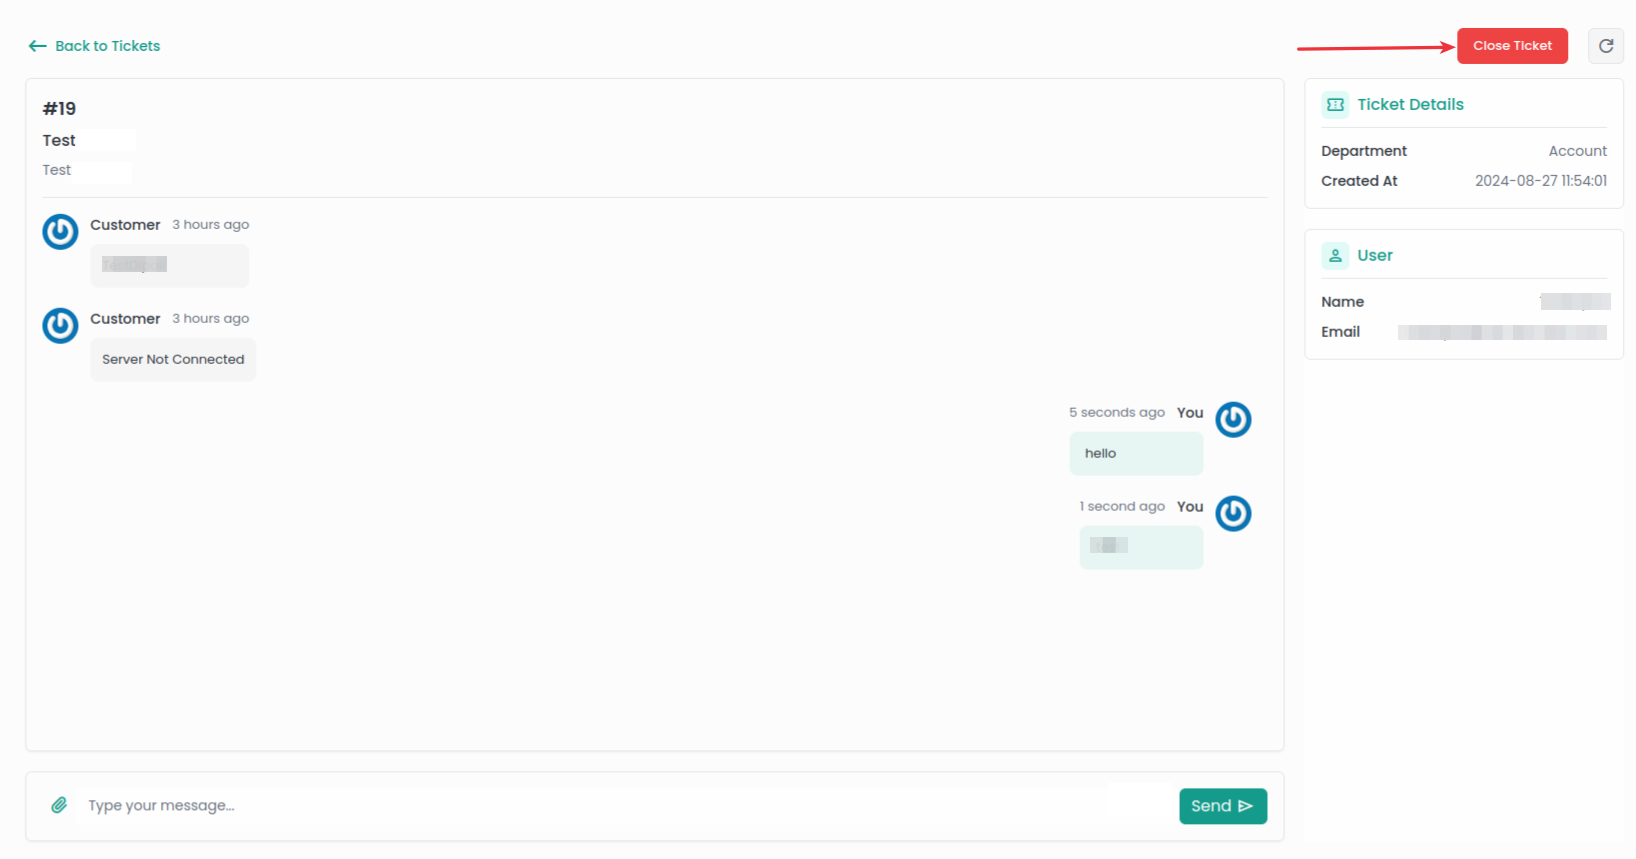
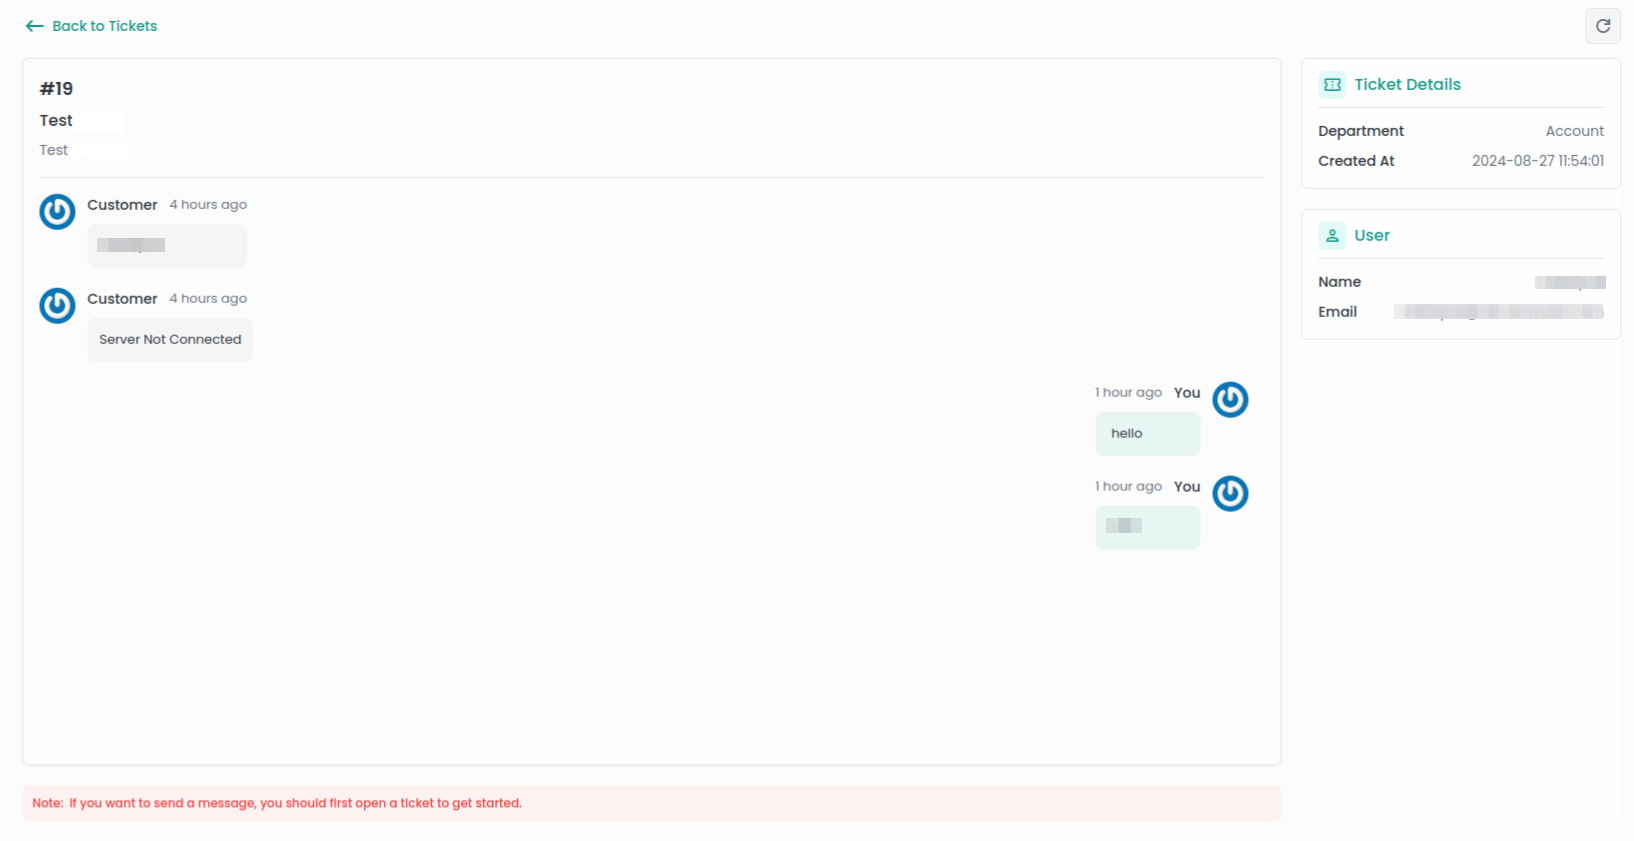
- Click the View icon next to the particular ticket to access its details and additional information. This includes ticket details such as the department and ticket creation timestamp, as well as user details such as name and email address, as displayed in the image below. Also, you can Close the ticket by clicking on the Close ticket button at the top of the ticket.
Close Ticket
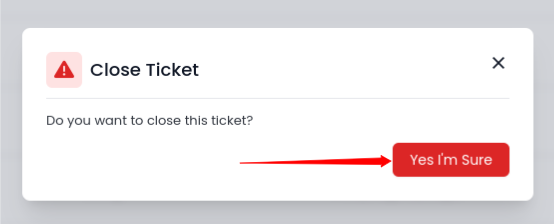
- Click the Close Ticket icon next to the particular ticket to close the particular ticket and then confirm by selecting the Yes, I'm sure option to close the particular ticket from the list of open tickets.
Closed Tickets
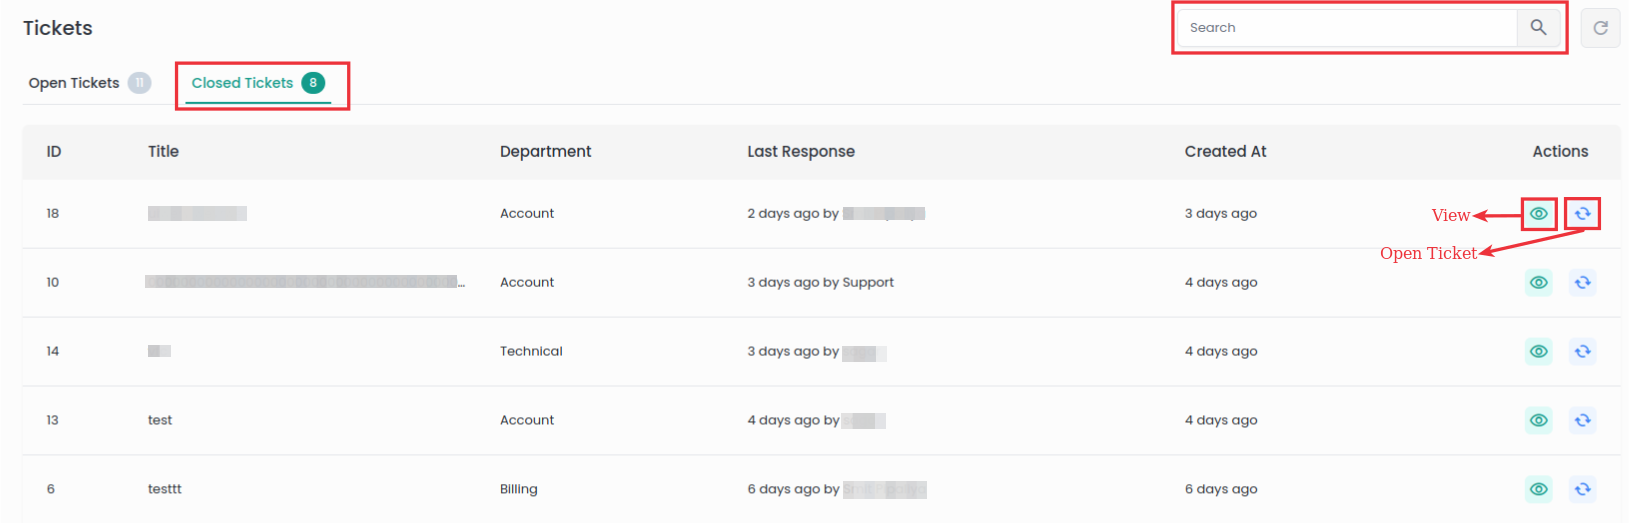
The dashboard displays various details, including the ticket ID, Title, Department for which the ticket was created (e.g., account, technical, billing), the time of last response, the ticket creation timestamp (e.g., 3 days ago), and the actions which include options to View the ticket or Open the ticket as shown in the image below. Additionally, a search function is available, allowing you to efficiently locate a specific ticket by entering relevant identifiers.
View Ticket
- Click the View icon next to the particular ticket to access its details and additional information. This includes ticket details such as the department and ticket creation timestamp, as well as user details such as name and email address, as displayed in the image below.
Open Ticket
- Click the Open Ticket icon next to the particular ticket to open the particular ticket and then confirm by selecting the Yes, I'm sure option to open the particular ticket from the list of closed tickets.
