Site Settings
The Site Settings section allows you to customize and manage various aspects of the product, including branding, advanced settings, and custom code insertion.
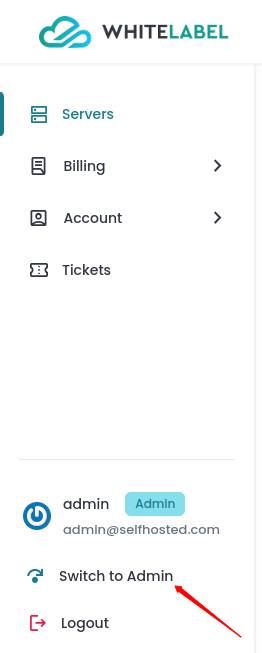
Step 1: First, log in to the Self Hosted panel, and go to admin side by clicking on Admin as shown in the image below.
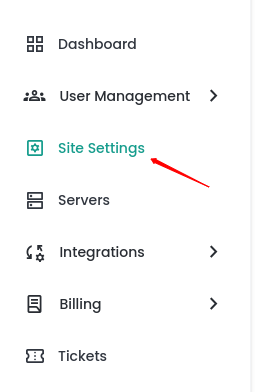
Step 2: Click on the Site Settings option from the left side panel and you can see the site settings form.
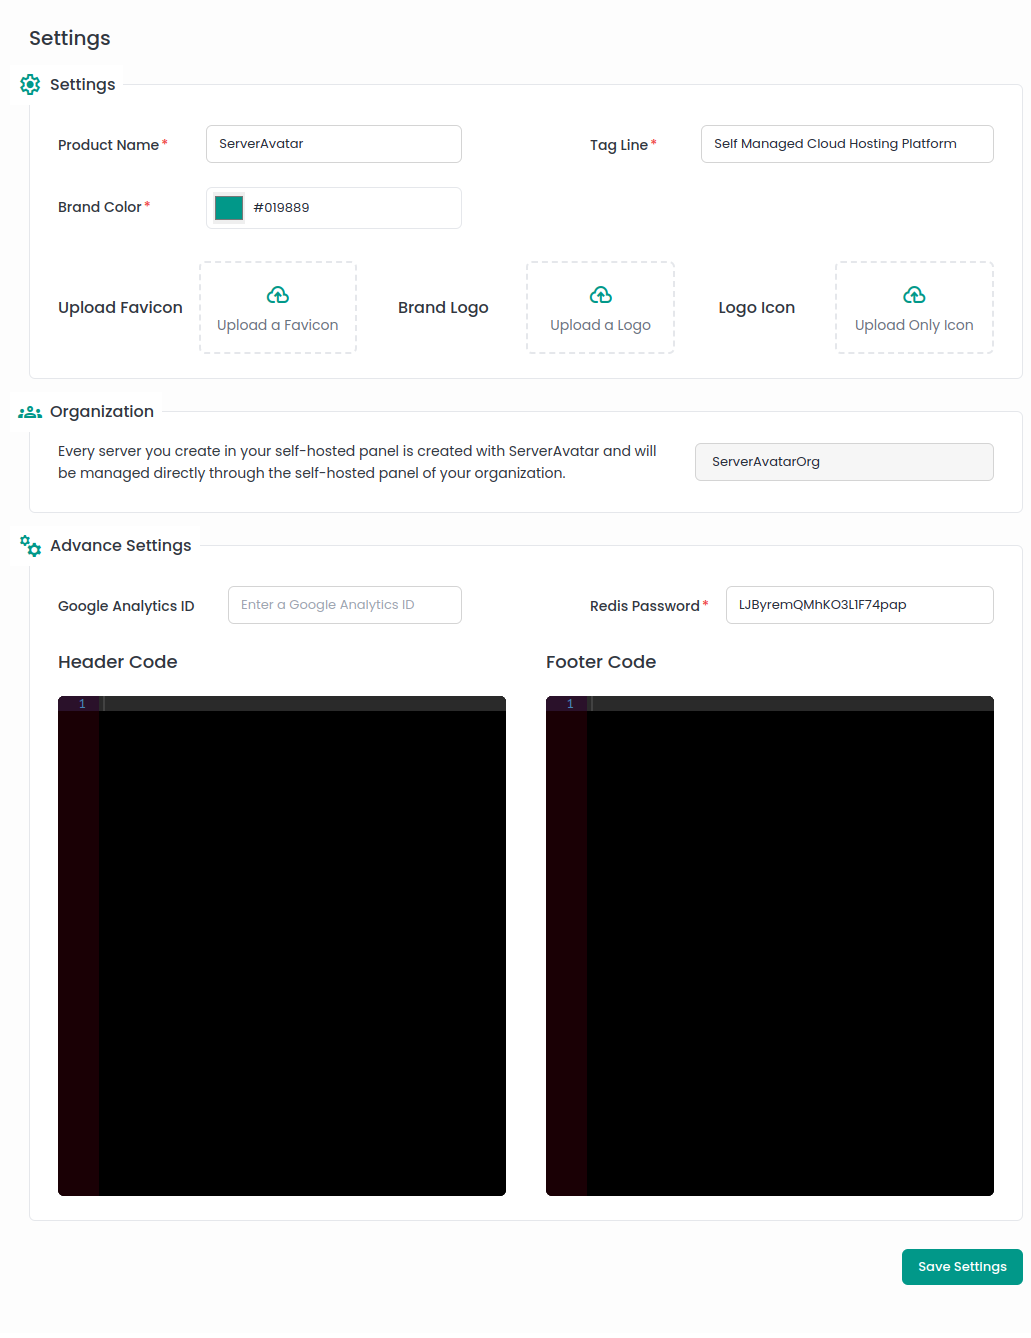
Settings
This section is where you can configure the basic product information and branding:
-
Product Name: Enter the desired name for your self hosted whitelabel panel.
-
Tag Line: Add a catchy tagline that represents your panel.
-
Brand Color: Primary color for your panel's theme.
-
Favicon: Upload a favicon icon for your panel. If you do not set a favicon, the ServerAvatar favicon will be used.
-
Brand Logo: Upload your logo with the brand name. If you do not set a logo, the ServerAvatar logo will be used.
-
Logo Icon: Upload a logo without the brand name if you prefer an icon-only version. If you do not set an icon-only logo, the ServerAvatar icon will be used.
Organization
Every server you create in your self-hosted panel is created with ServerAvatar and will be managed directly through the self-hosted panel of your organization.
Advanced Settings
-
Google Analytics ID: If you have a Google Analytics ID, enter it here for tracking purposes.
-
Redis Password: Get it from Server Settings -> Security Settings from your ServerAvatar panel.
-
Header Code: Add custom code (e.g., for font styles) to be included in the
<head>section. -
Footer Code: Add any custom footer code you want to include.
After configuring the above details, click the Save Settings button to apply and save all changes made in the Settings section.