Plugins
Plugins add features to WordPress (forms, SEO, security, e-commerce, and more). The Plugins page in WP Toolkit lets you view installed plugins, install new ones from the WordPress.org directory, and activate, deactivate, update, or uninstall them without logging into wp-admin.
Accessing Plugins
Step 1: Log in to your ServerAvatar account.
Step 2: Open the Server Dashboard → Applications → select your WordPress application.
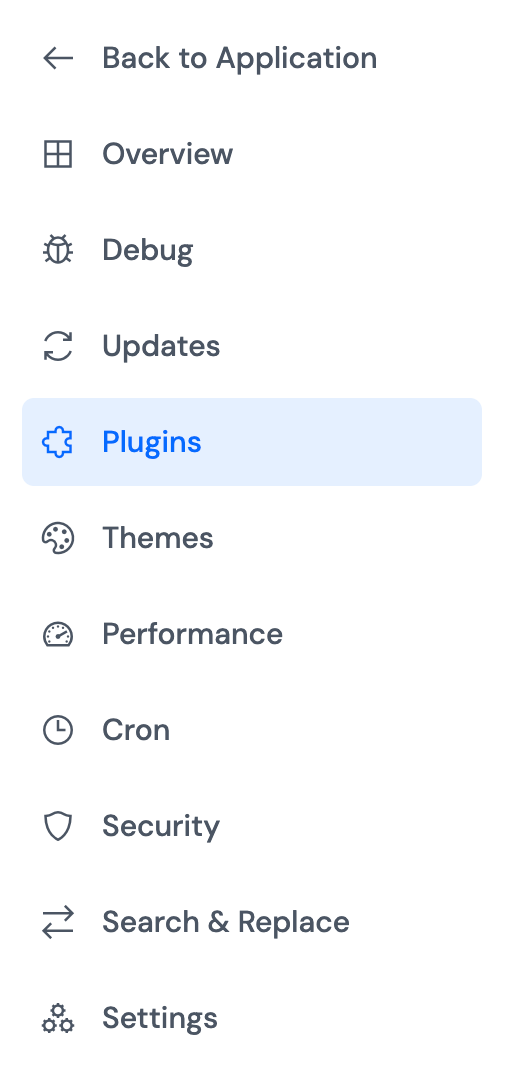
Step 3: In the application panel sidebar, open WP Toolkit → Plugins.
Summary Statistics
Summary cards at the top show total installed plugins, how many are active or inactive, and how many updates are available. Pending updates can also be applied from the Updates page.

Installed Plugins
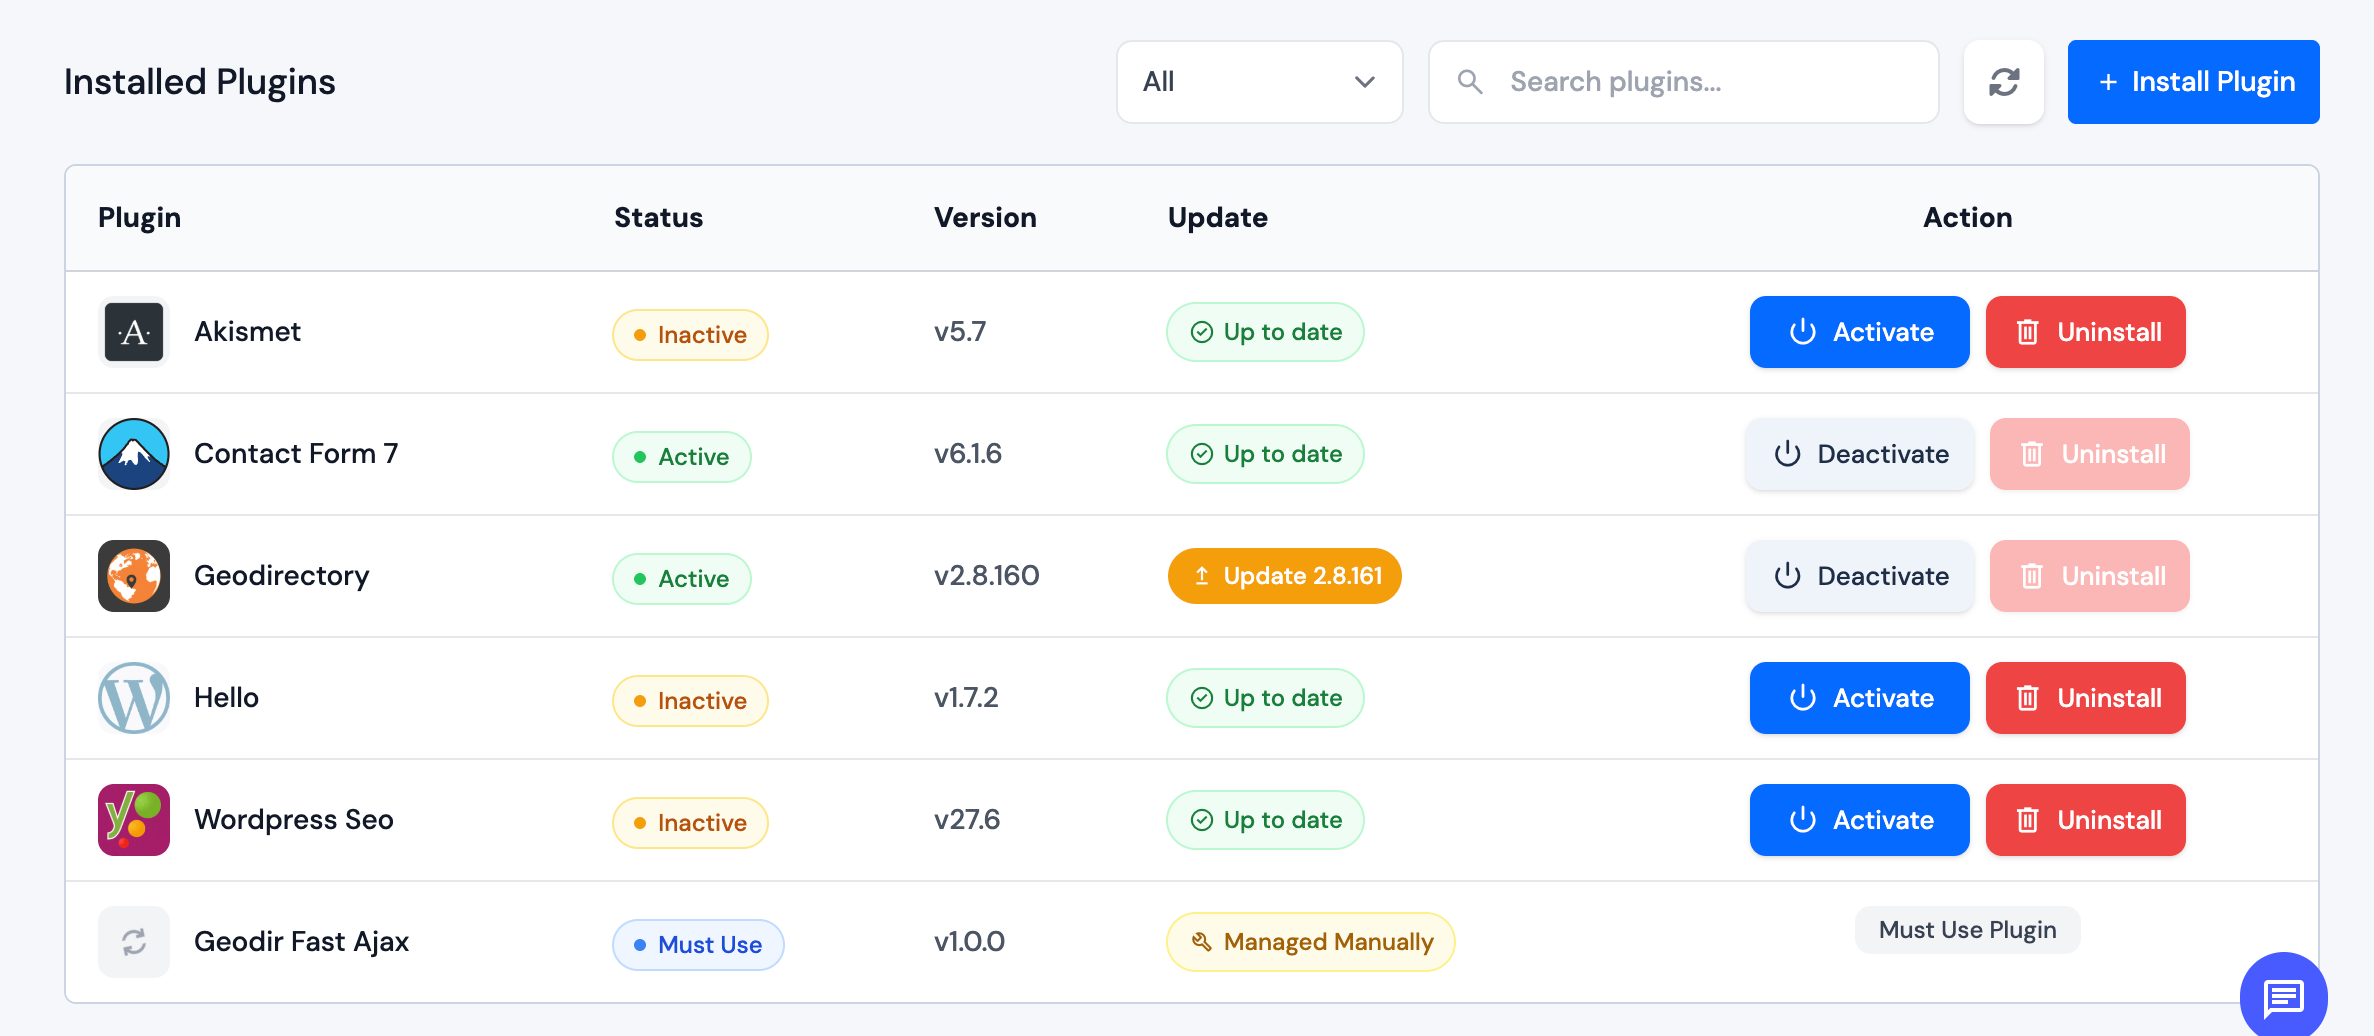
The installed plugins list shows each plugin’s name, description, version, update status, and whether it is active or inactive.
Use the filter to show all plugins, only active, only inactive, or only those with updates available. Use the search box to find a plugin by name.
Must-use and drop-in plugins appear in the list with a badge and cannot be activated, deactivated, or uninstalled from WP Toolkit. They are managed directly on the server or through WordPress conventions.
Install a Plugin
Step 1: Click Install Plugin.
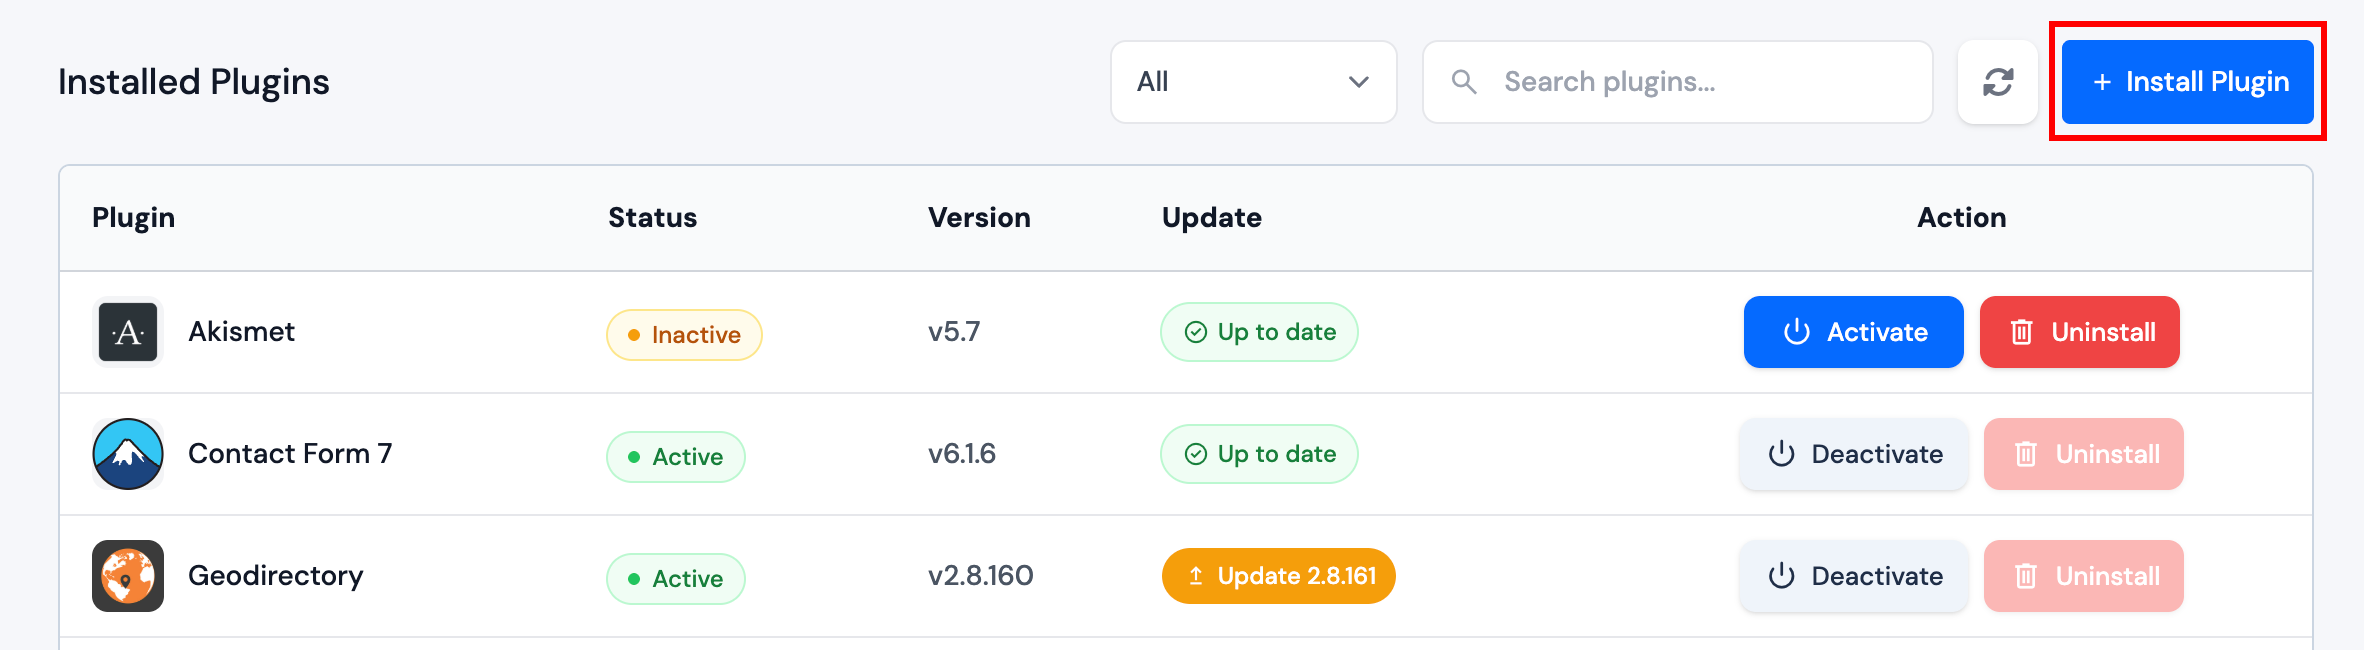
Step 2: Search the WordPress.org directory or use the browse filter, then click Install Now on the plugin you want.

Manage Plugins
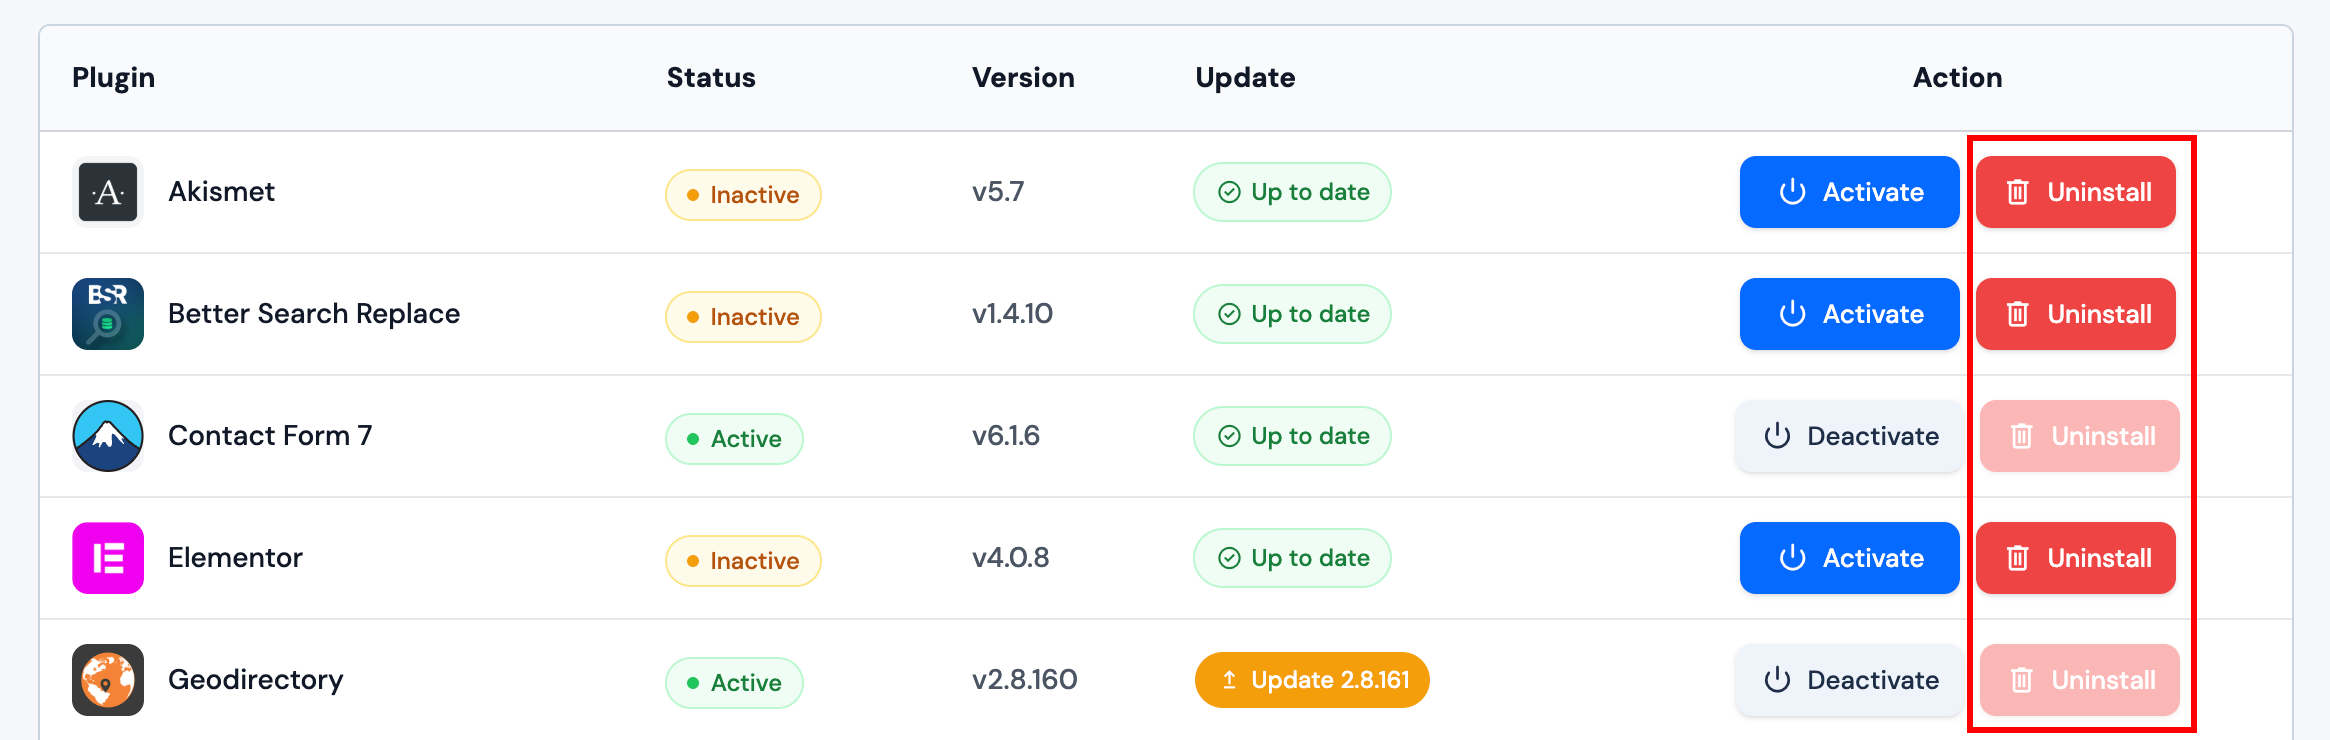
Activate or deactivate: Use Activate on an inactive plugin or Deactivate on an active plugin. Only active plugins run on the site.
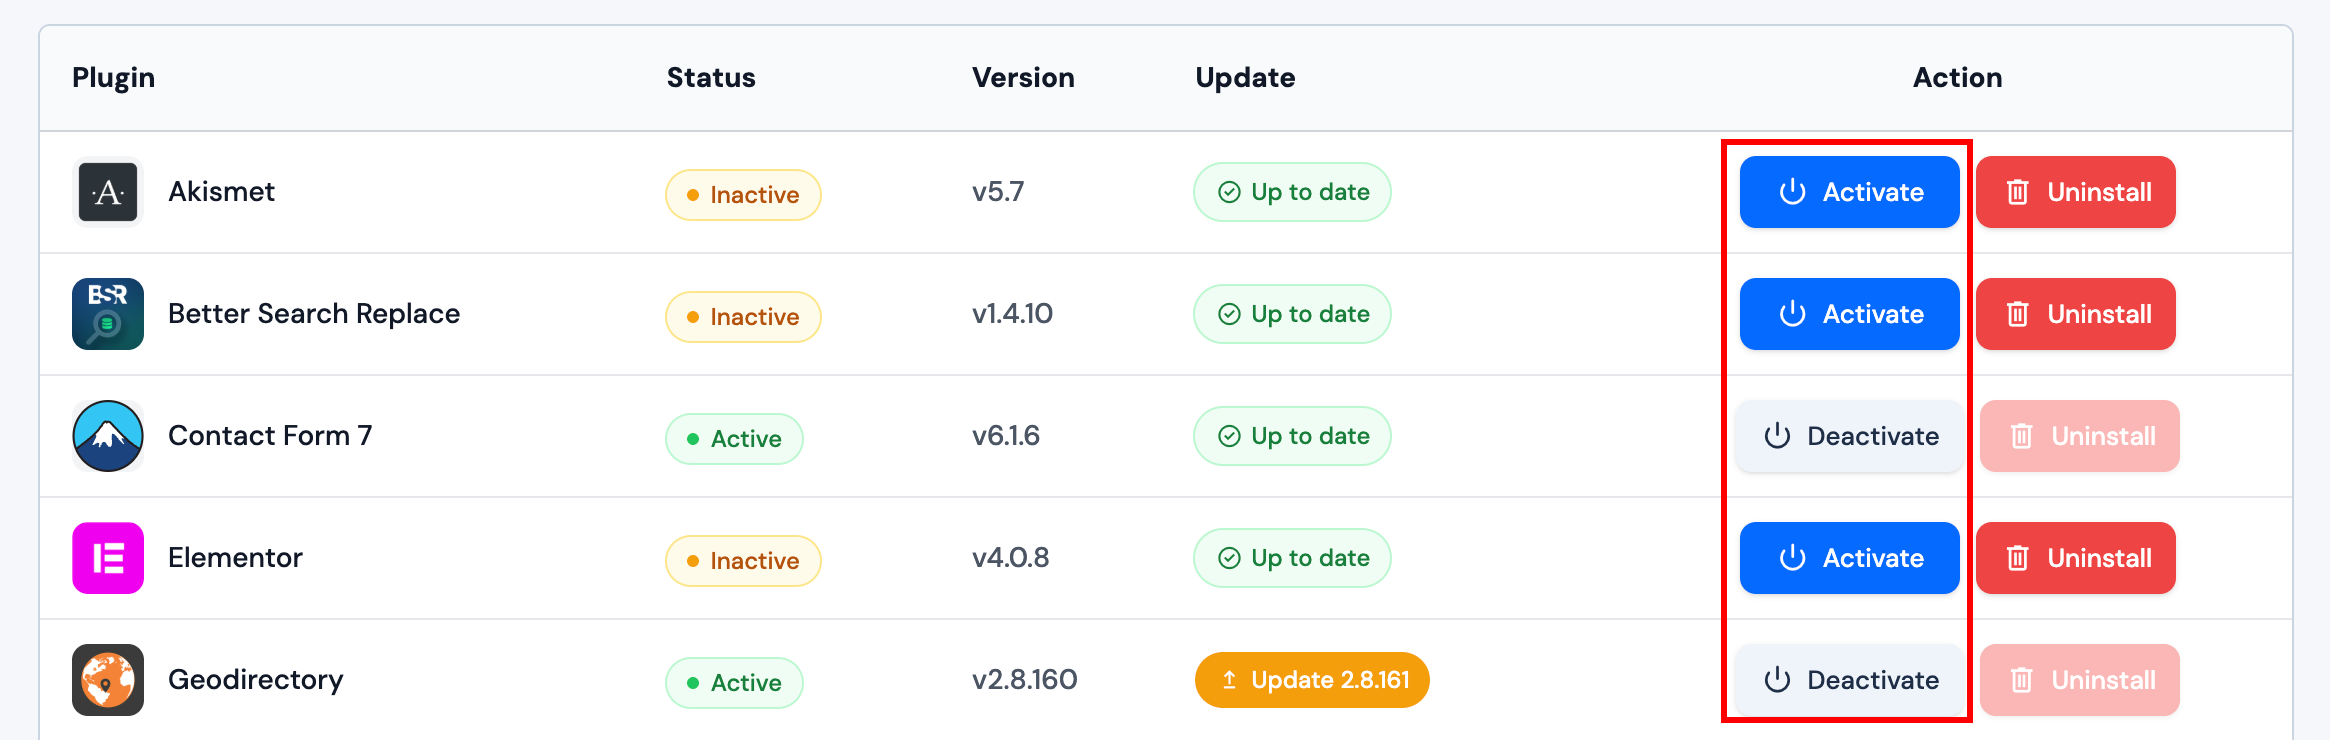
Update: When an update is available, click Update on the row or use Updates to update multiple plugins at once.

Uninstall: Deactivate the plugin first, then click Uninstall and confirm. Active plugins cannot be uninstalled.
Uninstalling removes the plugin and may remove its data depending on how the plugin was built. Restore from backup if needed.