Settings
The Billing Management section enables you to manage your billing details, tax information, and billing settings.
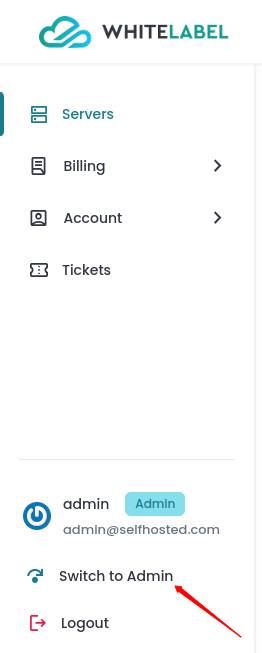
Step 1: First, log in to the Self Hosted panel, and go to admin side by clicking on Admin as shown in the image below.
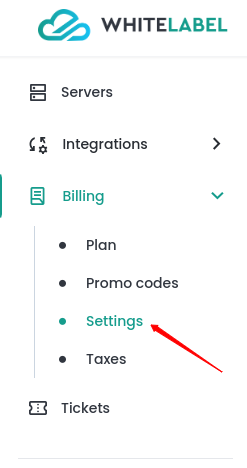
Step 2: Click on the Billing -> Settings option from the left side panel and you can see the billing management form.
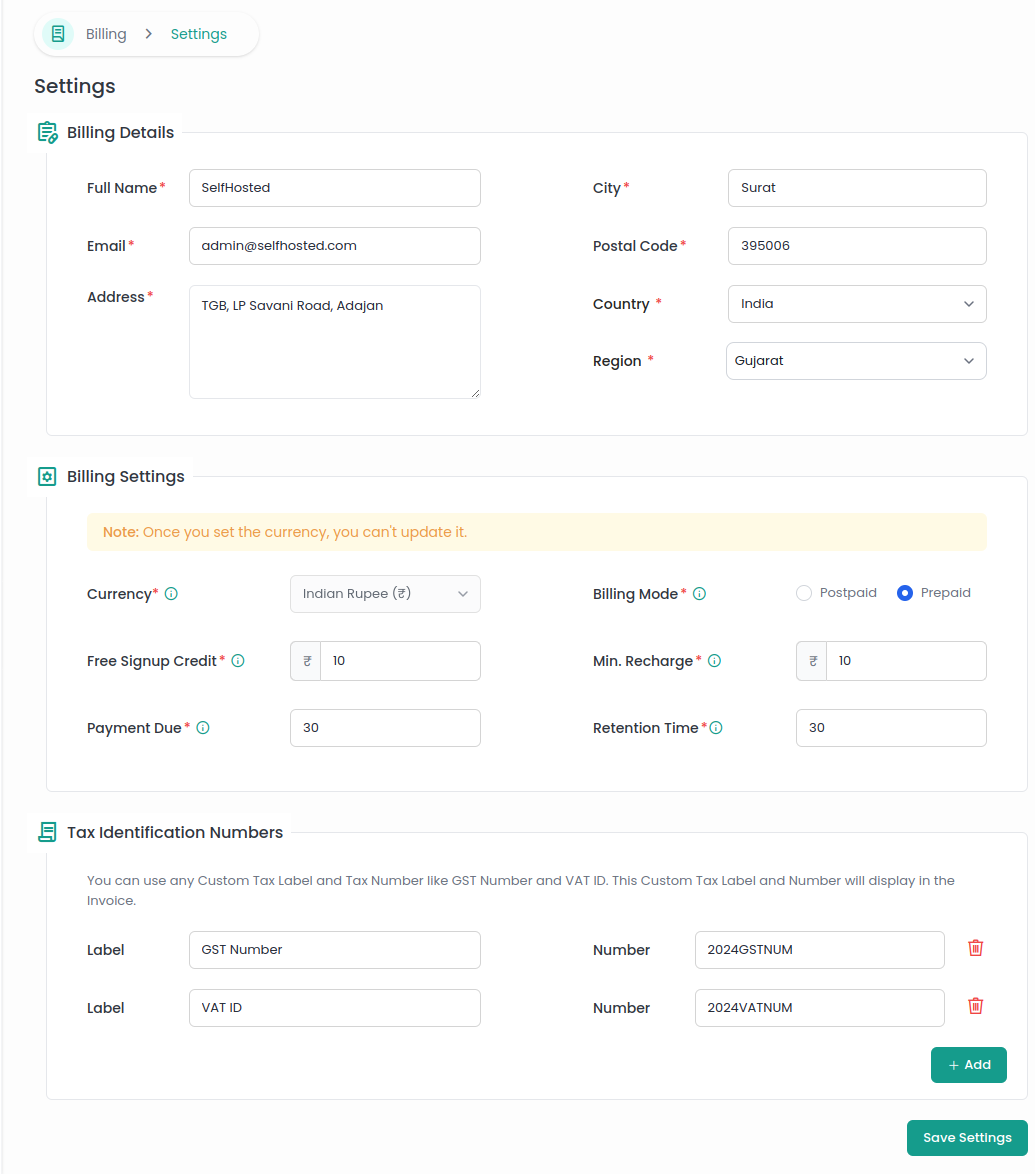
Billing Details
-
Full Name: The name of the company responsible for the billing. This name will be billed on invoices.
-
Email: The contact email for billing related communications.
-
Address: The full company address where billing communications.
-
City, Postal Code, Country, Region: These fields capture the location details of the company.
Billing Settings
-
Currency: Select your preferred currency from the dropdown. The chosen currency symbol will be displayed across the panel, and all payments will be processed in that currency.
-
Billing Mode: Select the billing mode between prepaid or postpaid. Prepaid requires >0 credits, either free sign up credits or paid credits. Postpaid allows users to pay on the monthly basis after the services have been used.
-
Free Signup Credit: This option allows you to offer a specific amount of free credit to new users who registered for the service. This can be used as an incentive to encourage users to signup and experience the service.
-
Min. Recharge: Specify the minimum amount that users must recharge their account with to access the service. This ensures that users have a certain level of investment in the service and users cannot add less than the designated amount to their balance.
-
Retention Time: This option allows you to set the duration for how long your user's servers and data will remain after the due date has passed. The server and data will be permanently deleted after the retention period ends.
-
Payment Due: Set a deadline for users to make a payment before their service gets suspended or terminated. This sets the due date for invoices, ensuring timely payments and preventing service disruptions.
After configuring the above details, click the Save Settings button to apply and save all changes made in the Billing Management section.
Tax Identification Numbers
This section allows you to configure tax related information that will be applied during payment:
You can add custom tax labels and numbers (such as GST or VAT ID). This information will be displayed on the invoice.
- Label: The name or label of the tax identifier.
- Number: The corresponding tax identification number.
- You can add multiple tax identification numbers by clicking the + Add button.
- Existing tax identification numbers can be removed by clicking the trash bin icon next to the number.
This Billing Management interface allows for comprehensive customization of billing details, tax information, and billing preferences, ensuring that all necessary information is captured and configured according to user requirements.