Basic Authentication
Basic Authentication is a security feature that protects your website or application by requiring users to enter a valid username and password before accessing your site. This feature can be easily enabled from the ServerAvatar panel.
Enable Basic Authentication
Follow these steps to enable Basic Authentication for your application:
Step 1: First, log in to your ServerAvatar account.
Step 2: Click on the Server Dashboard button.

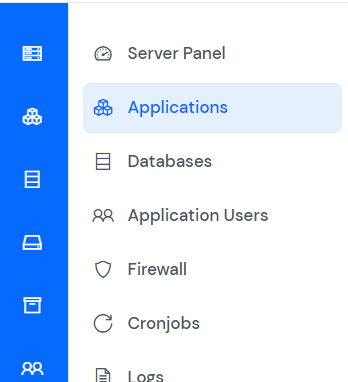
Step 3: Now, you will see the option Applications on the left-hand sidebar of the Server Panel. Click on Applications.

Step 4: Now, you will see the Applications table, as shown in the image below.

Step 5: Click on the Application Name or Dashboard icon to access the application panel.

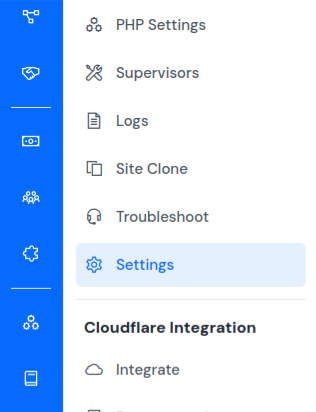
Step 6: In the Application Panel, find the Settings option in the left-hand sidebar and click on it.

Step 7: Within the Settings page, find the Basic Authentication section.
Step 8: You will see a toggle switch labeled Enable Basic Authentication. Simply switch it on to activate Basic Authentication for your application.
Step 9: After enabling Basic Authentication, two input fields will appear: one for Username and one for Password.
- Username: Enter the username that users will be required to input to gain access.
- Password: Set a secure password that users will need to authenticate.
Once you've entered the username and password, click the Save button to apply your changes.

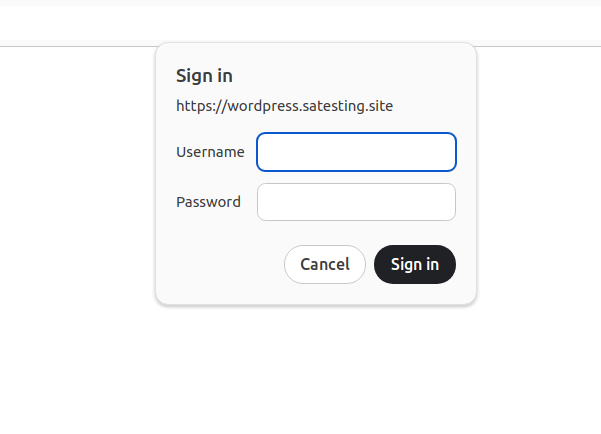
Once Basic Authentication is enabled, visit your application in a browser. You will be prompted to enter the username and password you just set. If the credentials match, you will be granted access; otherwise, access will be denied.

Disable Basic Authentication
If you need to disable Basic Authentication for your application, simply switch the toggle off. This will disable Basic Authentication for your application, and the prompt will no longer appear when users access your site.