Statamic
Statamic is a modern, flat-file content management system (CMS) that is designed to be flexible, user-friendly, and developer-friendly. Unlike traditional CMS platforms like WordPress, Statamic does not rely on a database to store content; instead, it stores content in flat files (typically YAML or Markdown files). This allows for easier version control and faster performance since there's no need for database queries.
The Statamic application is not available as a one-click installer in the OLS (OpenLiteSpeed) Web Server.
Step 1: Access the Server Dashboard where you wish to install Statamic.

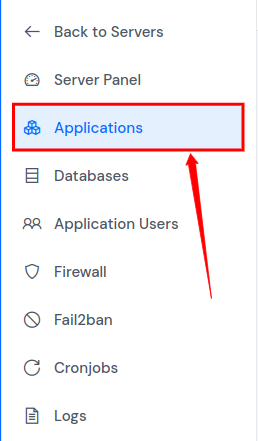
Step 2: In the left-hand sidebar of the Server Panel, click on Applications.
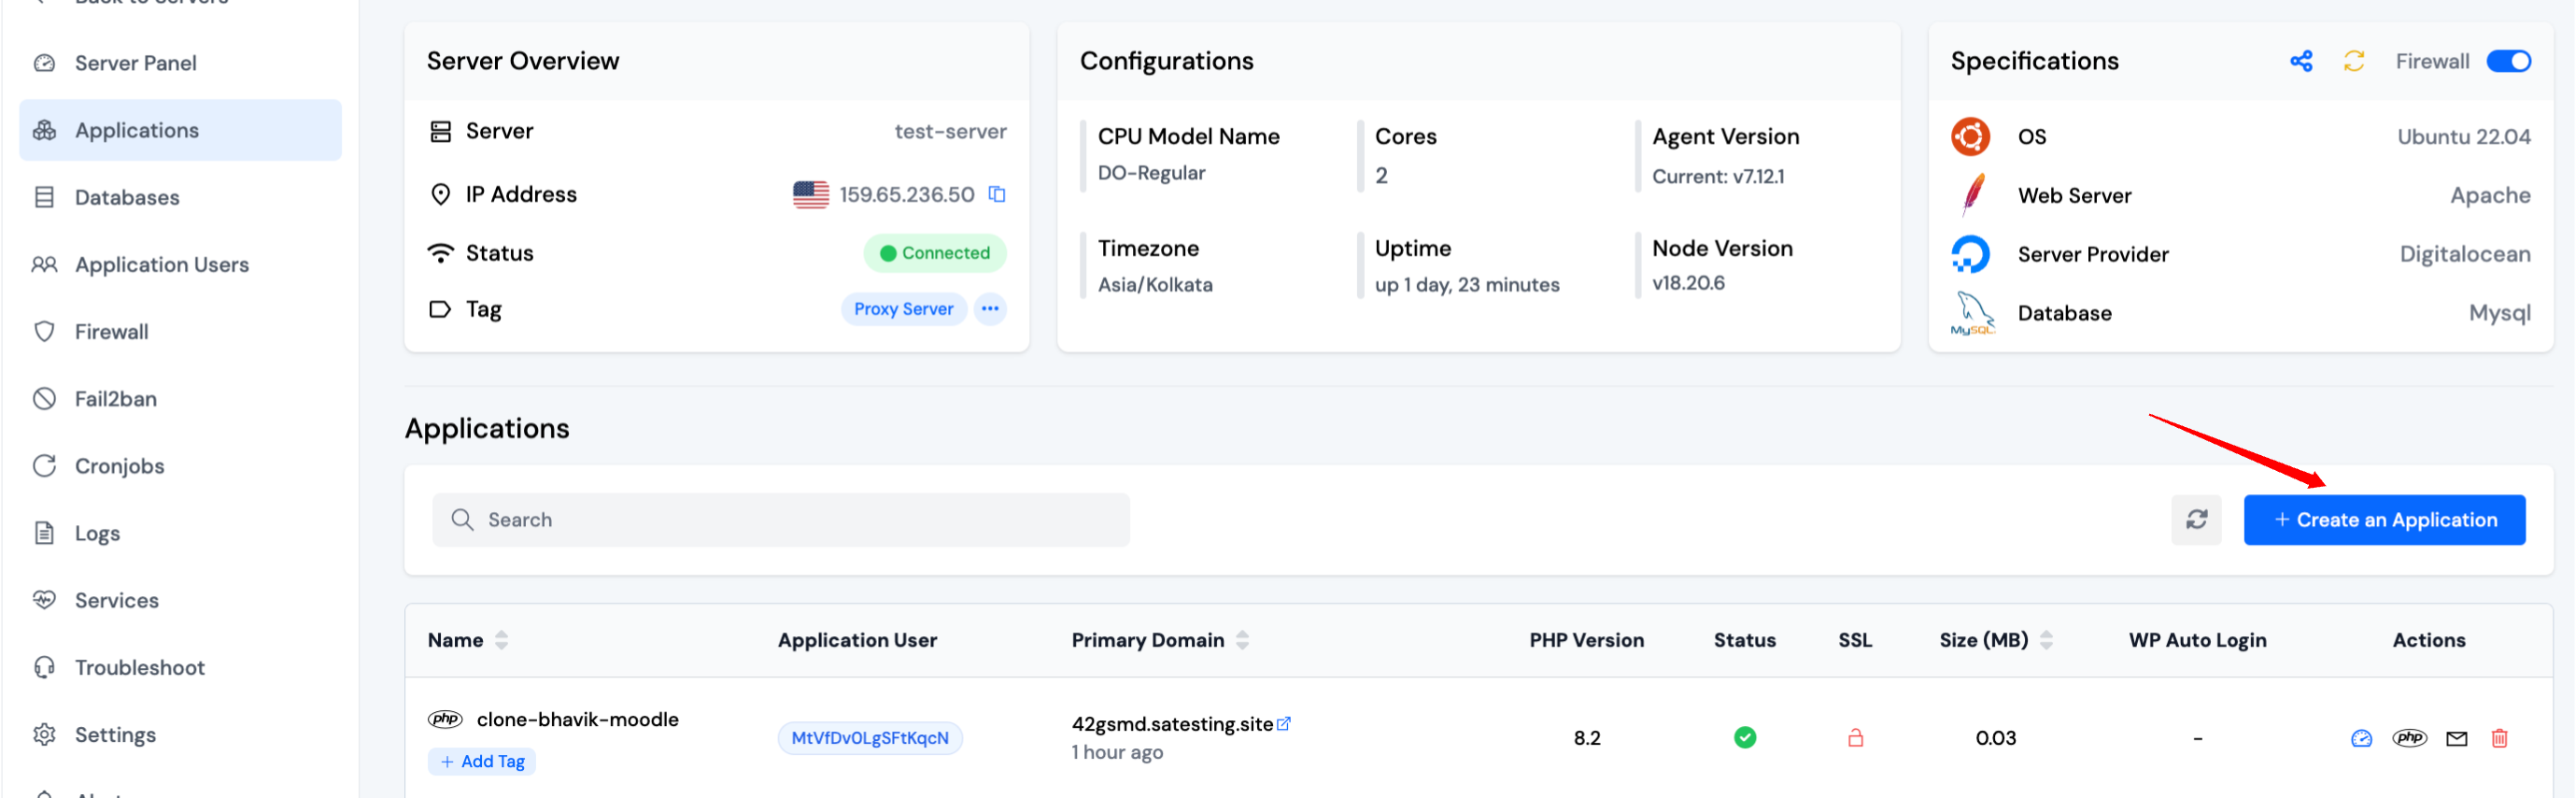
Step 3: Within the Applications table, click on the Create button located at the top right.
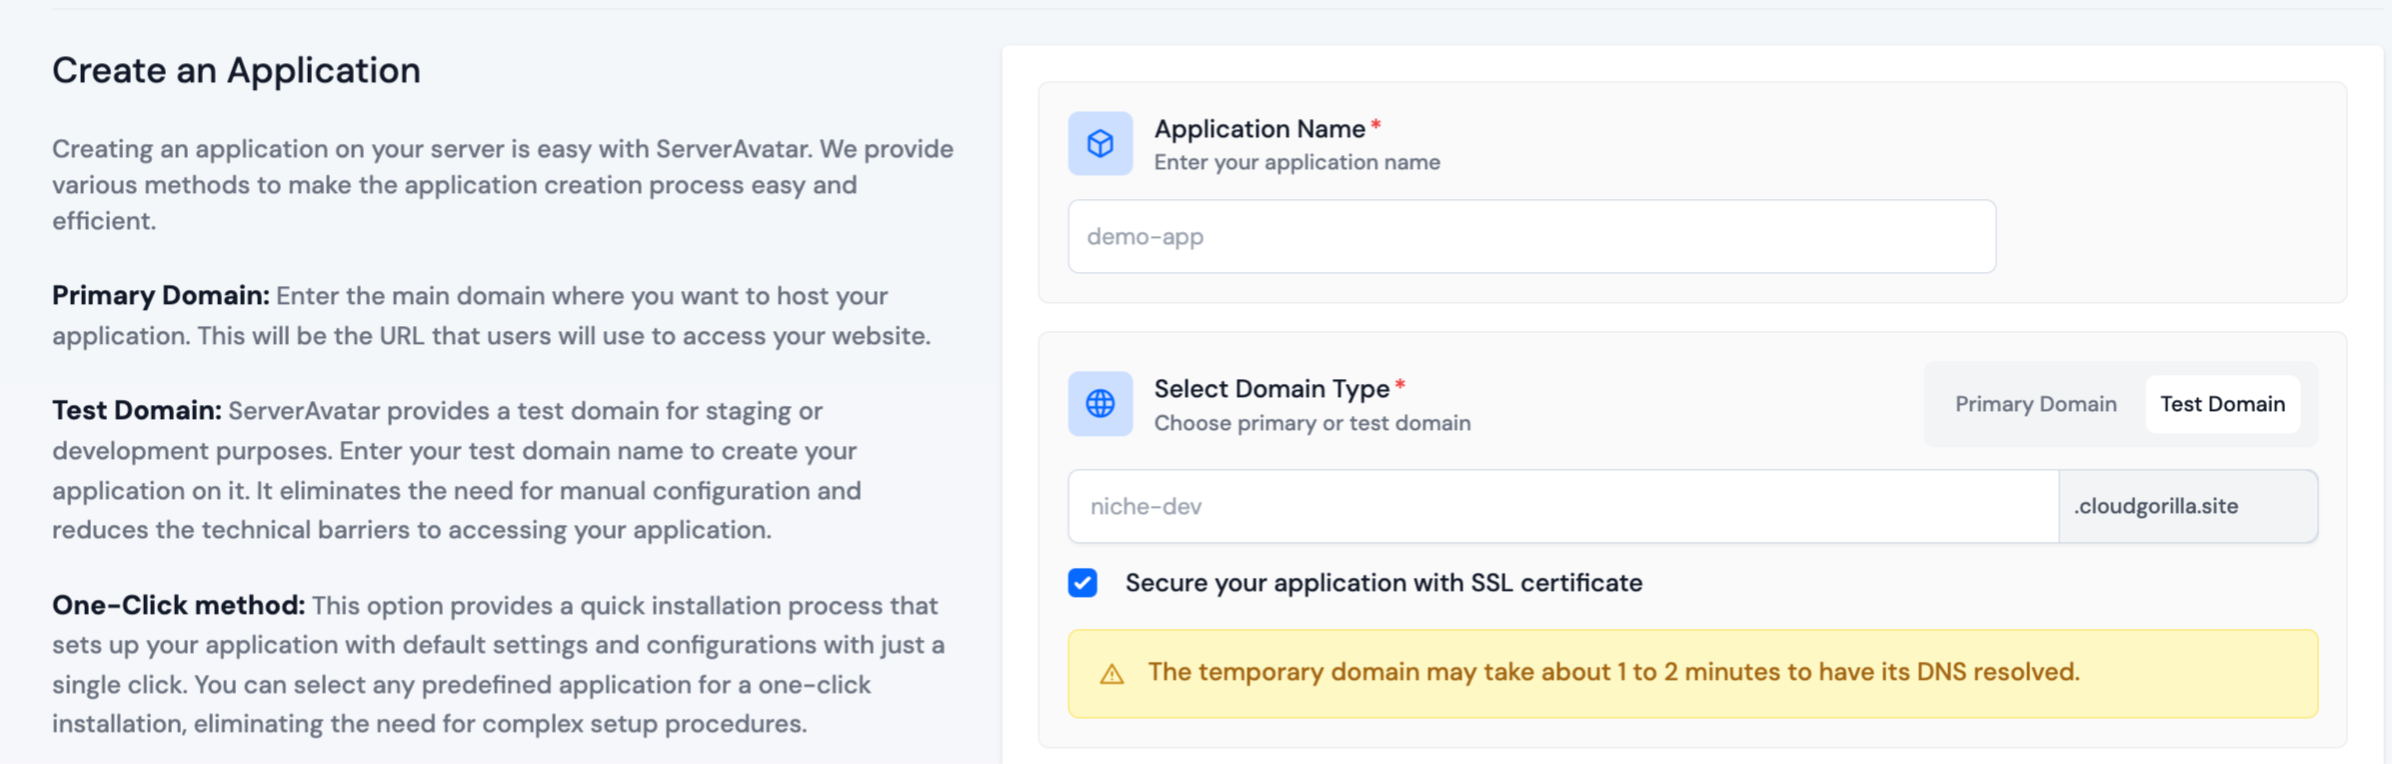
Step 4: After that, you will see the Create Application screen.
Step 5: Basic Details
- Enter the name of your application in the Application Name field.
- Choose whether you want to use a primary domain or a test domain in the Domain field. If you select a test domain, you can change it later to a primary domain.
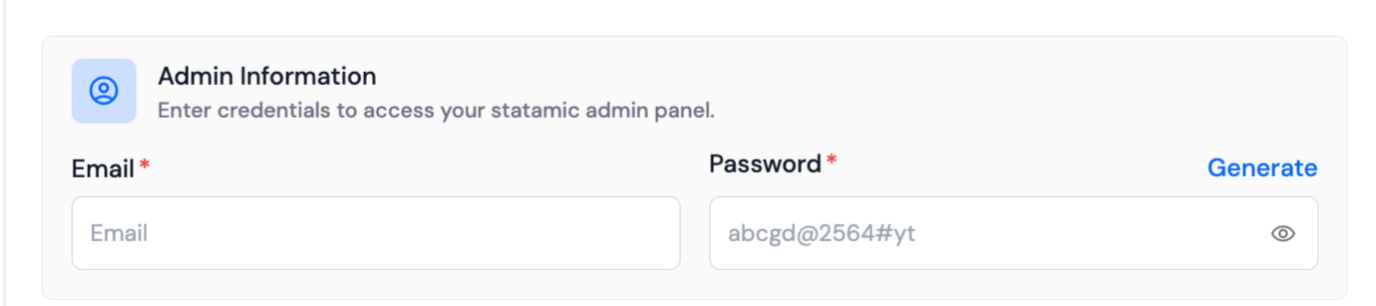
Step 6: Application Setup
-
Choose the One-Click method to install Statamic.

-
Fill in the required details such as Email and Password for Statamic.
-
ServerAvatar will automatically download, install, and configure Statamic on your server along with necessary dependencies.
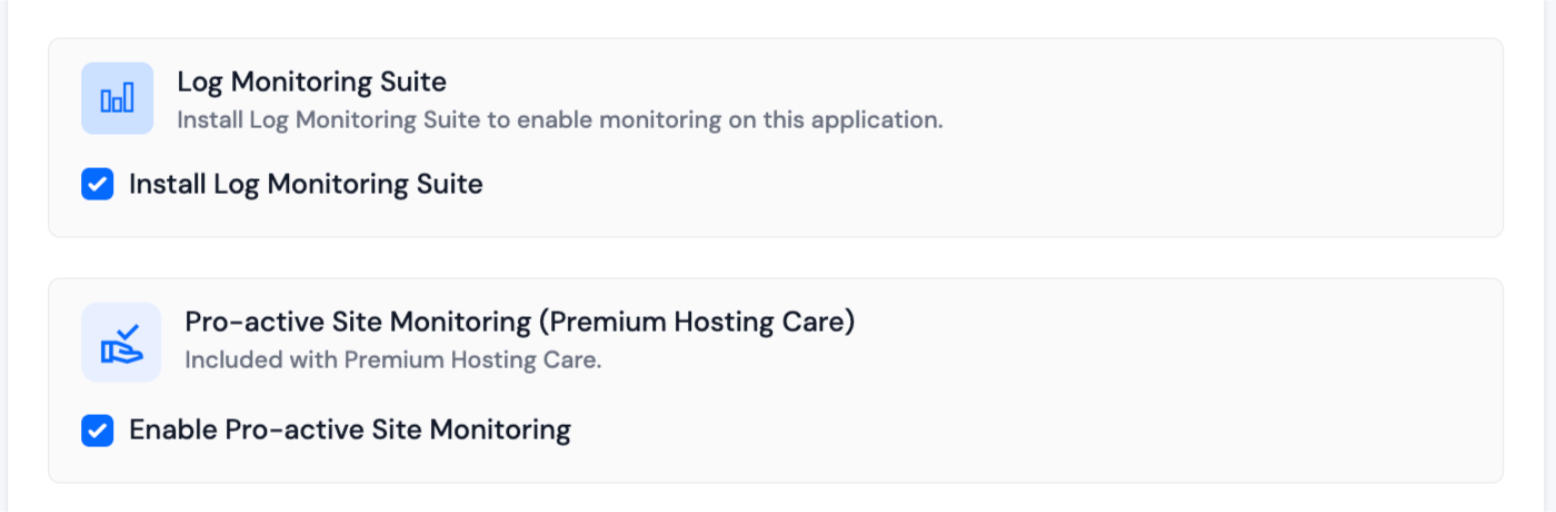
Step 7: Log Monitoring Suite
-
If have purchased the Log Monitoring Suite, you will see a checkbox option to Install Log Monitoring Suite on this application.
-
Check this option if you want to enable log monitoring for your application. This will allow you to monitor and analyze application logs directly from the ServerAvatar dashboard.
Step 8: Pro-active Site Monitoring (Premium Hosting Care)
-
If you have purchased Premium Hosting Care, you will see a checkbox option to Enable Pro-active Site Monitoring on this application.
-
Check this option if you want to enable pro-active site monitoring for your application. Premium Hosting Care provides top-tier server management. Enjoy high-priority support, optimization, app-level troubleshooting, proactive monitoring, and a dedicated Slack channel for real-time assistance.
-
If you haven't purchased Premium Hosting Care yet, you can learn how to purchase Premium Hosting Care from the Add-ons section.
Step 9: Advance Options
-
Click on Show Advanced Options to access additional configuration settings for your application.
-
Customize additional settings such as selecting a PHP version and managing system users for the application.
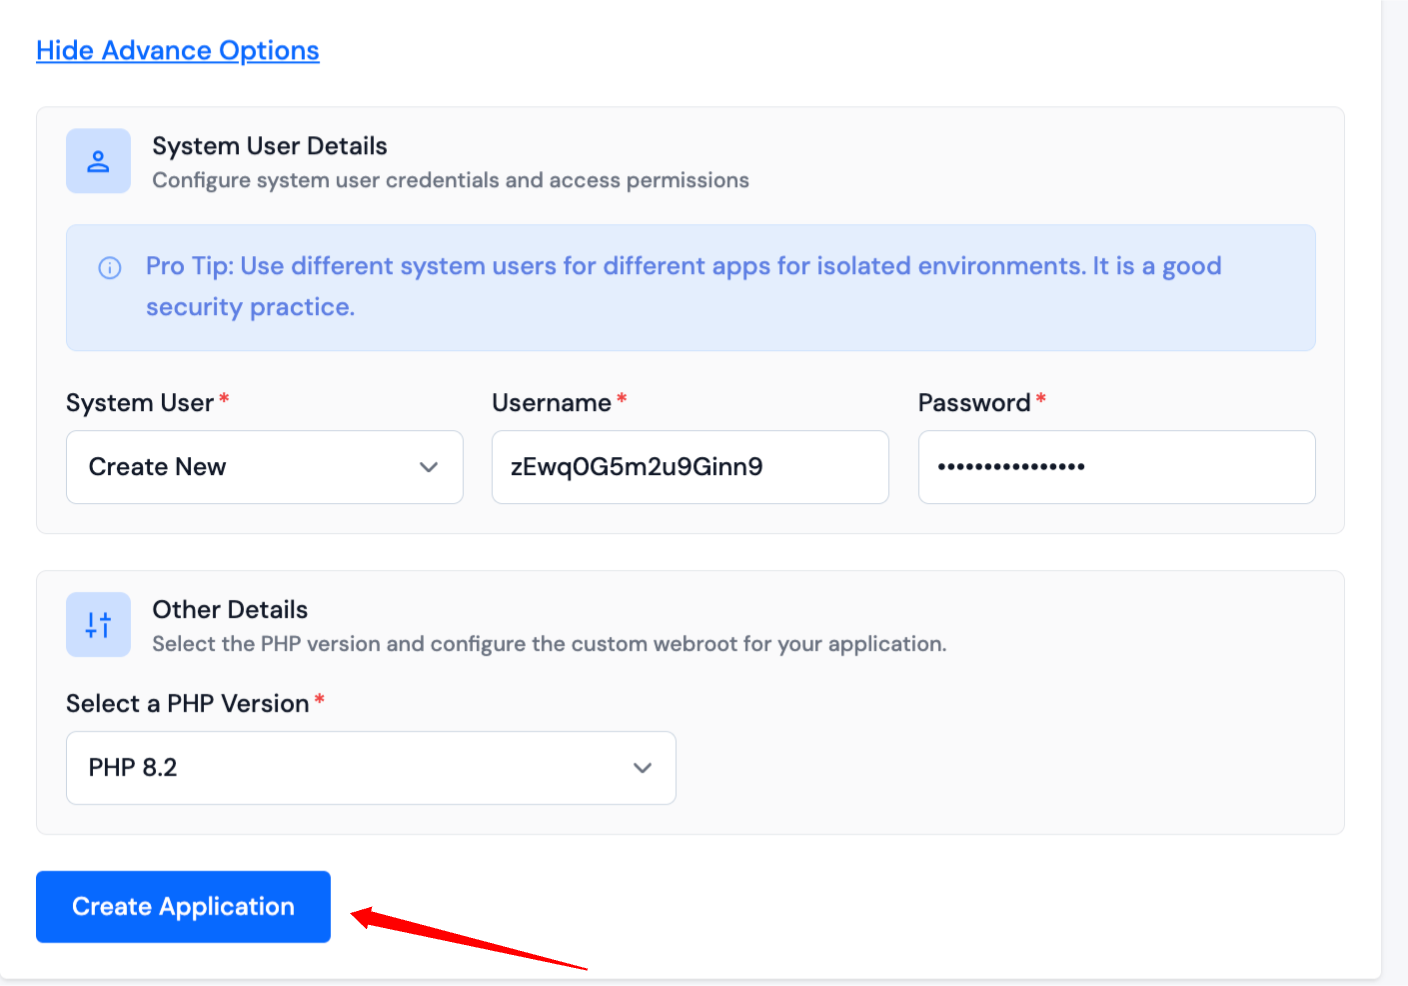
- If any changes are required, then you can go back to the respective sections and make the changes. If everything looks good, they can click on the Create Application button to create the application. Your website should be live in the next 10-15 seconds. Once your application is installed, you will be redirected to an application dashboard from which you can manage the application.